Skip to content

FAN control OMV Auyfan 0.10.12: gitlab-ci-linux-build-184, Kernel 5.6

Linux
12 3 1.3k 1
  • Hey,

    I will do it in english, hope it is okay. Thanks, for very informative forum.

    My question is, is it possible to control the FAN in the newest OMV Auyfan 0.10.12: gitlab-ci-linux-build-184, Kernel 5.6?
    The install was very easy no problems at all, the only problem is i did try some different commands to reach the fan, but was not able to get it going. Do somebody know how? Thanks.

    Best Regards.
    Soeren

  • Hi Soeren,

    I have this succesfully running.

    Kind Regards
    Martin

  • Hi Soeren,

    I have this succesfully running.

    Kind Regards
    Martin

    @mabs sagte in FAN control OMV Auyfan 0.10.12: gitlab-ci-linux-build-184, Kernel 5.6:

    Hi Soeren,

    I have this succesfully running.

    Kind Regards
    Martin

    Thanks, i will try the fan tool again. I'm almost sure i did try without luck, have you edited something in the fan tool conf..?

  • Hi,

    I only played with two parameters.

    I have two rockpro64 boards, currently one has a small fan and the other one has a large fan.

    Therefore I changed PROFILE_NR accordingly.

    Also I have ALWAYS_ON on true on the one with the large fan, but don't see a difference. The fan goes on and off still, maybe I misinterpreted the parameter.

    Also I just noticed now that the CTL settings of the version on github changed slightly, but I think this only improved the detection depending of the kernel settings.

    M

  • @mabs

    With the new OMV kernel 5.6 image from Auyfan, i can't get the FAN to spin - If the fan spins it runs really slow, no sound from the fan.

    With the FAN tool the master installation "failed" and with the release installation it did report "active"..
    I have installed a 92mm FAN inside the NAS case, it runs on Armbian with kernel 5.4.32

    I will open op the case later today to be sure. Thanks.

  • Hi,

    Now i did find the fan, here it goes "nano /sys/devices/platform/pwm-fan/hwmon/hwmon3/pwm1" it is at "0" can be controlled to "255"

    Best Regards.

  • Yes that is basically the way ATS is doing the changing as well I think, as those /sys entries are in the _CTL variables.

    good that you got it working, or are you only half way?

    M

  • @mabs

    The tool works on all image under 5.4 or so for me. But yes i am at the finish line, just wanted the fan to be always on. Just wanted to share, if someone will run in the same problems. Thanks.

  • Helpful Thread!

    But, ATS don't work for me on kernel 5.6 with ayufan release. Only this command works.

    nano /sys/devices/platform/pwm-fan/hwmon/hwmon3/pwm1
    

    Thanks @soerenderfor for the hint.

  • Ok, problem in ATS is this?

    -- FAN Control[ String ]
    	PWM_CTL		= {
    			"/sys/class/hwmon/hwmon0/pwm1",
    			"/sys/devices/platform/pwm-fan/hwmon/hwmon0/pwm1",
    			"/sys/devices/platform/pwm-fan/hwmon/hwmon1/pwm1"
    	},
    
  • Ok, problem in ATS is this?

    -- FAN Control[ String ]
    	PWM_CTL		= {
    			"/sys/class/hwmon/hwmon0/pwm1",
    			"/sys/devices/platform/pwm-fan/hwmon/hwmon0/pwm1",
    			"/sys/devices/platform/pwm-fan/hwmon/hwmon1/pwm1"
    	},
    

    @FrankM - did you try fix the ATS tool, if yes. Will it Work?

    Best Regards.

  • Hi,

    since I'm currently change my rockpro64 setup I came across this.

    With the kernel from ayufan you need to set PWM_CTL to

    /sys/devices/platform/pwm-fan/hwmon/hwmon3/pwm1
    

    for my self compiled one I need

    /sys/devices/platform/pwm-fan/hwmon/hwmon0/pwm1
    

    But I got it only working with one entry for PWM_CTL e.g.

    PWM_CTL		= "/sys/devices/platform/pwm-fan/hwmon/hwmon0/pwm1",
    

    after that you need to start ats again

    sudo systemctl stop ats
    sudo systemctl start ats
    

    initially the fan should start immediately for a short period of time.

    In case it is even a different one on your kernel you can find the right one using this command.

    sudo find /sys -name pwm1 | grep hwmon
    

    So far I'm not sure which kernel parameter or modul changes this.

    Martin
  • 0 Stimmen
    1 Beiträge
    18 Aufrufe
    Niemand hat geantwortet
  • OpenCloud - Docker Compose Hetzner VM

    Angeheftet Verschoben OpenCloud opencloud linux docker
    2
    2
    0 Stimmen
    2 Beiträge
    252 Aufrufe
    FrankMF
    Ich habe mich nochmal mit verschiedenen Aspekten der produktiven Installation beschäftigt. Auch ein wenig die KI befragt und dann ein paar Änderungen vorgenommen. Was hatte mich gestört? Traefik lief als root. Um das zu ändern, habe ich das docker-compose.yml angepasst. Ich habe auch gleich mal auf die aktuelle Version angepasst. services: traefik: image: traefik:v3.4.1 #3.3.1 container_name: traefik user: "1000:1001" # 1000 = dockeruser, 1001=docker group cap_add: - NET_BIND_SERVICE # erlaubt Ports <1024 restart: always networks: - opencloud-net ports: - "80:80" - "443:443" volumes: - ./certs:/certs # bind-mount acme.json - /var/run/docker.sock:/var/run/docker.sock:ro command: - "--log.level=${TRAEFIK_LOG_LEVEL:-ERROR}" # Let's Encrypt HTTP-01 Challenge - "--certificatesResolvers.http.acme.email=${TRAEFIK_ACME_MAIL:-example@example.org}" - "--certificatesResolvers.http.acme.storage=/certs/acme.json" - "--certificatesResolvers.http.acme.httpChallenge.entryPoint=http" - "--certificatesResolvers.http.acme.caserver=${TRAEFIK_ACME_CASERVER:-https://acme-v02.api.letsencrypt.org/directory}" # Dashboard - "--api.dashboard=true" # Entrypoints - "--entryPoints.http.address=:80" - "--entryPoints.http.http.redirections.entryPoint.to=https" - "--entryPoints.http.http.redirections.entryPoint.scheme=https" - "--entryPoints.https.address=:443" - "--entryPoints.https.transport.respondingTimeouts.readTimeout=12h" - "--entryPoints.https.transport.respondingTimeouts.writeTimeout=12h" - "--entryPoints.https.transport.respondingTimeouts.idleTimeout=3m" # Docker Provider - "--providers.docker.endpoint=unix:///var/run/docker.sock" - "--providers.docker.exposedByDefault=false" # Access Log - "--accessLog=true" - "--accessLog.format=json" - "--accessLog.fields.headers.names.X-Request-Id=keep" labels: - "traefik.enable=${TRAEFIK_DASHBOARD:-false}" - "traefik.http.middlewares.traefik-auth.basicauth.users=${TRAEFIK_BASIC_AUTH_USERS:-admin:$$apr1$$4vqie50r$$YQAmQdtmz5n9rEALhxJ4l.}" - "traefik.http.routers.traefik.entrypoints=https" - "traefik.http.routers.traefik.rule=Host(`${TRAEFIK_DOMAIN:-traefik.opencloud.test}`)" - "traefik.http.routers.traefik.middlewares=traefik-auth" - "traefik.http.routers.traefik.tls.certresolver=http" - "traefik.http.routers.traefik.service=api@internal" networks: opencloud-net: volumes: {} Und hierzu - ./certs:/certs # bind-mount acme.json brauch es noch ein paar Anpassungen auf dem Host, also im Verzeichnis von wo wir deployen mit dem dockeruser! mkdir -p ./certs touch ./certs/acme.json chmod 600 ./certs/acme.json chown 1000:1000 ./certs/acme.json # UID muss mit docker-compose user übereinstimmen Das klappt jetzt hier einwandfrei. dockeruser@opencloud:~/opencloud/deployments/examples/opencloud_full$ docker exec -it traefik id uid=1000 gid=1001 groups=1001 Sieht soweit gut aus Die KI meint noch das hier Wenn du maximale Sicherheit willst, kannst du langfristig docker-socket-proxy einsetzen. Er erlaubt Traefik nur lesenden Zugriff auf die Container-API: → Projektseite: Tecnativa/docker-socket-proxy Das muss ich aber erst noch sacken lassen und mich etwas zu einlesen.
  • Forgejo Installation mit Restic nach Hetzner S3 sichern

    Verschoben Forgejo restic linux forgejo
    2
    2
    0 Stimmen
    2 Beiträge
    344 Aufrufe
    FrankMF
    Ich habe ja im obigen Beispiel, den gesamten Ordner von der Postgres Installation gesichert. backup_pfad_postgres="/home/pguser/db-data" Ich habe dann mal ein wenig in der Dokumentation gelesen und das hier gefunden. https://www.postgresql.org/docs/current/app-pgdump.html Einfach den Ordner zu sichern, ist ja bei jeder Datenbank ein gewisses Risiko. Die Konsistenz der Daten ist nicht gesichert. Darum gibt es bei den Datenbanken auch immer Tools, mit denen man die Daten sichern kann. In der Doku steht folgendes. pg_dump — extract a PostgreSQL database into a script file or other archive file Aber wichtiger ist das hier. pg_dump is a utility for backing up a PostgreSQL database. It makes consistent backups even if the database is being used concurrently. pg_dump does not block other users accessing the database (readers or writers). Das macht also konsistente Backups. Wichtig noch zu wissen ist folgendes. pg_dump only dumps a single database. To back up an entire cluster, or to back up global objects that are common to all databases in a cluster (such as roles and tablespaces), use pg_dumpall. Ok, das scheint gut geeignet zu sein, um die Datenbank zu sichern. Aber, wie? Auf meinen Eingangsbeitrag kam es zu folgendem Dialog auf Mastodon. https://nrw.social/deck/@nebucatnetzer@social.linux.pizza/114132208440509237 Das war der Anstoß sich mit dem Thema zu beschäftigen. Und ich hatte dann folgende Lösung. podman exec -it postgres pg_dump -U postgres -f /var/lib/postgresql/data/dump.txt Ok, was mache ich hier? Wir führen einen Befehl vom Host aus gesehen, im Container aus. podman exec -it postgres Der Teil führt den folgenden Befehl im Container aus. pg_dump -U postgres -f /var/lib/postgresql/data/dump.txt pg_dump - Das Tool fürs Backup -U postgres - Der Befehl wird als User postgres ausgeführt -f /var/lib/postgresql/data/dump.txt - Das Dump File wird im Data Ordner abgelegt, den haben wir ja persistent auf dem Host. Somit kann ich das jetzt einfach in mein Backup Script einbauen und brauchen nicht mehr den ganzen Ordner zu kopieren, sondern nur noch das Dump File. Ich werde diese Änderungen in das obige Script einbauen.
  • Debian Bug auf Arm64

    Linux linux arm64
    1
    0 Stimmen
    1 Beiträge
    195 Aufrufe
    Niemand hat geantwortet
  • Flatpak - Signal

    Linux flatpak signal linux
    1
    0 Stimmen
    1 Beiträge
    151 Aufrufe
    Niemand hat geantwortet
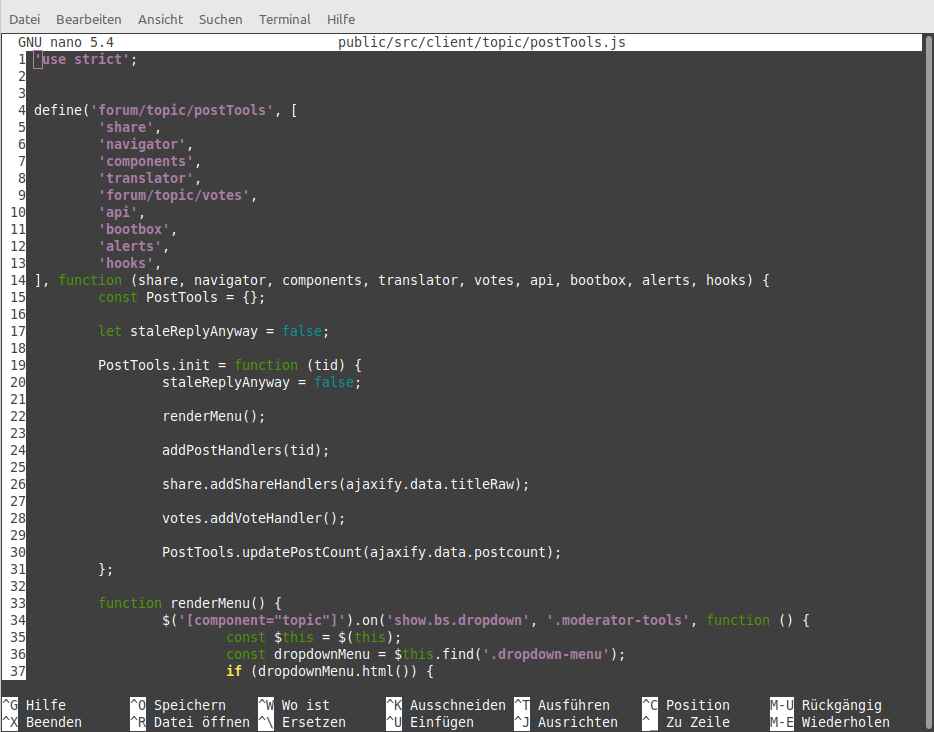
  • nano - Zeilennummern dauerhaft anzeigen

    Linux linux
    3
    2
    0 Stimmen
    3 Beiträge
    3k Aufrufe
    FrankMF
    @masko Danke für die Ergänzung. Um den Code zu markieren, kannst Du im Texteditor auf </> klicken oder einfach 4 Leerzeichen vor den Code setzen. Dann sieht es besser aus Und Willkommen im Forum!
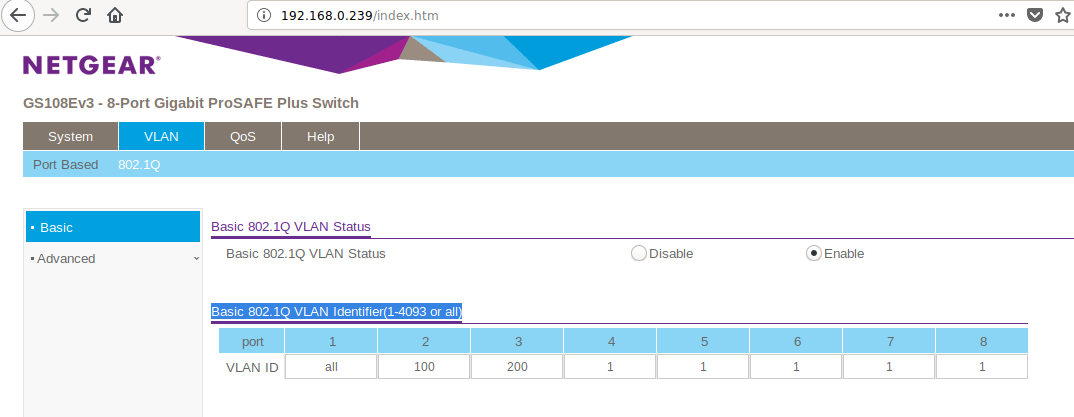
  • NanoPi R2S - OpenWRT VLAN

    Verschoben NanoPi R2S nanopir2s openwrt linux
    11
    8
    0 Stimmen
    11 Beiträge
    2k Aufrufe
    FrankMF
    @thrakath1980 Ok, du meinst die FriendlyArm Variante von OpenWRT. Ich denke, da sollte man besser alles neu machen. Leider ist das bei OpenWRT nicht so einfach zu updaten/upgraden wie z.B. bei einem Linux Kernel. Ich habe es mal runtergeladen, wenn ich mal Zeit habe, schau ich mal rein.
  • Linux Mint 20 & Scannen mit HP LaserJet Pro MFP M28a

    Linux linuxmint linux
    2
    1
    0 Stimmen
    2 Beiträge
    1k Aufrufe
    FrankMF
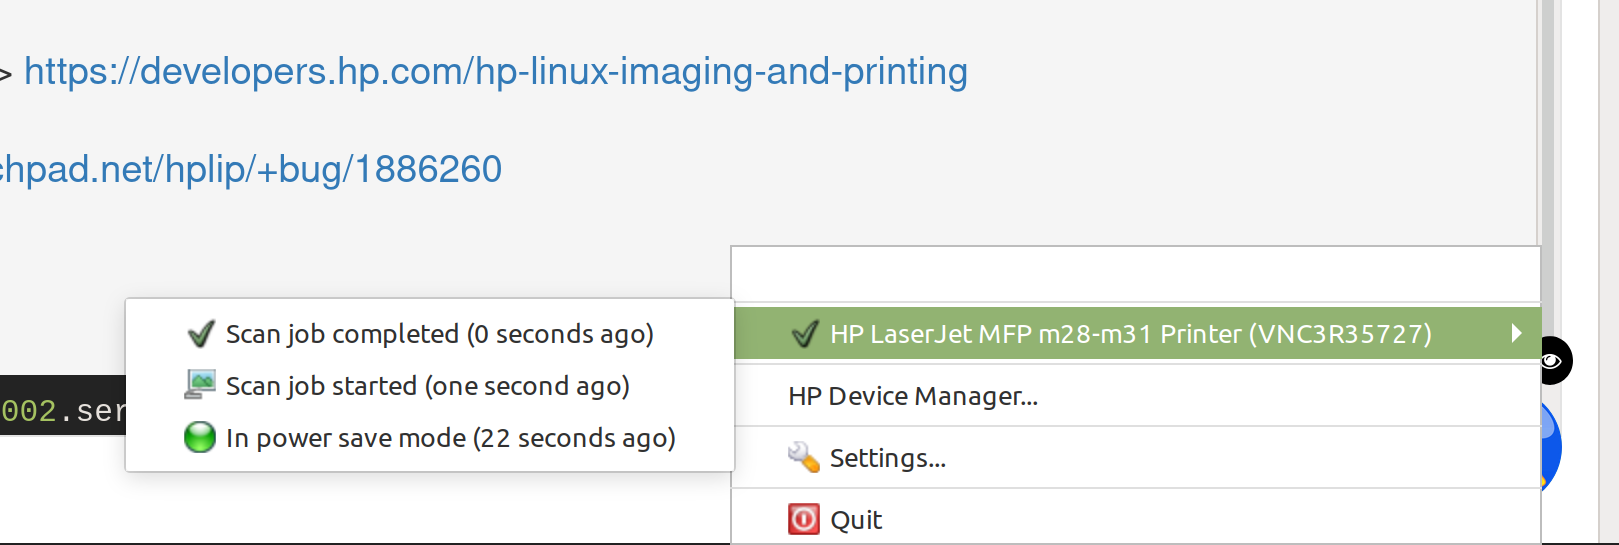
    Nachdem ich jetzt ja wieder auf Linux Mint Cinnamon in Version 20.2 unterwegs bin, hatte ich wieder das Problem das der Drucker ohne Probleme druckt aber nicht scannt. Ich habe dann mal dieses Tool installiert apt install hplip-gui [image: 1625908296630-0918fea1-0edf-43c1-aa29-9d79efda177c-grafik.png] Dann auf Scan geklickt, dann meckerte er über ein fehlendes Plugin. Ok, installiert, danach kamen Verbindungsfehler beim Scannen. Einmal den USB-Stecker entfernt, danach ging alles. Bitte nicht fragen warum, hplip hasse ich noch mehr als WLAN Ok, nicht mehr anfassen.... [image: 1625908444519-79d636b7-2b49-4152-b158-e65cebabf148-grafik.png] In der Linux Mint Hilfe findet man dazu folgendes -> Klick