Vorstellung Restic UI als PyWebIO Version
PyWebIO
7
Beiträge
1
Kommentatoren
375
Aufrufe
-
schrieb am 27. Nov. 2022, 10:11 zuletzt editiert von
Ich habe es endlich geschafft, das Video mal zu erstellen. Ihr wollt Fehler in Eurer Anwendung suchen? Video Erstellung ist bestens dafür geeignet
")
Wie immer, ich freue mich über jeden Kommentar.
Das Repo findet man -> https://gitlab.com/Bullet64/restic_ui_pywebio
-
schrieb am 28. Nov. 2022, 15:58 zuletzt editiert von FrankM 12. Nov. 2022, 09:26
Will ich mal die Fehler, aus dem Video, hier vernünftig notieren.
- Init - Logikfunktion überdenken (Stichwort Continue?)
List Snapshot - Auswahlmöglichkeit eines bestimmten Snapshots, ansonsten Latest!Logik einbauen für Migrate Upgrade -> v2. Nur möglich, wenn "migration found" vorhanden.Mount läuft normal durch, wenn der Mount Path schon vorhanden ist. Es ist aber im Verzeichnis nichts vorhanden!?!?!?!? Überprüfen!Restore, fragt nach Snapshot ID. Wenn keine übergeben wird, nutzt er Latest. Prüfen und logischer aufbauen!
Diese Liste soll dann meine neue ToDo-Liste für die nächsten Python Stunden sein
Durchgestrichen -
schrieb am 3. Dez. 2022, 08:57 zuletzt editiert von
Fix für 3 vorhanden
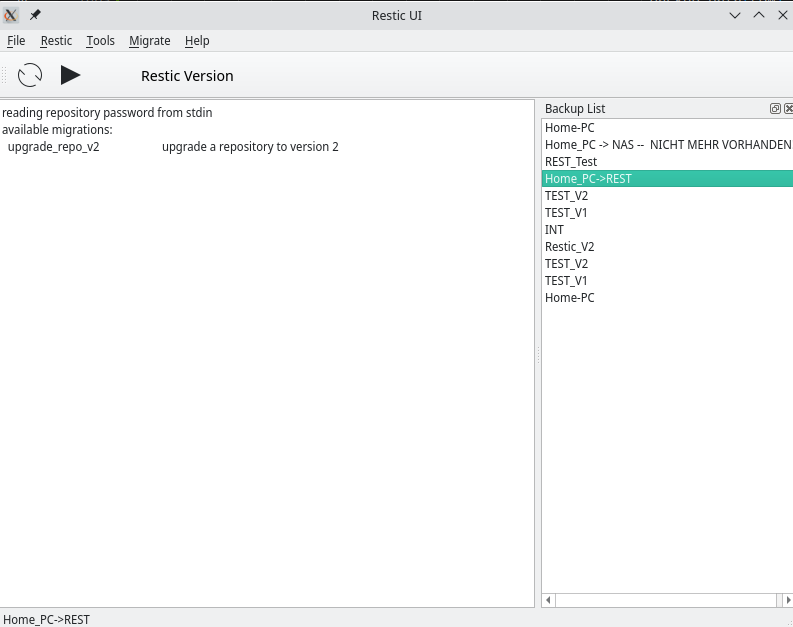
Ich prüfe jetzt vor dem Upgrade -> v2 ob das möglich ist. Wenn nicht Abbruch und Fehlermeldung.
-
schrieb am 11. Dez. 2022, 07:19 zuletzt editiert von
Punkt 4 kann ich heute Morgen beim Kaffee nicht reproduzieren

Ok, dann nicht. Behandeln den Punkt erst mal als erledigt. -
schrieb am 11. Dez. 2022, 07:27 zuletzt editiert von
Punkt 5 mit einem verbesserten Text ausgestattet.
Please enter the snapshot ID, if you do not enter one, the latest snapshot will be used.
-
schrieb am 11. Dez. 2022, 08:25 zuletzt editiert von
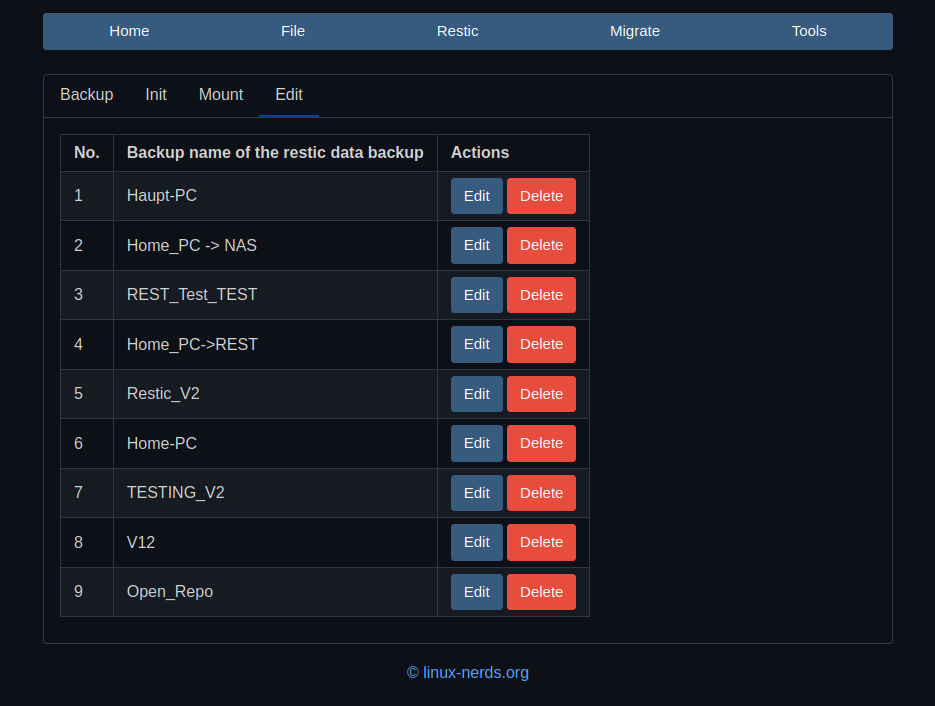
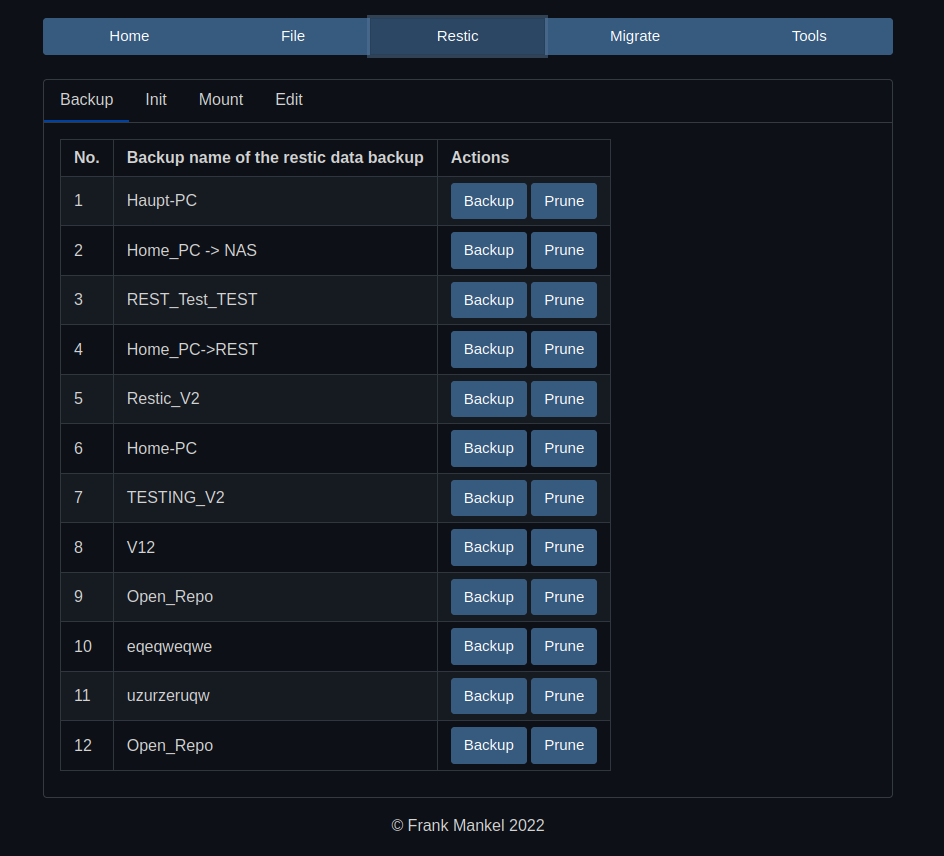
Punkt 2 komplett auf logische Fehler kontrolliert und auf Fehler geprüft. Jetzt passt alles
")
-
schrieb am 11. Dez. 2022, 08:29 zuletzt editiert von

Merge branch 'master' into 'main' (45c83cd8) · Commits · Frank / restic_ui_pywebio · GitLab
Fix some bugs See merge request Bullet64/restic_ui_pywebio!71

GitLab (gitlab.com)