Bitwarden_RS auf einem Debian Buster 10 Server installieren!
-
Ich hatte ja das Testpaket installiert. Vorgehensweise
apt remove vaultwarden
apt install vaultwarden
Bei mir war danach alles wie vorher. Config, DB, alles noch vorhanden.
root@:/var/lib/vaultwarden# apt remove vaultwarden
Reading package lists... Done
Building dependency tree... Done
Reading state information... Done
The following packages will be REMOVED:
  vaultwarden
0 upgraded, 0 newly installed, 1 to remove and 0 not upgraded.
After this operation, 0 B of additional disk space will be used.
Do you want to continue? [Y/n]
(Reading database ... 42444 files and directories currently installed.)
Removing vaultwarden (1.28.1-1-buster) ...

root@:/var/lib/vaultwarden# apt install vaultwarden
Reading package lists... Done
Building dependency tree... Done
Reading state information... Done
The following NEW packages will be installed:
  vaultwarden
0 upgraded, 1 newly installed, 0 to remove and 0 not upgraded.
Need to get 14.6 MB of archives.
After this operation, 0 B of additional disk space will be used.
Get:1 http://bitwarden-deb.tech-network.de bookworm/main arm64 vaultwarden arm64 1.28.1-1-bookworm [14.6 MB]
Fetched 14.6 MB in 0s (96.2 MB/s)
Selecting previously unselected package vaultwarden.
(Reading database ... 42145 files and directories currently installed.)
Preparing to unpack .../vaultwarden_1.28.1-1-bookworm_arm64.deb ...
Unpacking vaultwarden (1.28.1-1-bookworm) ...
Setting up vaultwarden (1.28.1-1-bookworm) ...
adduser: Warning: The home dir /var/lib/vaultwarden you specified already exists.
The system user `vaultwarden' already exists. Exiting.
Danach zur Sicherheit noch den Dienst neugestartet
systemctl restart vaultwardenFertig!
-
GitHub - dani-garcia/vaultwarden: Unofficial Bitwarden compatible server written in Rust, formerly known as bitwarden_rs
Unofficial Bitwarden compatible server written in Rust, formerly known as bitwarden_rs - dani-garcia/vaultwarden
GitHub (github.com)
-
In den Release Notes für die Version 1.29.0 steht folgendes
WebSocket notifications now work via the default HTTP port. No need for WEBSOCKET_ENABLED and a separate port anymore.
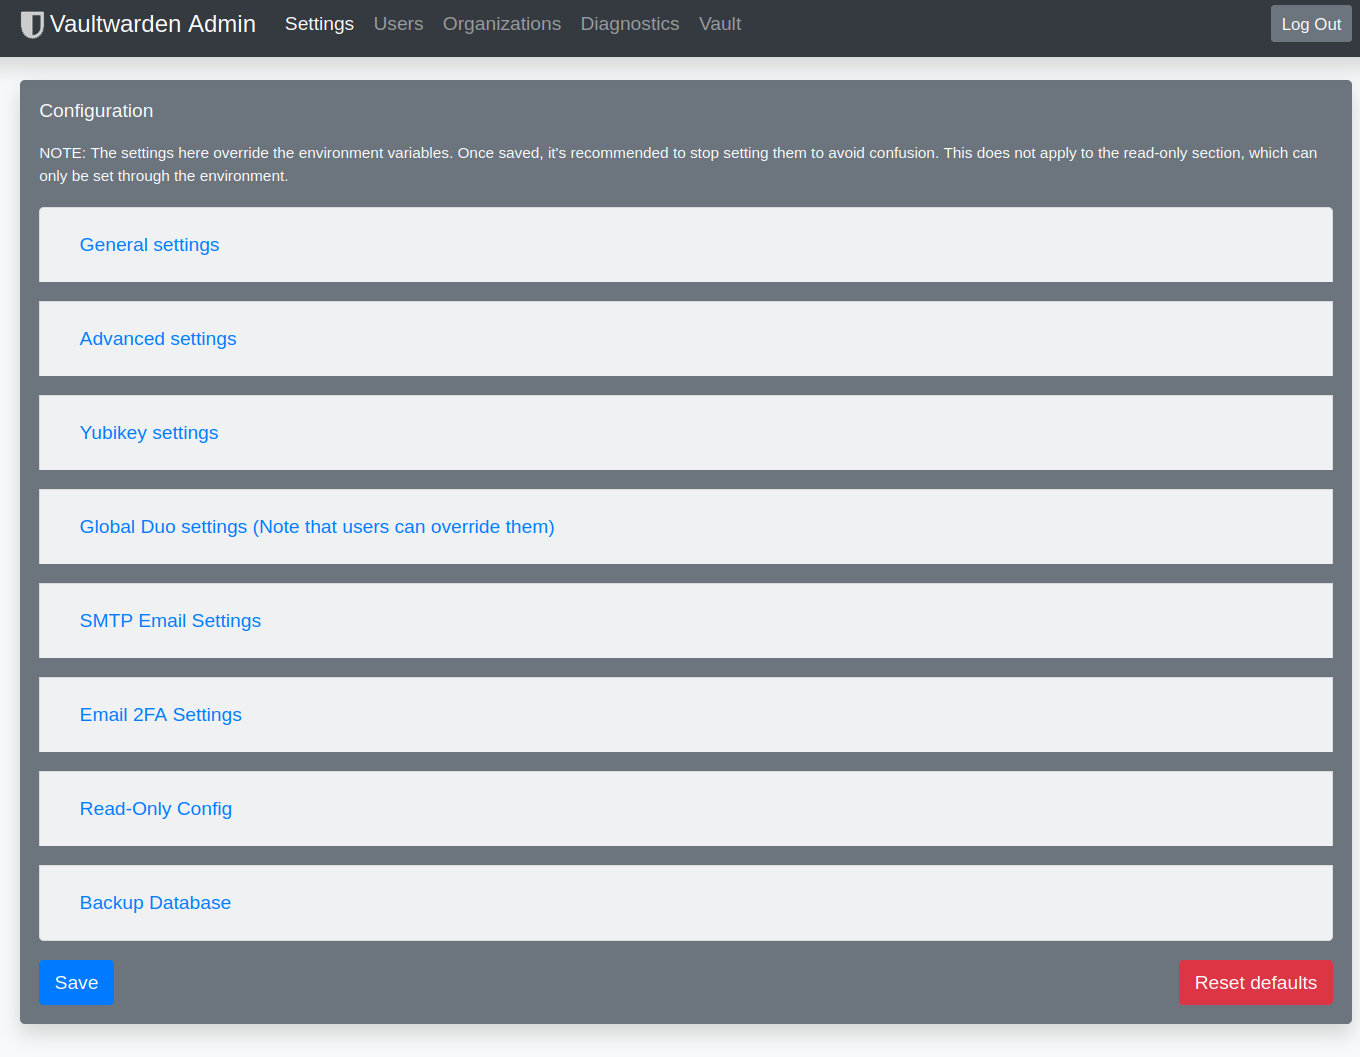
The proxy examples still need to be updated for this. Support for the old websockets port 3012 will remain for the time being.Das heißt, folgendes brauchen wir nicht mehr.
/etc/vaultwarden/config.env
## Enables websocket notifications
#WEBSOCKET_ENABLED=true

## Controls the WebSocket server address and port
#WEBSOCKET_ADDRESS=127.0.0.1
#WEBSOCKET_PORT=3012
/etc/nginx/sites-enabled/default
#    location /notifications/hub {
#        proxy_pass http://127.0.0.1:3012;
#        proxy_set_header Upgrade $http_upgrade;
#        proxy_set_header Connection "upgrade";
#    }
Danach alles mal durchstarten

-
Release 1.29.1 · dani-garcia/vaultwarden
Unofficial Bitwarden compatible server written in Rust, formerly known as bitwarden_rs - Release 1.29.1 · dani-garcia/vaultwarden
GitHub (github.com)
Und schon wieder aktuell Danke @Nico
-
Release 1.29.2 · dani-garcia/vaultwarden
Unofficial Bitwarden compatible server written in Rust, formerly known as bitwarden_rs - Release 1.29.2 · dani-garcia/vaultwarden
GitHub (github.com)
Und wieder aktuell Danke @Nico
~# vaultwarden -v vaultwarden 1.29.2 -
 F FrankM hat am auf dieses Thema verwiesen
-
@Nico ist dran, am Update für
Release 1.30.0 · dani-garcia/vaultwarden
Unofficial Bitwarden compatible server written in Rust, formerly known as bitwarden_rs - Release 1.30.0 · dani-garcia/vaultwarden
GitHub (github.com)
Dabei musste er ganz ordentlich das Build Script umbauen. Als dann fast alles fertig war, gab es Docker nicht mehr


Docker Systems Status Page
The official status page for services offered by Docker.
(www.dockerstatus.com)
Geduld, sollte die Tage fertig sein.
-
Immer wieder gerne. Dieses mal gab es richtig etwas zu tun:
13 files changed, 137 insertions(+), 96 deletions(-)
Und das nur, damit es überhaupt wieder baut. Danach folgten noch 5 Bugfixing Runden, wobei zwei davon (lediglich) das Packaging betrafen.Ergänzend noch ein Hinweis:
Port 3012 für die Websocket Verbindungen ist jetzt offiziell deprecated und wird demnächst vollständig aus Vaultwarden entfernt. Genau jetzt wäre der richtige Zeitpunkt die Apache/Nginx Konfiguration dahingehend anzupassen.Hierfür habe ich neue Templates online gestellt.
Apache: https://bitwarden-deb.tech-network.de/Apache-VirtualHost.example.conf
Nginx: https://bitwarden-deb.tech-network.de/Nginx-VirtualHost.example.confSchönen Sonntag!
