Skip to content

Bitwarden_RS auf einem Debian Buster 10 Server installieren!

Angeheftet Linux
  • Habe heute schon mal den Login-Screen gesehen. Ich habe den Server aber auf Bookworm hochgezogen 😉
    Hoffe das ich am WE Zeit für das Feintuning habe, dann ziehe ich mal die DB um und schaue wie es so läuft.

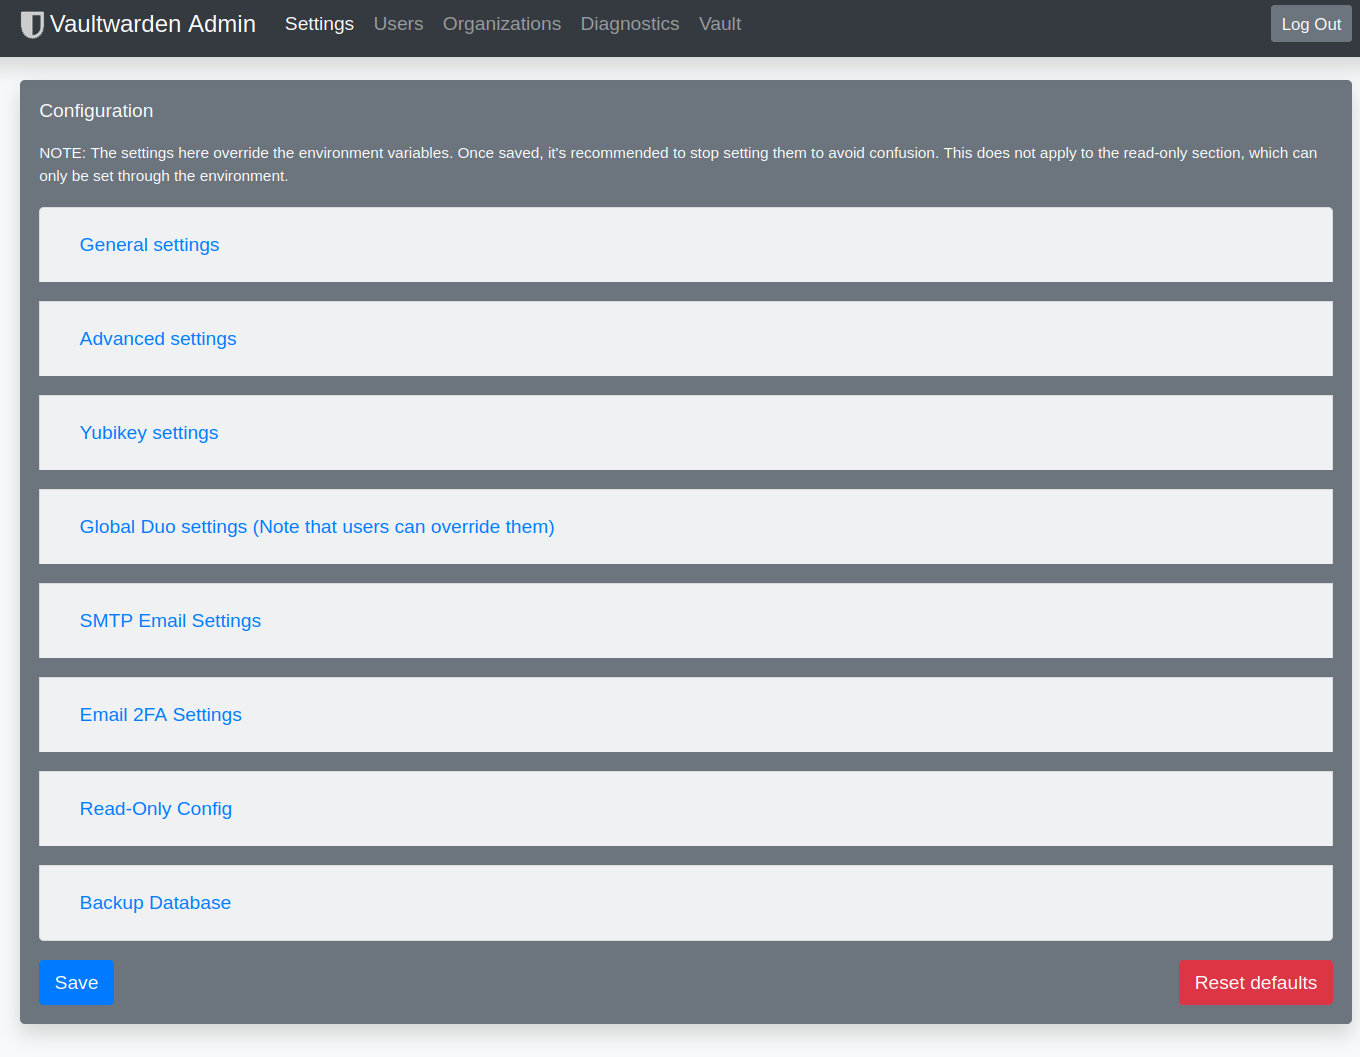
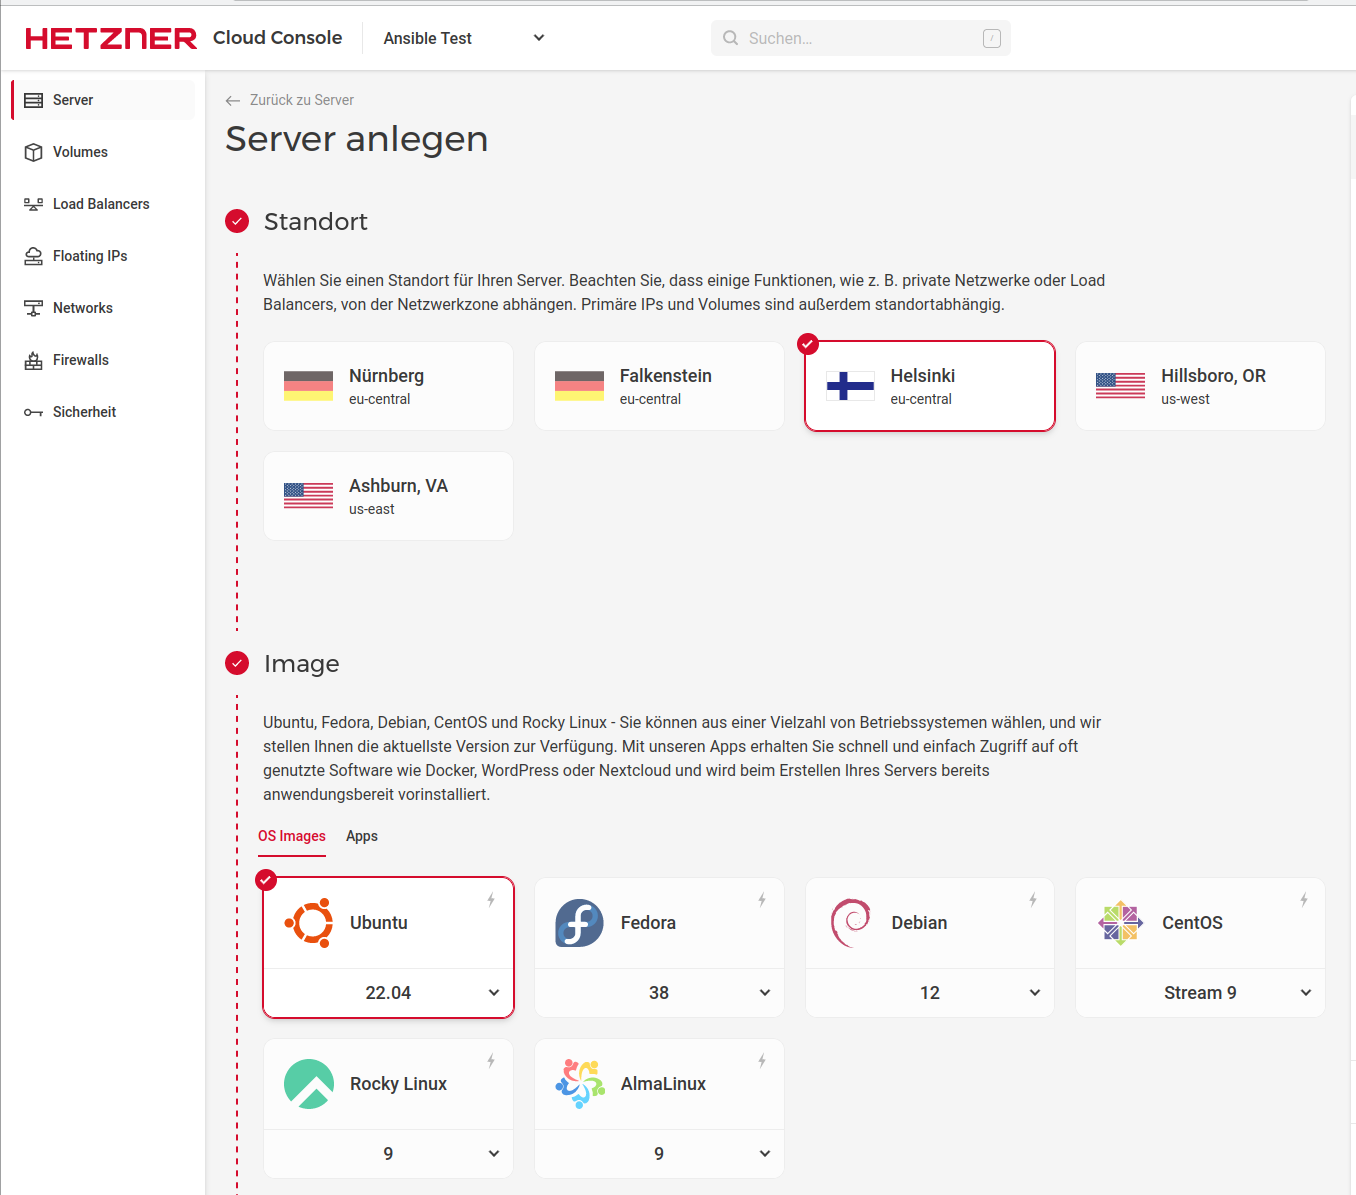
  • Der Vaultwarden läuft jetzt auf einem Arm64 Server (CAX11) von Hetzner - bis jetzt ohne Probleme. Habe jetzt auch den Vault im FF umgestellt um ihn produktiv zu nutzen / testen.

    Bei der Installation des Debian Paketes kam das hier

    Adding new group `vaultwarden' (GID 113) ...
    configuration error - unknown item 'NONEXISTENT' (notify administrator)
    configuration error - unknown item 'PREVENT_NO_AUTH' (notify administrator)
    Adding new user `vaultwarden' (UID 106) with group `vaultwarden' ...
    configuration error - unknown item 'NONEXISTENT' (notify administrator)
    configuration error - unknown item 'PREVENT_NO_AUTH' (notify administrator)
    Creating home directory `/var/lib/vaultwarden' ...
    

    Das hat sich aber, zumindestens bis jetzt, nicht negativ ausgewirkt.

    Kernel Version

    root@vaultwarden:~# uname -a
    Linux vaultwarden-4gb-fsn1-1 6.1.0-7-arm64 #1 SMP Debian 6.1.20-2 (2023-04-08) aarch64 GNU/Linux
    

    Debian Version

    root@vaultwarden:/etc# cat debian_version 
    12.0
    

    Anmerkung

    NGINX ist noch aus dem Debian Repo installiert. Normalerweise installiere ich von der NGINX Seite den Stable Release. Aber für Bookworm stand noch nichts zur Verfügung. Kommt dann sicherlich im Juni, wenn der Release von Debian Bookworm 12 ist.

    Warnung

    Debian Bookworm 12 ist noch nicht für den produktiven Einsatz vorgesehen! Also, auf eigenes Risiko testen!!

  • FrankMF FrankM hat am auf dieses Thema verwiesen
  • arm64 wird jetzt offiziell unterstützt!
    Einfach die bekannte Anleitung befolgen: https://bitwarden-deb.tech-network.de/

    arm64 wird ebenfalls für die bekannten Plattformen (Debian 10 bis 12 und Ubuntu 20.04 sowie 22.04) bereitgestellt.

  • Ich hatte ja das Testpaket installiert. Vorgehensweise

    apt remove vaultwarden
    apt install vaultwarden
    

    Bei mir war danach alles wie vorher. Config, DB, alles noch vorhanden.

    root@:/var/lib/vaultwarden# apt remove vaultwarden 
    Reading package lists... Done
    Building dependency tree... Done
    Reading state information... Done
    The following packages will be REMOVED:
      vaultwarden
    0 upgraded, 0 newly installed, 1 to remove and 0 not upgraded.
    After this operation, 0 B of additional disk space will be used.
    Do you want to continue? [Y/n] 
    (Reading database ... 42444 files and directories currently installed.)
    Removing vaultwarden (1.28.1-1-buster) ...
    
    root@:/var/lib/vaultwarden# apt install vaultwarden
    Reading package lists... Done
    Building dependency tree... Done
    Reading state information... Done
    The following NEW packages will be installed:
      vaultwarden
    0 upgraded, 1 newly installed, 0 to remove and 0 not upgraded.
    Need to get 14.6 MB of archives.
    After this operation, 0 B of additional disk space will be used.
    Get:1 http://bitwarden-deb.tech-network.de bookworm/main arm64 vaultwarden arm64 1.28.1-1-bookworm [14.6 MB]
    Fetched 14.6 MB in 0s (96.2 MB/s)    
    Selecting previously unselected package vaultwarden.
    (Reading database ... 42145 files and directories currently installed.)
    Preparing to unpack .../vaultwarden_1.28.1-1-bookworm_arm64.deb ...
    Unpacking vaultwarden (1.28.1-1-bookworm) ...
    Setting up vaultwarden (1.28.1-1-bookworm) ...
    adduser: Warning: The home dir /var/lib/vaultwarden you specified already exists.
    The system user `vaultwarden' already exists. Exiting.
    

    Danach zur Sicherheit noch den Dienst neugestartet

    systemctl restart vaultwarden
    

    Fertig!

  • Hi,
    habe mein bisheriges ARM Testpaket auch entsprechend neu angepasst. Läuft...

  • @hase567 Danke für's Testen!

    Ich werde am Wochenende meinen alten Server löschen, dann läuft der Vaultwarden auf dem Arm64-Server von Hetzner mit Debian Bookworm 12 😉

  • In den Release Notes für die Version 1.29.0 steht folgendes

    WebSocket notifications now work via the default HTTP port. No need for WEBSOCKET_ENABLED and a separate port anymore.
    The proxy examples still need to be updated for this. Support for the old websockets port 3012 will remain for the time being.

    Das heißt, folgendes brauchen wir nicht mehr.

    /etc/vaultwarden/config.env

    ## Enables websocket notifications
    #WEBSOCKET_ENABLED=true
    
    ## Controls the WebSocket server address and port
    #WEBSOCKET_ADDRESS=127.0.0.1
    #WEBSOCKET_PORT=3012
    

    /etc/nginx/sites-enabled/default

    #    location /notifications/hub {
    #        proxy_pass http://127.0.0.1:3012;
    #        proxy_set_header Upgrade $http_upgrade;
    #        proxy_set_header Connection "upgrade";
    #    }
    

    Danach alles mal durchstarten 😉

  • Und schon wieder aktuell Danke @Nico

  • Und wieder aktuell Danke @Nico

    ~# vaultwarden -v
    vaultwarden 1.29.2
    
  • FrankMF FrankM hat am auf dieses Thema verwiesen
  • @Nico ist dran, am Update für

    Dabei musste er ganz ordentlich das Build Script umbauen. Als dann fast alles fertig war, gab es Docker nicht mehr 😉

    Geduld, sollte die Tage fertig sein.

  • Alles on, läuft alles. Danke @Nico

  • Immer wieder gerne. Dieses mal gab es richtig etwas zu tun:
    13 files changed, 137 insertions(+), 96 deletions(-)
    Und das nur, damit es überhaupt wieder baut. Danach folgten noch 5 Bugfixing Runden, wobei zwei davon (lediglich) das Packaging betrafen.

    Ergänzend noch ein Hinweis:
    Port 3012 für die Websocket Verbindungen ist jetzt offiziell deprecated und wird demnächst vollständig aus Vaultwarden entfernt. Genau jetzt wäre der richtige Zeitpunkt die Apache/Nginx Konfiguration dahingehend anzupassen.

    Hierfür habe ich neue Templates online gestellt.
    Apache: https://bitwarden-deb.tech-network.de/Apache-VirtualHost.example.conf
    Nginx: https://bitwarden-deb.tech-network.de/Nginx-VirtualHost.example.conf

    Schönen Sonntag!

  • Update 1.30.3 released

    Vaultwarden
    1
    0 Stimmen
    1 Beiträge
    95 Aufrufe
    Niemand hat geantwortet
  • Manjaro Stable-Update vom 20.02.23

    Linux
    2
    0 Stimmen
    2 Beiträge
    105 Aufrufe
    FrankMF

    Ich konnte es nicht lassen, ich habe es mal getestet.

       ~  docker version  ✔  1m 37s  Client: Version: 23.0.1 API version: 1.42 Go version: go1.20 Git commit: a5ee5b1dfc Built: Sat Feb 11 13:58:04 2023 OS/Arch: linux/amd64 Context: default

    In der aktuellen systemd Datei steht folgendes drin. Bei mir zu finden unter /usr/lib/systemd/system/docker.service

    LimitNOFILE=infinity LimitNPROC=infinity LimitCORE=infinity

    Die override Dateien angelegt und durchgestartet. Läuft alles einwandfrei. Aber bitte fragt mich nicht, was dieser Wert da oben macht. Ich habe keine Ahnung.

    Update: Erklärung zu ulimits https://stackoverflow.com/questions/62127643/need-understand-ulimits-nofile-setting-in-host-and-container

  • Portainer - NodeBB Container erstellen

    Linux
    1
    0 Stimmen
    1 Beiträge
    319 Aufrufe
    Niemand hat geantwortet
  • Debian Buster 10.8 released

    Linux
    1
    0 Stimmen
    1 Beiträge
    208 Aufrufe
    Niemand hat geantwortet
  • OpenWrt - Sysupgrade

    OpenWRT & Ubiquiti ER-X
    1
    0 Stimmen
    1 Beiträge
    235 Aufrufe
    Niemand hat geantwortet
  • VSCodium

    Linux
    1
    0 Stimmen
    1 Beiträge
    234 Aufrufe
    Niemand hat geantwortet
  • ClusterSSH

    Angeheftet Linux
    4
    0 Stimmen
    4 Beiträge
    814 Aufrufe
    FrankMF

    Mal wieder lange dran rumgefummelt, bis es passte.

    I have figured out how to use any font in xterm. So for the case of the mentioned Inconsolata font size 14, the following works:

    Add these 2 lines into ~/.Xresources (create it if it does not exist)

    XTermfaceName: Inconsolata
    XTermfaceSize: 14

    Then, tell xterm to use this file:

    export XENVIRONMENT="${HOME}/.Xresources"

    Preferably add this export into .bashrc, so that it is persistent.

    comment out the font settings in ~/.clusterssh/config, if it exists: # terminal_font=6x13

    Quelle: https://unix.stackexchange.com/questions/230106/cluster-ssh-specify-terminal-font

  • Restic - forget --keep-last 3 --prune

    Restic
    2
    0 Stimmen
    2 Beiträge
    598 Aufrufe
    FrankMF

    Ich habe mich damit noch ein wenig beschäftigt, die letzten drei zu behalten, ist nicht so optimal. Da es viele Optionen bei dem Befehl gibt, hier ein Ausschnitt

    Flags: -l, --keep-last n keep the last n snapshots -H, --keep-hourly n keep the last n hourly snapshots -d, --keep-daily n keep the last n daily snapshots -w, --keep-weekly n keep the last n weekly snapshots -m, --keep-monthly n keep the last n monthly snapshots -y, --keep-yearly n keep the last n yearly snapshots

    habe ich das ein wenig so angepasst, das ich denke es passt für mich.

    restic --password-file /root/passwd -r /media/NAS_neu/Restic/Home/ forget --keep-last 3 --keep-monthly 3 --prune

    Damit behalte ich auch die jeweils eines pro Monat. Und die letzten drei. Das sieht dann so aus.

    root@debian:~# ./backup2.sh repository 2f3f6147 opened successfully, password is correct Files: 38 new, 100 changed, 13268 unmodified Dirs: 0 new, 1 changed, 0 unmodified Added to the repo: 10.166 GiB processed 13406 files, 50.324 GiB in 3:24 snapshot 849f614c saved repository 2f3f6147 opened successfully, password is correct Applying Policy: keep the last 3 snapshots, 3 monthly snapshots snapshots for (host [debian], paths [/home/frank]): keep 5 snapshots: ID Time Host Tags Reasons Paths ------------------------------------------------------------------------------------ a7251cfd 2019-11-28 17:00:01 debian monthly snapshot /home/frank 283d4027 2019-12-31 17:00:01 debian monthly snapshot /home/frank ae2b96ec 2020-01-01 21:47:46 debian last snapshot /home/frank 079e00a6 2020-01-02 17:00:01 debian last snapshot /home/frank 849f614c 2020-01-03 21:08:45 debian last snapshot /home/frank monthly snapshot ------------------------------------------------------------------------------------ 5 snapshots remove 26 snapshots: ID Time Host Tags Paths ------------------------------------------------------------------ 896f16c2 2019-11-07 22:23:40 debian /home/frank b21bcf6d 2019-11-11 17:00:01 debian /home/frank f89248fb 2019-11-12 17:00:01 debian /home/frank 123ab546 2019-11-13 17:00:01 debian /home/frank b82d87d0 2019-11-18 17:00:01 debian /home/frank 040b0ab7 2019-11-19 17:00:01 debian /home/frank 7221d8ef 2019-11-20 17:00:01 debian /home/frank 84132a25 2019-11-21 17:00:01 debian /home/frank b558a52c 2019-11-25 17:00:01 debian /home/frank e5cc0c3e 2019-12-02 17:00:01 debian /home/frank 22423fa5 2019-12-03 17:00:01 debian /home/frank 39df1ab9 2019-12-04 17:00:01 debian /home/frank 98843457 2019-12-05 17:00:01 debian /home/frank b0cdd4b6 2019-12-09 17:00:01 debian /home/frank 828414f9 2019-12-10 17:00:01 debian /home/frank e34a27c3 2019-12-11 17:00:01 debian /home/frank 6e488c3b 2019-12-12 17:00:01 debian /home/frank 17898403 2019-12-16 17:00:01 debian /home/frank 1973305a 2019-12-17 17:00:01 debian /home/frank 9553bedd 2019-12-18 17:00:01 debian /home/frank fedf749d 2019-12-19 17:00:01 debian /home/frank 8e7cb876 2019-12-23 17:00:01 debian /home/frank 0bd0d102 2019-12-25 17:00:01 debian /home/frank 13d348b0 2019-12-26 17:00:01 debian /home/frank c7d960aa 2019-12-30 17:00:01 debian /home/frank f6ea9118 2020-01-01 17:00:01 debian /home/frank ------------------------------------------------------------------ 26 snapshots 26 snapshots have been removed, running prune counting files in repo building new index for repo [0:35] 100.00% 7806 / 7806 packs repository contains 7806 packs (46537 blobs) with 41.110 GiB processed 46537 blobs: 0 duplicate blobs, 0 B duplicate load all snapshots find data that is still in use for 5 snapshots [0:01] 100.00% 5 / 5 snapshots found 32654 of 46537 data blobs still in use, removing 13883 blobs will remove 0 invalid files will delete 715 packs and rewrite 752 packs, this frees 5.027 GiB [2:28] 100.00% 752 / 752 packs rewritten counting files in repo [0:01] 100.00% 6571 / 6571 packs finding old index files saved new indexes as [d137b425 f7caee99 a6e9711a] remove 35 old index files [1:13] 100.00% 1467 / 1467 packs deleted done using temporary cache in /tmp/restic-check-cache-916655151 repository 2f3f6147 opened successfully, password is correct created new cache in /tmp/restic-check-cache-916655151 create exclusive lock for repository load indexes check all packs check snapshots, trees and blobs read all data [7:47] 100.00% 6571 / 6571 items duration: 7:47 no errors were found root@debian:~#

    Am Ende seht ihr noch, wie Restic alle Files testet. Mein Script sieht jetzt so aus.

    #!/bin/bash # Script um mit Restic Daten automatisiert zu sichern! # Dient zum Sichern der Homepartition auf dem ROCKPro64 NAS! # Was soll gesichert werden? backup_pfad=/home/frank # Programm Start restic --password-file /root/passwd -r /media/NAS_neu/Restic/Home/ backup $backup_pfad --exclude-file=excludes.txt restic --password-file /root/passwd -r /media/NAS_neu/Restic/Home/ forget --keep-last 3 --keep-monthly 3 --prune # Testen restic --password-file /root/passwd -r /media/NAS_neu/Restic/Home/ check --read-data

    Das dann schön mit einem Cronjob laufen lassen und die Datensicherung ist erledigt 😉