Mastodon - Beiträge des NodeBB-Forums automatisiert posten
-
Das Beispiel oben habe ich mit curl gesendet.
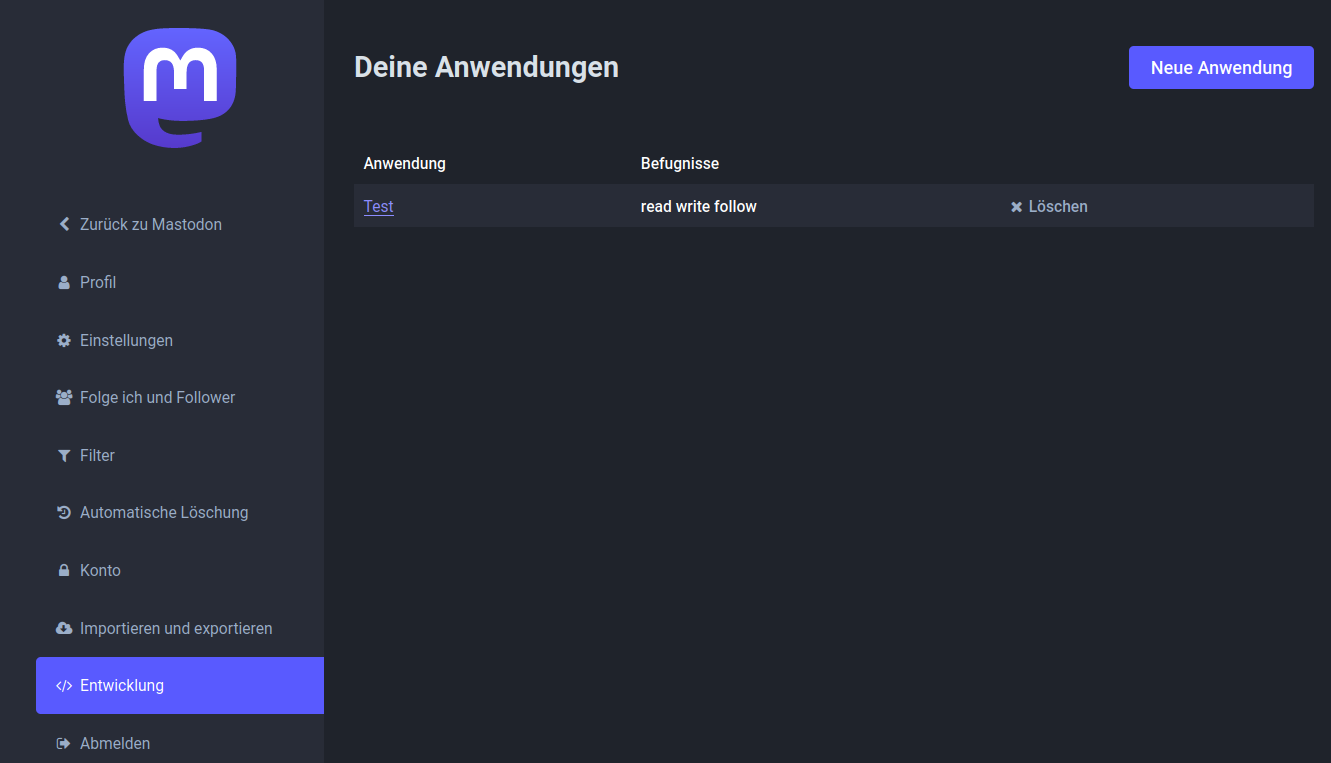
curl -H 'Authorization: Bearer <Zugangs-Token>' https://nrw.social/api/v1/statuses -F 'status=Just posted a new blog: {{EntryTitle}} - {{EntryUrl}}'Den Token kann man sich hier erzeugen.

Jetzt suche ich noch nach einer praktikablen Lösung, das ganze zu automatisieren.
-
Mal OpenAI gefragt

import requests import json if __name__ == '__main__': # Replace these with your actual Mastodon credentials and access token MASTODON_INSTANCE = 'https://nrw.social' ACCESS_TOKEN = 'ACCESS-TOKEN' def send_to_mastodon(topic_title, topic_content): try: mastodon_api = f"{MASTODON_INSTANCE}/api/v1/statuses" status = f"New Topic: {topic_title}\n\n{topic_content}\n\n#Python #NewTopic" # Use the Mastodon access token for authorization headers = {'Authorization': f'Bearer {ACCESS_TOKEN}'} data = {'status': status} # Send the status update to Mastodon response = requests.post(mastodon_api, headers=headers, data=data) response.raise_for_status() print('Posted to Mastodon:', response.json()) except requests.exceptions.RequestException as e: print('Error posting to Mastodon:', e) # Example usage when creating a new topic in Python topic_title = 'Hello Mastodon' topic_content = 'This is my first post from Python to Mastodon!' send_to_mastodon(topic_title, topic_content) -
Und dann mal gefragt, wie ich an die letzte Topic ID komme.
import redis

# Replace these with your actual Redis configuration
REDIS_HOST = 'localhost'
REDIS_PORT = 6379
REDIS_DB = 0

def get_last_topic_id():
    try:
        # Connect to the Redis database
        r = redis.StrictRedis(host=REDIS_HOST, port=REDIS_PORT, db=REDIS_DB)

        # Get the last Topic ID from the Redis list
        last_topic_id = r.lindex('topics:tid', -1)

        if last_topic_id is not None:
            last_topic_id = int(last_topic_id.decode())
            return last_topic_id
        else:
            print('No Topics found in Redis database.')
            return None
    except redis.exceptions.RedisError as e:
        print('Error connecting to Redis:', e)
        return None

# Example usage
last_topic_id = get_last_topic_id()
if last_topic_id is not None:
    print('Last Topic ID:', last_topic_id)
Ok, das werde ich dann am WE mal testen und in was Brauchbares umsetzen.
-
Ok, das OpenAI muss auch gefüttert werden, sonst kommt man da auch nicht weiter.
Das obere Beispiel muss erst mal um eine Authentifizierung erweitert werden.
# Replace these with your actual Redis configuration
REDIS_HOST = 'localhost'
REDIS_PORT = 6380
REDIS_DB = 0
REDIS_PASSWORD =  "<PASSWORD>"
und
# Connect to the Redis database with authentication (if required)
r = redis.StrictRedis(host=REDIS_HOST, port=REDIS_PORT, db=REDIS_DB, password=REDIS_PASSWORD)
Ok, war einfach. Danach kam folgende Fehlermeldung.
:~/mastodon$ python3 main.py
Erfolg Redis<ConnectionPool<Connection<host=localhost,port=6380,db=0>>>
Error connecting to Redis: WRONGTYPE Operation against a key holding the wrong kind of value
Was das sein soll kann ich mir vorstellen, aber was nun? OK, OpenAI bitte arbeiten

Darf man das von OpenAI einfach posten? Ach, da die auch keinen Quellenangaben haben und alles nur geklaut ist, kann ich das auch machen

The error message "WRONGTYPE Operation against a key holding the wrong kind of value" in Redis typically occurs when you try to perform an operation on a key with a data type that is incompatible with that operation. In the context of NodeBB, this error might occur if the 'topics:tid' key is expected to be a Redis list, but it contains data of a different type.

To investigate and resolve this issue, you can take the following steps:

    Check the data type of the 'topics:tid' key: Use the Redis CLI to inspect the data type of the key to verify if it is indeed a list. Open a terminal or command prompt and run the following command:

    bash

redis-cli

Then, in the Redis CLI, check the data type of the key:

bash

    TYPE topics:tid

    The response should be "list" if the key is of the correct type. If it is not a list, this could be the cause of the error.

    Confirm NodeBB's usage of the key: Ensure that NodeBB is using the 'topics:tid' key as a list and not attempting to use it as a different data type. Check your NodeBB codebase or any plugins that might interact with this key to ensure that they treat it as a list.

    Clean up the incorrect data: If you find that the data in the 'topics:tid' key is of the wrong type, you might need to clean up the data. Be cautious when doing this to avoid data loss. If you are not sure about the correct approach, consider seeking help from NodeBB community forums or relevant documentation.

    Re-populate the correct data: After resolving any data type issues, you may need to re-populate the 'topics:tid' key with the correct data. NodeBB should handle this automatically when users create new topics, but if necessary, you can manually set the key to the correct value.

    Restart NodeBB: After making any changes, be sure to restart your NodeBB server to ensure that the changes take effect.

Remember that modifying the Redis data directly can be risky, so it's essential to have backups and exercise caution while making any changes. If you are uncertain about how to proceed, seeking assistance from experienced NodeBB developers or the community can be beneficial.
Ok, testen wir den Typ auf der Konsole.
redis-cli -p 6380
127.0.0.1:6380> AUTH default <PASSWORD>
127.0.0.1:6380> OK
127.0.0.1:6380> TYPE topics:tid
zset
127.0.0.1:6380> exit
Ok, nun weiß ich das der Datensatz vom Type zset ist. Wir füttern wieder die Maschine.
If the Redis key 'topics:tid' is of type "zset" (sorted set), the "WRONGTYPE Operation against a key holding the wrong kind of value" error could occur if you're trying to perform an operation on it that's only applicable to lists or other data types.

In a sorted set, the elements are stored in such a way that they are ordered based on a score. Each element has a score associated with it, and the elements are sorted based on this score. This data structure is quite different from a list, which stores elements in a specific order without any associated scores.

To resolve the issue, you need to ensure that the operations you perform on the 'topics:tid' key are appropriate for a sorted set data type.

If you intended to use the sorted set for holding the topic IDs, here's how you can get the last topic ID from a sorted set in Python using the redis library:

python

import redis

# Replace these with your actual Redis configuration and password (if any)
REDIS_HOST = 'localhost'
REDIS_PORT = 6379
REDIS_DB = 0
REDIS_PASSWORD = 'your-redis-password'  # Set to None if no password is used

def get_last_topic_id():
    try:
        # Connect to the Redis database with authentication (if required)
        r = redis.StrictRedis(host=REDIS_HOST, port=REDIS_PORT, db=REDIS_DB, password=REDIS_PASSWORD)

        # Get the last Topic ID from the sorted set
        last_topic_id = r.zrange('topics:tid', -1, -1, withscores=True)

        if last_topic_id:
            last_topic_id = int(last_topic_id[0][0].decode())
            return last_topic_id
        else:
            print('No Topics found in the sorted set.')
            return None
    except redis.exceptions.RedisError as e:
        print('Error connecting to Redis:', e)
        return None

# Example usage
last_topic_id = get_last_topic_id()
if last_topic_id is not None:
    print('Last Topic ID:', last_topic_id)

In this code, we use the zrange command to retrieve the last element (topic ID) from the sorted set 'topics:tid' with the optional withscores=True parameter to also get the score associated with it (although in this case, the score might not be used).

Make sure to replace 'localhost' and 6379 with the appropriate host and port where your Redis server is running, and set REDIS_DB to the appropriate database number used by NodeBB (usually 0). Also, replace 'your-redis-password' with the actual password used for authentication, or set it to None if no password is required.
Das danach in mein Python Script eingefügt und ausprobiert.
~/mastodon$ python3 main.py
Last Topic ID: 1456
Kontrolle, der letzte Beitrag in meinem Forum ist folgender.

Mastodon - Beiträge des NodeBB-Forums automatisiert posten
Ein Anfang wird noch ausführlicher, aber jetzt ist Feierabend für heute.
linux-nerds.org (linux-nerds.org)
Passt
 Jetzt kann ich weitermachen.
 -
 F FrankM hat am auf dieses Thema verwiesen
-
 F FrankM hat am auf dieses Thema verwiesen
-
Das kleine Projekt ist erfolgreich beendet.

So bald ich den Code bereinigt habe, werde ich den bei gitlab.com einstellen, das es sich jeder Interessierte dort kopieren kann. Es kommt auch noch eine ausführliche Anleitung dazu.
-
Das versprochene Gitlab Repository https://gitlab.com/Bullet64/nodebb_post_to_mastodon
Viel Spaß beim Testen

-
Uupps, da hat noch ein Test auf nicht erlaubte Kategorien gefehlt. Ich habe hier z.B. einen privaten Bereich, blöd wenn man das dann nach Mastodon schiebt, es aber niemand lesen kann weil ihm die Rechte fehlen.
Die Kategorien kann man in der config.py eintragen.


