Skip to content

Restic v0.17.0 released

Restic
1 1 174
  • Restic v0.17.0 released

    • Fix #3600: Handle unreadable xattrs in folders above backup source
    • Fix #4209: Fix slow SFTP upload performance
    • Fix #4503: Correct hardlink handling in stats command
    • Fix #4568: Prevent forget --keep-tags <invalid> from deleting all snapshots
    • Fix #4615: Make find not sometimes ignore directories
    • Fix #4656: Properly report ID of newly added keys
    • Fix #4703: Shutdown cleanly when receiving SIGTERM
    • Fix #4709: Correct --no-lock handling of ls and tag commands
    • Fix #4760: Fix possible error on concurrent cache cleanup
    • Fix #4850: Handle UTF-16 password files in key command correctly
    • Fix #4902: Update snapshot summary on rewrite
    • Chg #956: Return exit code 10 and 11 for non-existing and locked repository
    • Chg #4540: Require at least ARMv6 for ARM binaries
    • Chg #4602: Deprecate legacy index format and s3legacy repository layout
    • Chg #4627: Redesign backend error handling to improve reliability
    • Chg #4707: Disable S3 anonymous authentication by default
    • Chg #4744: Include full key ID in JSON output of key list
    • Enh #662: Optionally skip snapshot creation if nothing changed
    • Enh #693: Include snapshot size in snapshots output
    • Enh #805: Add bitrot detection to diff command
    • Enh #828: Improve features of the repair packs command
    • Enh #1786: Support repositories with empty password
    • Enh #2348: Add --delete option to restore command
    • Enh #3067: Add extended options to configure Windows Shadow Copy Service
    • Enh #3406: Improve dump performance for large files
    • Enh #3806: Optimize and make prune command resumable
    • Enh #4006: (alpha) Store deviceID only for hardlinks
    • Enh #4048: Add support for FUSE-T with mount on macOS
    • Enh #4251: Support reading backup from a command's standard output
    • Enh #4287: Support connection to rest-server using unix socket
    • Enh #4354: Significantly reduce prune memory usage
    • Enh #4437: Make check command create non-existent cache directory
    • Enh #4472: Support AWS Assume Role for S3 backend
    • Enh #4547: Add --json option to version command
    • Enh #4549: Add --ncdu option to ls command
    • Enh #4573: Support rewriting host and time metadata in snapshots
    • Enh #4583: Ignore s3.storage-class archive tiers for metadata
    • Enh #4590: Speed up mount command's error detection
    • Enh #4601: Add support for feature flags
    • Enh #4611: Back up more file metadata on Windows
    • Enh #4664: Make ls use message_type field in JSON output
    • Enh #4676: Make key command's actions separate sub-commands
    • Enh #4678: Add --target option to the dump command
    • Enh #4708: Back up and restore SecurityDescriptors on Windows
    • Enh #4733: Allow specifying --host via environment variable
    • Enh #4737: Include snapshot ID in reason field of forget JSON output
    • Enh #4764: Support forgetting all snapshots
    • Enh #4768: Allow specifying custom User-Agent for outgoing requests
    • Enh #4781: Add restore options to read include/exclude patterns from files
    • Enh #4807: Support Extended Attributes on Windows NTFS
    • Enh #4817: Make overwrite behavior of restore customizable
    • Enh #4839: Add dry-run support to restore command

    Wow, das sind ne Menge Änderungen. Nachlesen könnt ihr das -> https://github.com/restic/restic/releases/tag/v0.17.0

    Auf Systemen, wo die Möglichkeit nicht unterbunden wird, z.B. meine Manjaro Installation, kann man Restic sehr einfach aktualisieren.

    root@:~# restic self-update
    writing restic to /usr/bin/restic
    find latest release of restic at GitHub
    latest version is 0.17.0
    download SHA256SUMS
    download SHA256SUMS.asc
    GPG signature verification succeeded
    download restic_0.17.0_linux_arm64.bz2
    downloaded restic_0.17.0_linux_arm64.bz2
    saved 24838296 bytes in /usr/bin/restic
    successfully updated restic to version 0.17.0
    

    Versions Kontrolle

    root@:~# restic version
    restic 0.17.0 compiled with go1.22.5 on linux/arm64
    

    Aktuell habe ich nur einen Server aktualisiert, werde das aber über das Wochenende überall aktualisieren. Ich erwarte da ja auch keineProbleme mit. Restic FTW 🙂

  • 0 Stimmen
    1 Beiträge
    0 Aufrufe
    Niemand hat geantwortet
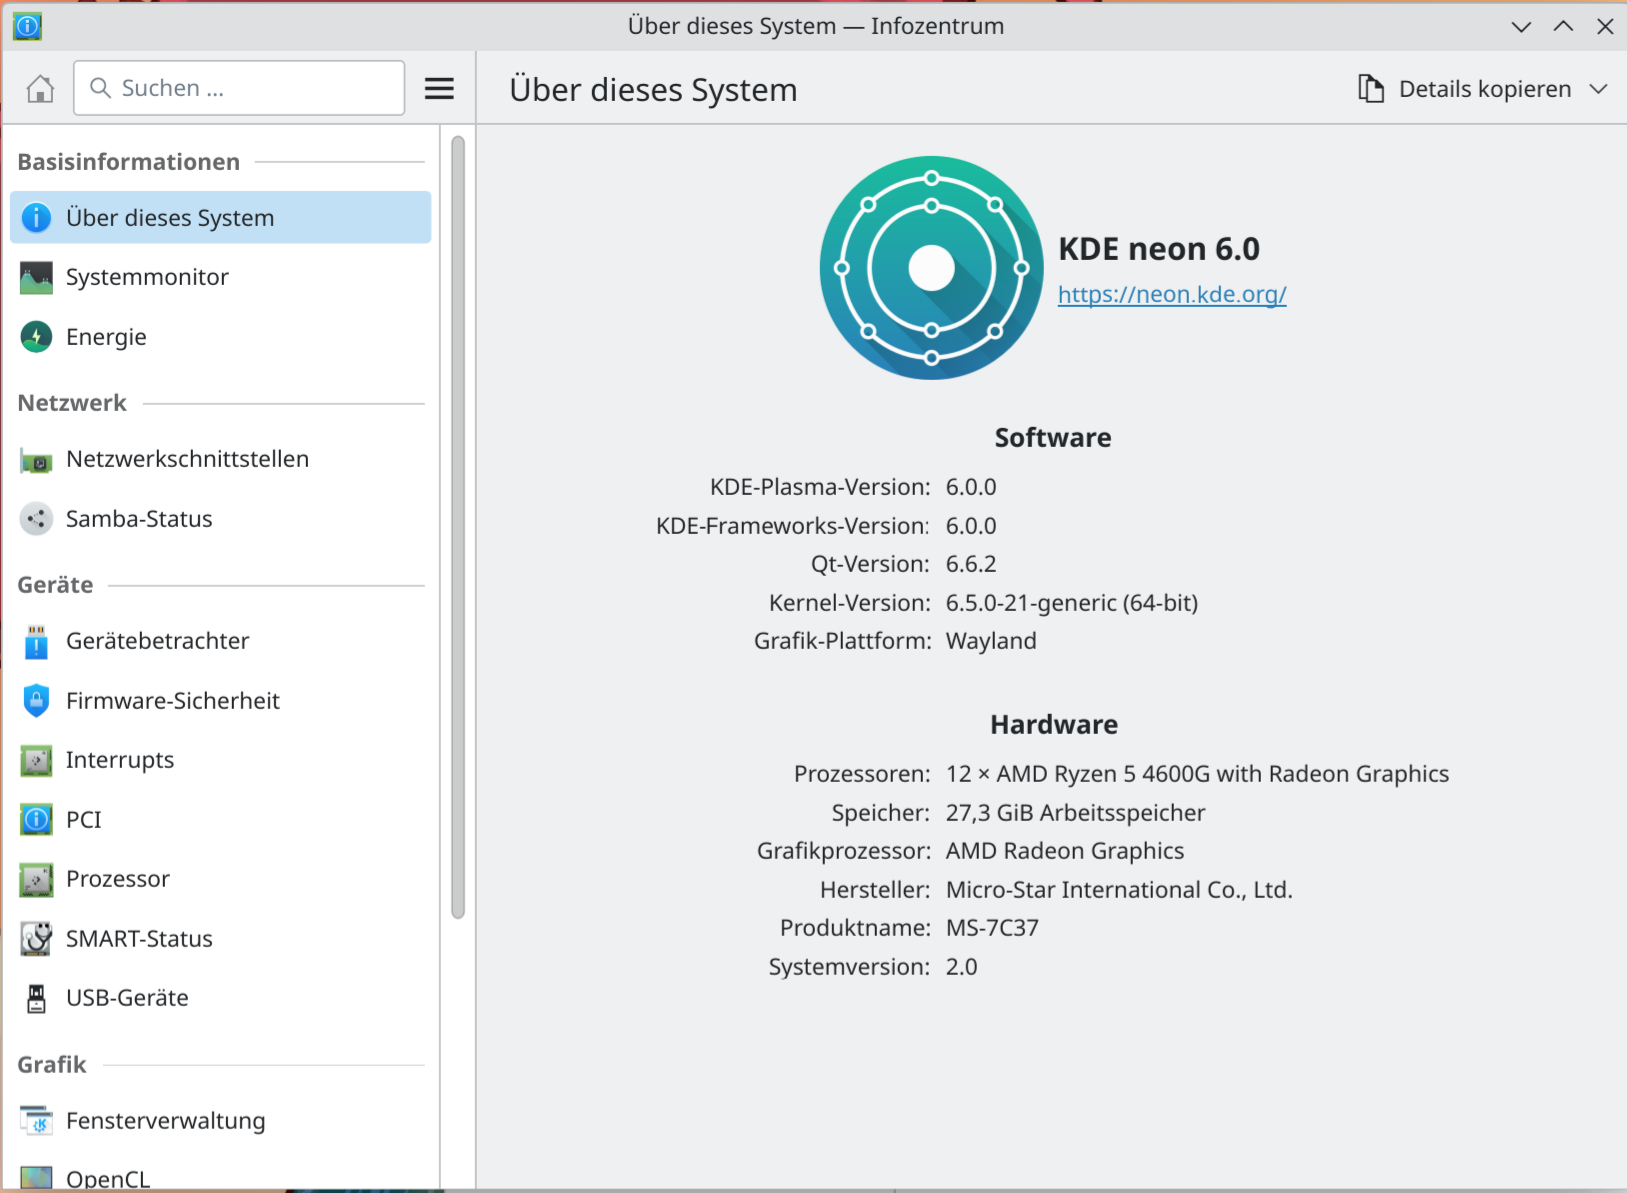
  • KDE neon 6.0

    Linux kde plasma6 linux
    2
    1
    0 Stimmen
    2 Beiträge
    326 Aufrufe
    FrankMF
    Heute mal in die bestehende Installation meine Intel ARC A580 GPU eingesteckt. Wollte mal schauen ob das gut klappt. Da die Treiber ja im Kernel vorhanden sind, habe ich keinerlei Probleme erwartet. Und so war es auch. Neustart und fertig. Im BIOS natürlich vorher umgestellt, das sie auch benutzt wird, habe ja einen AMD Prozessor mit eingebauter GPU im CPU-Sockel stecken. [image: 1709458279730-screenshot_20240303_101728.png] Die Wechselfunktion (oben links in der Ecke) um die virtuellen Desktops zu wechseln und zu bearbeiten ist richtig gut geworden. [image: 1709458292090-screenshot_20240303_101809-resized.png] Und auch ein Ärgernis auf meiner KDE Plasma Installation scheint weg zu sein. Wenn ich ein Programm zur Arbeitsfläche hinzugefügt hatte, wurde die Position immer irgendwann zurückgesetzt. Beispiel, Icon des Programmes rechts unten abgelegt. Irgendwann tauchte es dann in der normalen Ansicht (alphabetisch) sortiert, links oben, wieder auf. Sehr nerviger Bug.
  • RISC-V

    VisionFive 2 visionfive2 star64 linux
    1
    0 Stimmen
    1 Beiträge
    126 Aufrufe
    Niemand hat geantwortet
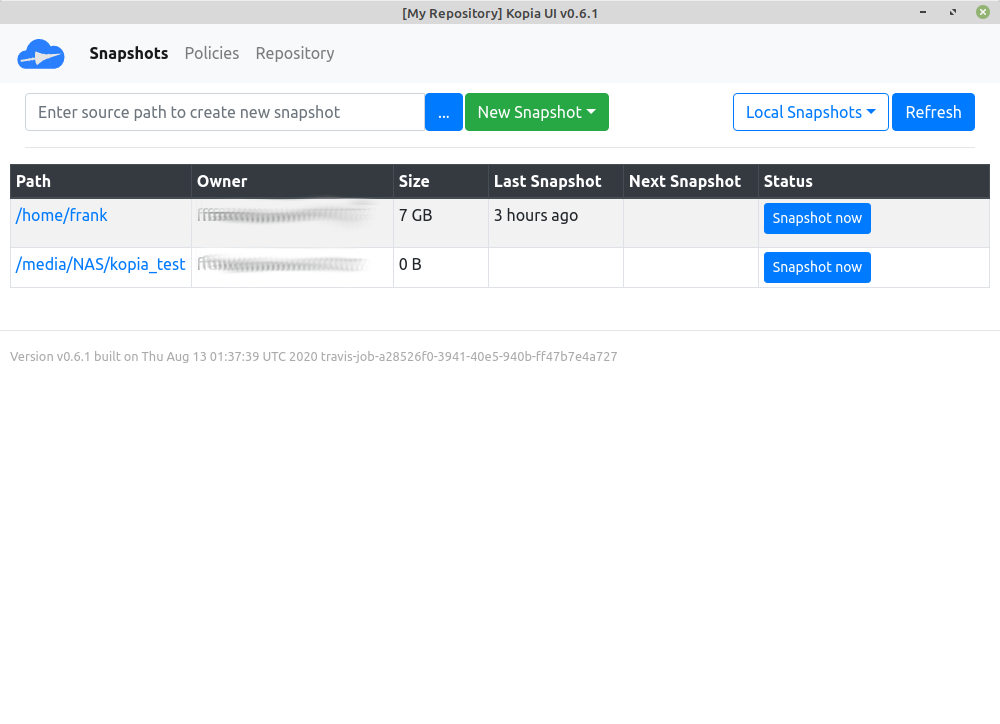
  • Kopia - Administrative Aufgaben

    Kopia kopia linux
    1
    0 Stimmen
    1 Beiträge
    312 Aufrufe
    Niemand hat geantwortet
  • Kopia - Mit Snapshots arbeiten

    Kopia linux kopi
    2
    4
    0 Stimmen
    2 Beiträge
    450 Aufrufe
    FrankMF
    Solltet Ihr mal snaps mit dem Status incomplete haben und möchtet diese loswerden :~$ kopia snap ls -i USER@HOST:/home/frank 2020-09-10 16:31:45 CEST k89770cab1061e00ada49efc41075ed34 incomplete:canceled 728.8 MB drwxr-xr-x files:8891 dirs:3033 (incomplete) 2020-09-10 16:40:05 CEST k27f028b63299983167cb0b4a0c85df80 incomplete:canceled 153.8 MB drwxr-xr-x files:1052 dirs:324 (incomplete) So was passiert z.B. wenn die Internetleitung rumzickt. Jarek meint, das wäre nicht schlimm, beim nächsten Snapshot wird das gefixt und die Daten genutzt, die schon verarbeitet wurden.
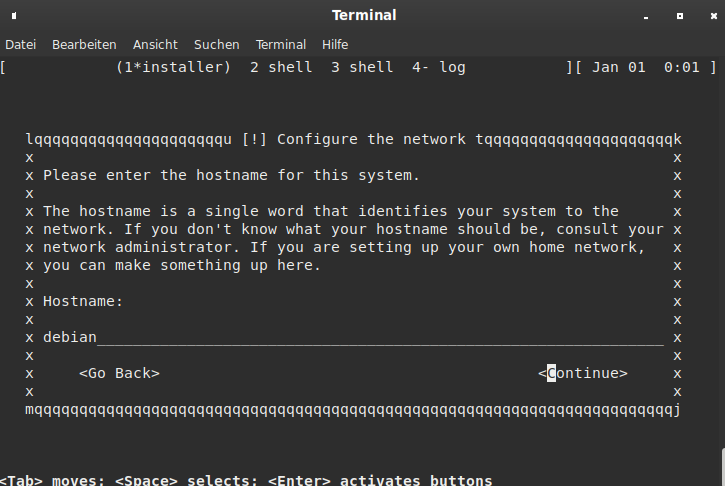
  • ROCKPro64 - Debian Bullseye Teil 1

    ROCKPro64 debian linux rockpro64
    17
    4
    0 Stimmen
    17 Beiträge
    2k Aufrufe
    FrankMF
    Durch diesen Beitrag ist mir mal wieder eingefallen, das wir das erneut testen könnten Also die aktuellen Daten von Debian gezogen. Das Image gebaut, könnt ihr alles hier im ersten Beitrag nachlesen. Da die eingebaute Netzwerkschnittstelle nicht erkannt wurde, habe ich mal wieder den USB-to-LAN Adapter eingesetzt. Bus 005 Device 002: ID 0b95:1790 ASIX Electronics Corp. AX88179 Gigabit Ethernet Die Installation wollte ich auf einem NVMe Riegel installieren. Die Debian Installation durchgezogen und nach erfolgreicher Installation neugestartet. Und siehe da, ohne das man alles möglich ändern musste, bootete die NVMe SSD Eingesetzter uboot -> 2020.01-ayufan-2013...... Die nicht erkannte LAN-Schnittstelle müsste an nicht freien Treibern liegen, hatte ich da irgendwo kurz gelesen. Beim Schreiben dieses Satzes kam die Nacht und ich konnte noch mal drüber schlafen. Heute Morgen, beim ersten Kaffee, dann noch mal logischer an die Sache ran gegangen. Wir schauen uns mal die wichtigsten Dinge an. root@debian:~# ip a 1: lo: <LOOPBACK,UP,LOWER_UP> mtu 65536 qdisc noqueue state UNKNOWN group default qlen 1000 link/loopback 00:00:00:00:00:00 brd 00:00:00:00:00:00 inet 127.0.0.1/8 scope host lo valid_lft forever preferred_lft forever inet6 ::1/128 scope host valid_lft forever preferred_lft forever 2: eth0: <BROADCAST,MULTICAST> mtu 1500 qdisc noop state DOWN group default qlen 1000 link/ether 62:03:b0:d6:dc:b3 brd ff:ff:ff:ff:ff:ff 3: enx000acd26e2c8: <BROADCAST,MULTICAST,UP,LOWER_UP> mtu 1500 qdisc pfifo_fast state UP group default qlen 1000 link/ether 00:0a:cd:26:e2:c8 brd ff:ff:ff:ff:ff:ff inet 192.168.3.208/24 brd 192.168.3.255 scope global dynamic enx000acd26e2c8 valid_lft 42567sec preferred_lft 42567sec inet6 fd8a:6ff:2880:0:20a:cdff:fe26:e2c8/64 scope global dynamic mngtmpaddr valid_lft forever preferred_lft forever inet6 2a02:908:1260:13bc:20a:xxxx:xxxx:xxxx/64 scope global dynamic mngtmpaddr valid_lft 5426sec preferred_lft 1826sec inet6 fe80::20a:cdff:fe26:e2c8/64 scope link valid_lft forever preferred_lft forever Ok, er zeigt mir die Schnittstelle eth0 ja an, dann kann es an fehlenden Treibern ja nicht liegen. Lässt dann auf eine fehlerhafte Konfiguration schließen. Nächster Halt wäre dann /etc/network/interfaces Das trägt Debian ein # This file describes the network interfaces available on your system # and how to activate them. For more information, see interfaces(5). source /etc/network/interfaces.d/* # The loopback network interface auto lo iface lo inet loopback # The primary network interface allow-hotplug enx000acd26e2c8 iface enx000acd26e2c8 inet dhcp # This is an autoconfigured IPv6 interface iface enx000acd26e2c8 inet6 auto Gut, bei der Installation hat Debian ja nur die zusätzliche Netzwerkschnittstelle erkannt, folgerichtig ist die auch als primäre Schnittstelle eingetragen. Dann ändern wir das mal... # This file describes the network interfaces available on your system # and how to activate them. For more information, see interfaces(5). source /etc/network/interfaces.d/* # The loopback network interface auto lo iface lo inet loopback # The primary network interface #allow-hotplug enx000acd26e2c8 allow-hotplug eth0 #iface enx000acd26e2c8 inet dhcp iface eth0 inet dhcp # This is an autoconfigured IPv6 interface #iface enx000acd26e2c8 inet6 auto iface eth0 inet6 auto Danach einmal alles neu starten bitte systemctl status networking Da fehlte mir aber jetzt die IPv4 Adresse, so das ich einmal komplett neugestartet habe. Der Ordnung halber, so hätte man die IPv4 Adresse bekommen. dhclient eth0 Nachdem Neustart kam dann das root@debian:/etc/network# ip a 1: lo: <LOOPBACK,UP,LOWER_UP> mtu 65536 qdisc noqueue state UNKNOWN group default qlen 1000 link/loopback 00:00:00:00:00:00 brd 00:00:00:00:00:00 inet 127.0.0.1/8 scope host lo valid_lft forever preferred_lft forever inet6 ::1/128 scope host valid_lft forever preferred_lft forever 2: eth0: <BROADCAST,MULTICAST,UP,LOWER_UP> mtu 1500 qdisc mq state UP group default qlen 1000 link/ether 62:03:b0:d6:dc:b3 brd ff:ff:ff:ff:ff:ff inet 192.168.3.172/24 brd 192.168.3.255 scope global dynamic eth0 valid_lft 42452sec preferred_lft 42452sec inet6 fd8a:6ff:2880:0:6003:b0ff:fed6:dcb3/64 scope global dynamic mngtmpaddr valid_lft forever preferred_lft forever inet6 2a02:908:1260:13bc:6003:xxxx:xxxx:xxxx/64 scope global dynamic mngtmpaddr valid_lft 5667sec preferred_lft 2067sec inet6 fe80::6003:b0ff:fed6:dcb3/64 scope link valid_lft forever preferred_lft forever 3: enx000acd26e2c8: <BROADCAST,MULTICAST> mtu 1500 qdisc noop state DOWN group default qlen 1000 link/ether 00:0a:cd:26:e2:c8 brd ff:ff:ff:ff:ff:ff Fertig, eth0 läuft. Nun kann man den zusätzlichen Adapter entfernen oder halt konfigurieren, wenn man ihn braucht. Warum der Debian Installer die eth0 nicht erkennt verstehe ich nicht, aber vielleicht wird das irgendwann auch noch gefixt. Jetzt habe ich erst mal einen Workaround um eine Installation auf den ROCKPro64 zu bekommen.
  • FAN control OMV Auyfan 0.10.12: gitlab-ci-linux-build-184, Kernel 5.6

    Linux linux
    12
    1 Stimmen
    12 Beiträge
    1k Aufrufe
    M
    Hi, since I'm currently change my rockpro64 setup I came across this. With the kernel from ayufan you need to set PWM_CTL to /sys/devices/platform/pwm-fan/hwmon/hwmon3/pwm1 for my self compiled one I need /sys/devices/platform/pwm-fan/hwmon/hwmon0/pwm1 But I got it only working with one entry for PWM_CTL e.g. PWM_CTL = "/sys/devices/platform/pwm-fan/hwmon/hwmon0/pwm1", after that you need to start ats again sudo systemctl stop ats sudo systemctl start ats initially the fan should start immediately for a short period of time. In case it is even a different one on your kernel you can find the right one using this command. sudo find /sys -name pwm1 | grep hwmon So far I'm not sure which kernel parameter or modul changes this. Martin
  • Wireguard

    Verschoben Wireguard linux rockpro64 wireguard
    4
    0 Stimmen
    4 Beiträge
    979 Aufrufe
    FrankMF
    Etwas schnellerer Weg den Tunnel aufzubauen, Voraussetzung wireguard modul installiert Keys erzeugt Danach dann einfach ip link add wg0 type wireguard wg setconf wg0 /etc/wireguard/wg0.conf Datei /etc/wireguard/wg0.conf [Interface] PrivateKey = <Private Key> ListenPort = 60563 [Peer] PublicKey = <Public Key Ziel> Endpoint = <IPv4 Adresse Zielrechner>:58380 AllowedIPs = 10.10.0.1/32 Die Rechte der Dateien von wireguard müssen eingeschränkt werden. sudo chmod 0600 /etc/wireguard/wg0.conf Das ganze per rc.local beim Booten laden. Datei /root/wireguard_start.sh ############################################################################################### # Autor: Frank Mankel # Startup-Script # Wireguard # Kontakt: frank.mankel@gmail.com # ############################################################################################### ip link add wg0 type wireguard ip address add dev wg0 10.10.0.1/8 wg setconf wg0 /etc/wireguard/wg0.conf ip link set up dev wg0 Danach Datei ausführbar machen chmod +x /root/wireguard_start.sh In rc.local /root/wireguard_start.sh eintragen - Fertig!