Bitwarden_RS auf einem Debian Buster 10 Server installieren!
-
@Nico
es gab keine funktionellen Einschränkungen, bin nur über die Logfiles drauf gestoßen.
Leider ist das Logfile nicht mehr vorhanden
Kann mich nur dran erinnern, das fast bei jedem Zugriff der Fehler aufgeführt wurde... -
Die letzten Wochen etwas viel mit Python & PyWebIO beschäftigt, fast vergessen das hier zu erwähnen.
Vaultwarden ist auf Version 1.26.0 aktualisiert. Danke @Nico
Release 1.26.0 · dani-garcia/vaultwarden
Unofficial Bitwarden compatible server written in Rust, formerly known as bitwarden_rs - Release 1.26.0 · dani-garcia/vaultwarden
GitHub (github.com)
:~# vaultwarden -v vaultwarden 1.26.0 -
Release 1.27.0 · dani-garcia/vaultwarden
Unofficial Bitwarden compatible server written in Rust, formerly known as bitwarden_rs - Release 1.27.0 · dani-garcia/vaultwarden
GitHub (github.com)
@Nico fleißig


root@:~# vaultwarden -v vaultwarden 1.27.0 -
Release 1.28.0 · dani-garcia/vaultwarden
Unofficial Bitwarden compatible server written in Rust, formerly known as bitwarden_rs - Release 1.28.0 · dani-garcia/vaultwarden
GitHub (github.com)
Danke @Nico
root :~# vaultwarden -v vaultwarden 1.28.0 -
Ich hatte heute im Admininterface mal reingeschaut. Da stand die Version noch auf 1.27 und nicht auf 1.28. Ok, kein Problem, einmal neustarten und gut.
systemctl restart vaultwardenOk, danach startete er nicht mehr! Gar nicht!

Der Fehler
Mar 31 22:31:35 bitwarden vaultwarden[1614]: Error loading config:
Mar 31 22:31:35 bitwarden vaultwarden[1614]: Unable to write to log file. /var/log/vaultwarden/vaultwarden.log
Es hat erst etwas gedauert, bis mich @Nico auf die Idee brachte das Logging, welches ich umgebogen hatte, wieder auf syslog zu stellen.
Ich nutze normalerweise folgendes
LOG_FILE=/var/log/vaultwarden/vaultwarden.log
USE_SYSLOG=false
Ok, dann mal geändert. Danach startete Vaultwarden wieder.
Das sieht nach einem Bug aus, weil egal was man an Benutzerrechten einstellt er schreibt nicht in das Logfile. Aktuell denke ich, es ist ein
Update: Lösung -> https://linux-nerds.org/topic/1373/vaultwarden-systemd
-
Es haben sich ein paar Dinge geändert.
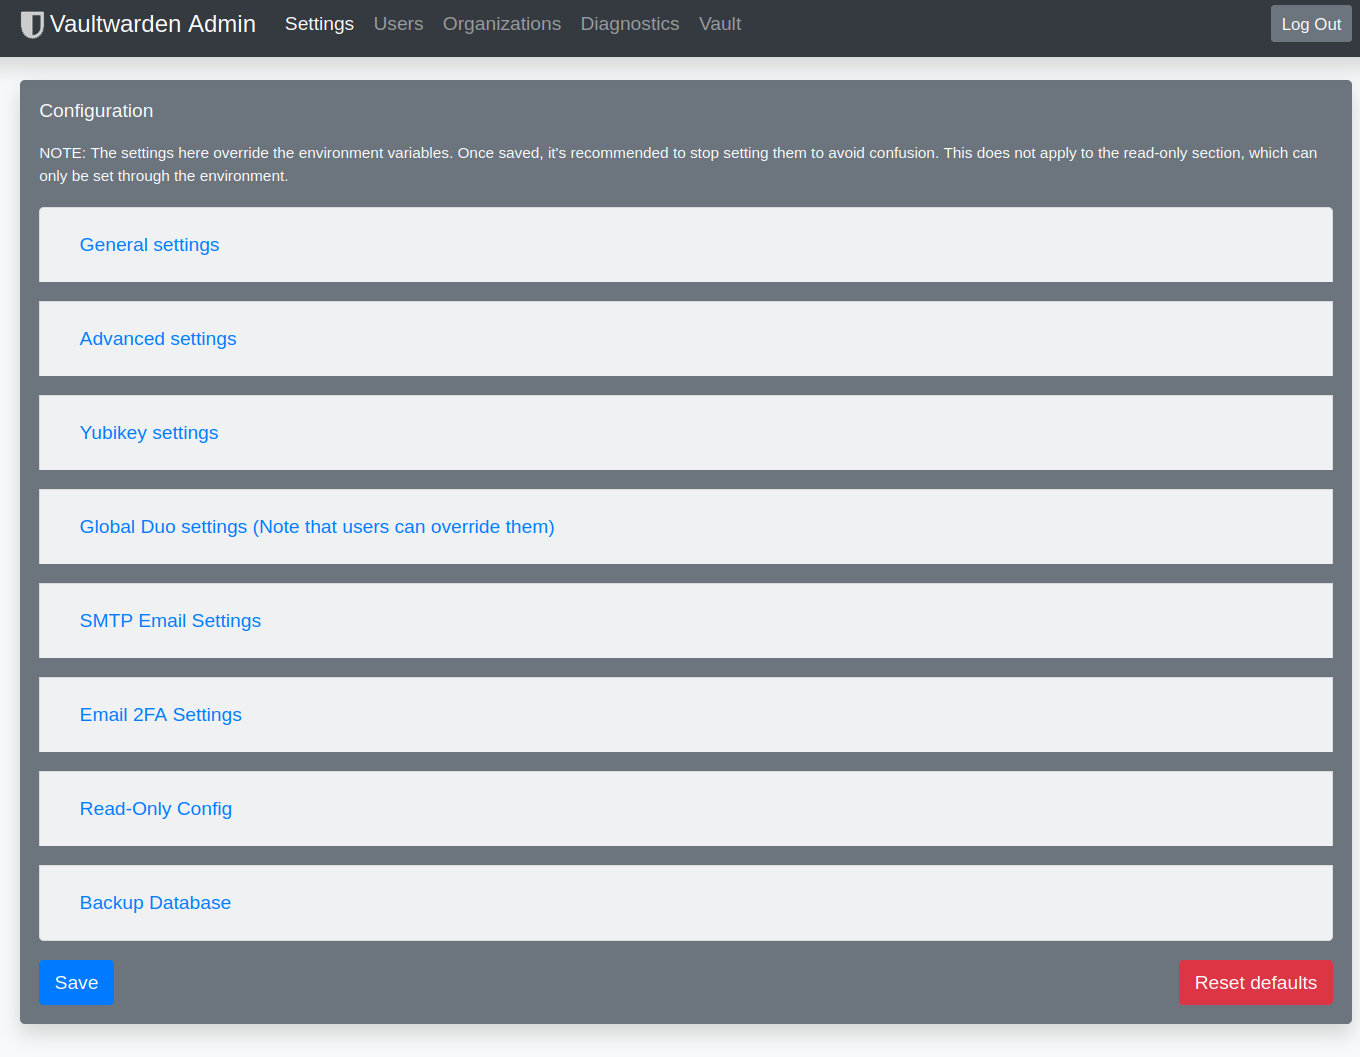
Admin Login
Das steht normalerweise in der config.env und aktiviert den Admin-Zugang.
ADMIN_TOKEN=PASSWORDEr meckert jetzt, das PW wäre als Plaintext gespeichert. Das kann man ändern . Dazu in der Konsole folgendes eingeben
vaultwarden hashAusgabe
root@:~# vaultwarden hash
Generate an Argon2id PHC string using the 'bitwarden' preset:

Password:
Confirm Password:

ADMIN_TOKEN='$argon2id$v....................................'
Die Zeile mit ADMIN_TOKEN kopieren und in die config.env einfügen. Danach meckerte er immer noch.
In der config.json muss der Admin Token entfernt werden! Danach funktionierte es, wie erwartet.
-
Unter Account Settings / Security / Keys findet man folgendes.
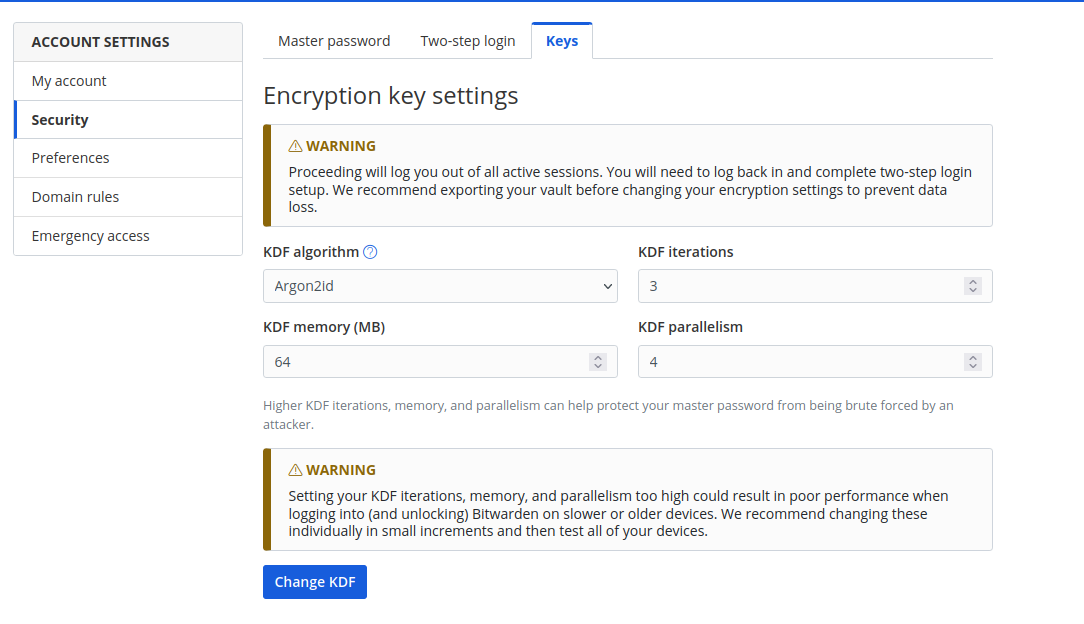
Setzt mal bitte den PW Hash von PBKDF2 auf Argon2id um. Das soll den Brute Force des Passwortes extrem erschweren.
Links zum Thema
Danke @Nico für die Tipps.
-
Release 1.28.1 · dani-garcia/vaultwarden
Unofficial Bitwarden compatible server written in Rust, formerly known as bitwarden_rs - Release 1.28.1 · dani-garcia/vaultwarden
GitHub (github.com)
@Nico war schnell heute

-
Hi,
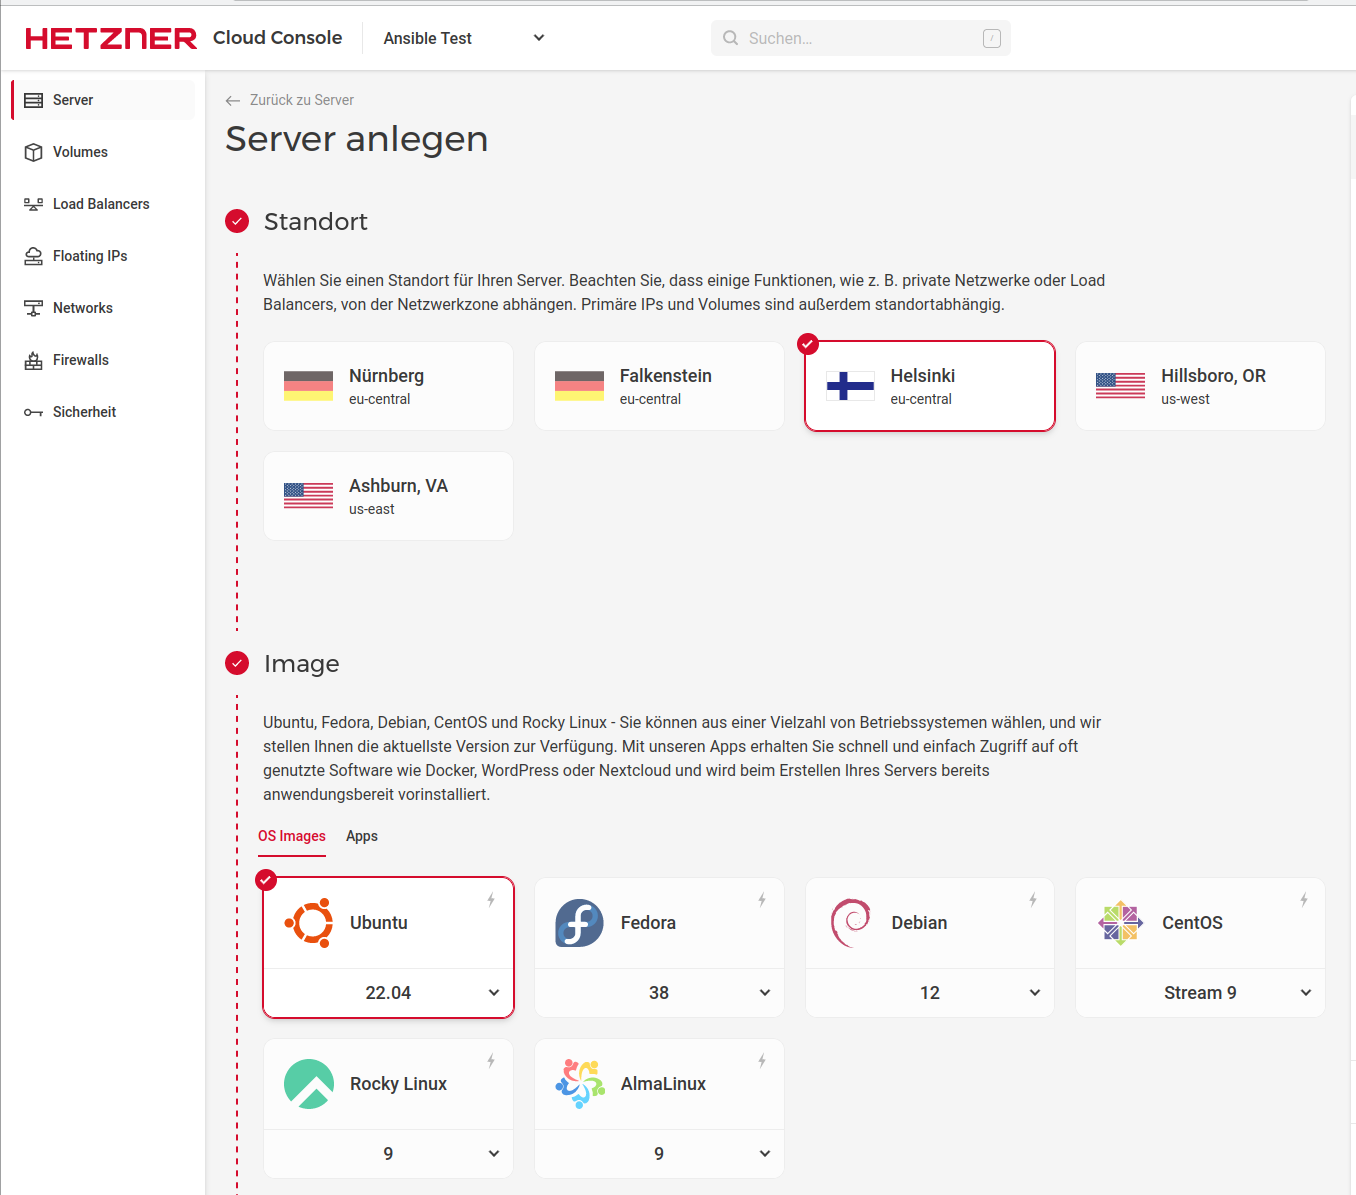
ich wollte auf einem neuen Server Vaultwarden installieren, leider erhalte ich folgende Fehlermeldung:
Das Laden der konfigurierten Datei »main/binary-arm64/Packages« wird übersprungen, da das Depot »http://bitwarden-deb.tech-network.de buster InRelease« die Architektur »arm64« nicht unterstützt.Gibt es dafür eine Lösung?
-
Hallo @hase567
du hast einen Server auf ARM Basis (eine der neuen Hetzner Ampere Altra Instanzen?) und das Paket ist aktuell ausschließlich für x86/amd64 gebaut.
Aktuell gibt es dafür keine Lösung. Ich kann mir bei Gelegenheit gerne mal anschauen, was es an Aufwand bedeutet, ein arm64 Paket zu bauen. Ich bitte dafür allerdings noch um etwas Geduld. -
Immerhin habe ich es jetzt endlich geschafft Support für neuere Distributionen einzubauen.
Debian 12 (bookworm) und Ubuntu 22.04 werden nun ebenfalls unterstützt!Es muss lediglich die Distribution in der vaultwarden.list/sources.list von "buster" auf "bookworm" geändert werden, wenn man Debian 12 oder Ubuntu 22.04 einsetzt.
Wie das funktioniert, steht in der aktualisierten Anleitung auf der Webseite des Repositories:
bitwarden-deb.tech-network.deBei Fragen oder Problemen gerne melden!
-
Hier findest du ein Testpaket der aktuellen Vaultwarden Version für arm64:
https://bitwarden-deb.tech-network.de/testing/arm64/Einfach herunterladen und mittels dpkg -i <Dateiname> installieren.
Ich freue mich wie immer über Feedback.Achtung: Es handelt sich um eine Testversion.
Wenn die Version wie erwartert funktioniert, kann ich diese gerne regelmäßig bauen. -
"Safe" im Sinne von sicher? Ja, ich habe es aus dem gleichen Sourcecode gebaut wie die anderen Versionen.
"Safe" im Sinne von fehlerfrei? Vermutlich. Da ich das gerade zwischendurch "mal so" gebastelt habe, teste ich aber selbst noch einmal ausgiebig, bevor ich es offiziell mit ins Repository aufnehme.
Freut mich zu hören, dass es bei dir funktioniert!
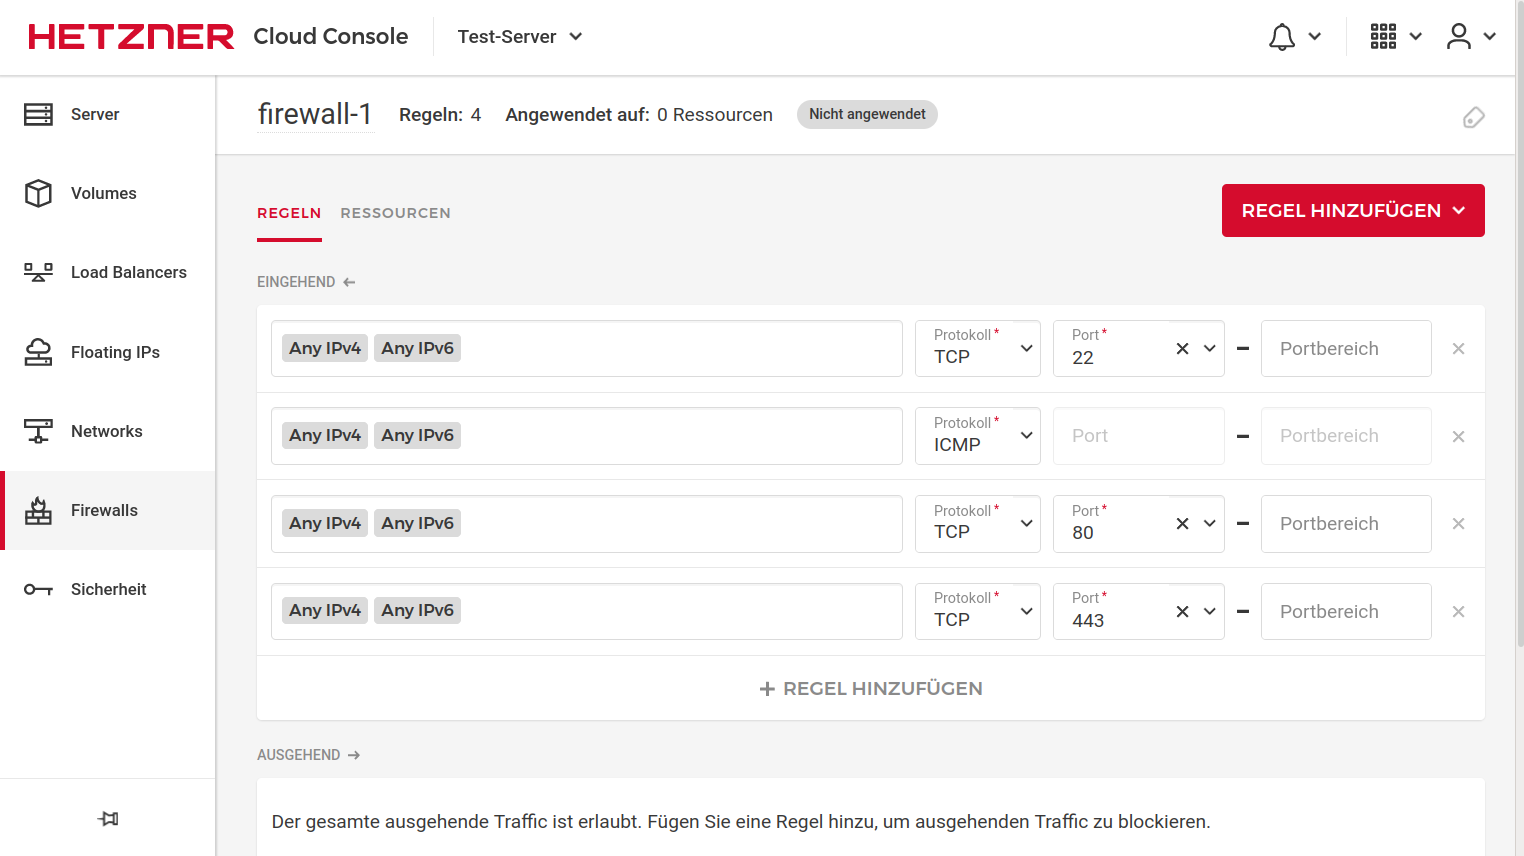
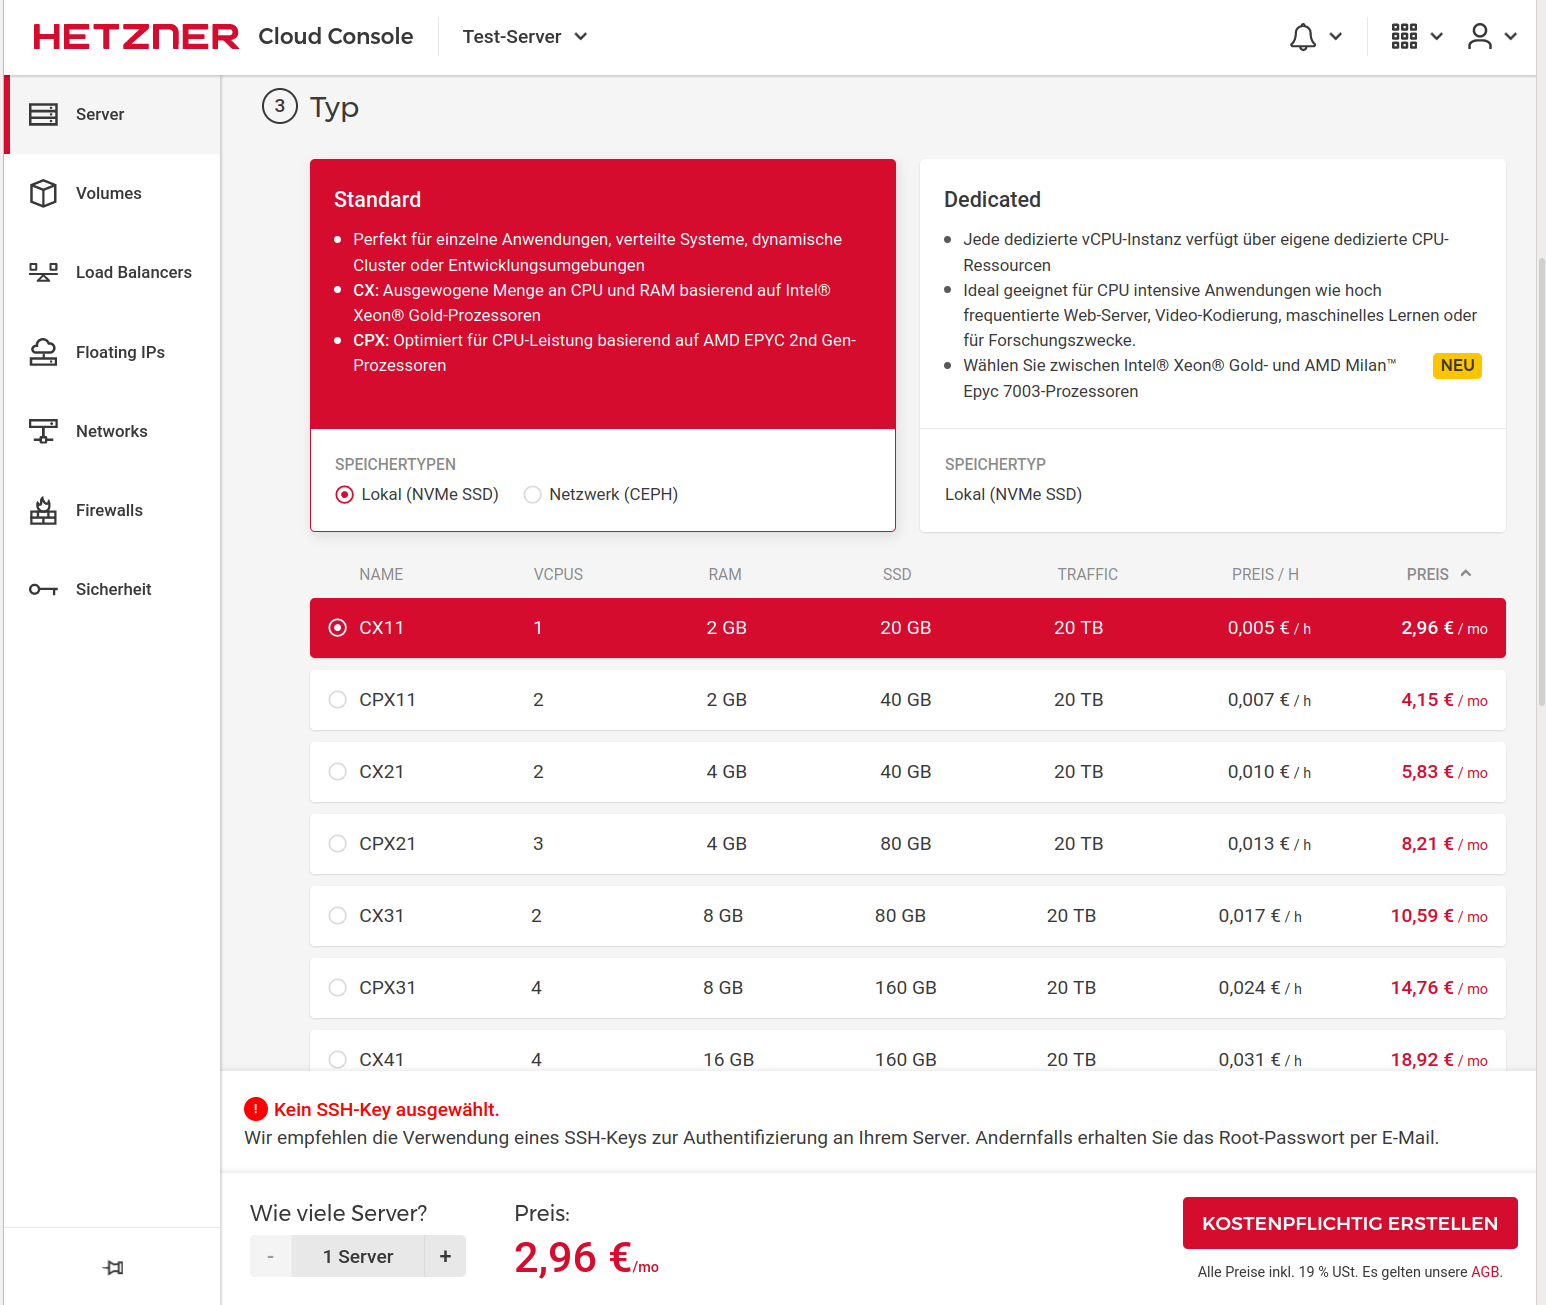
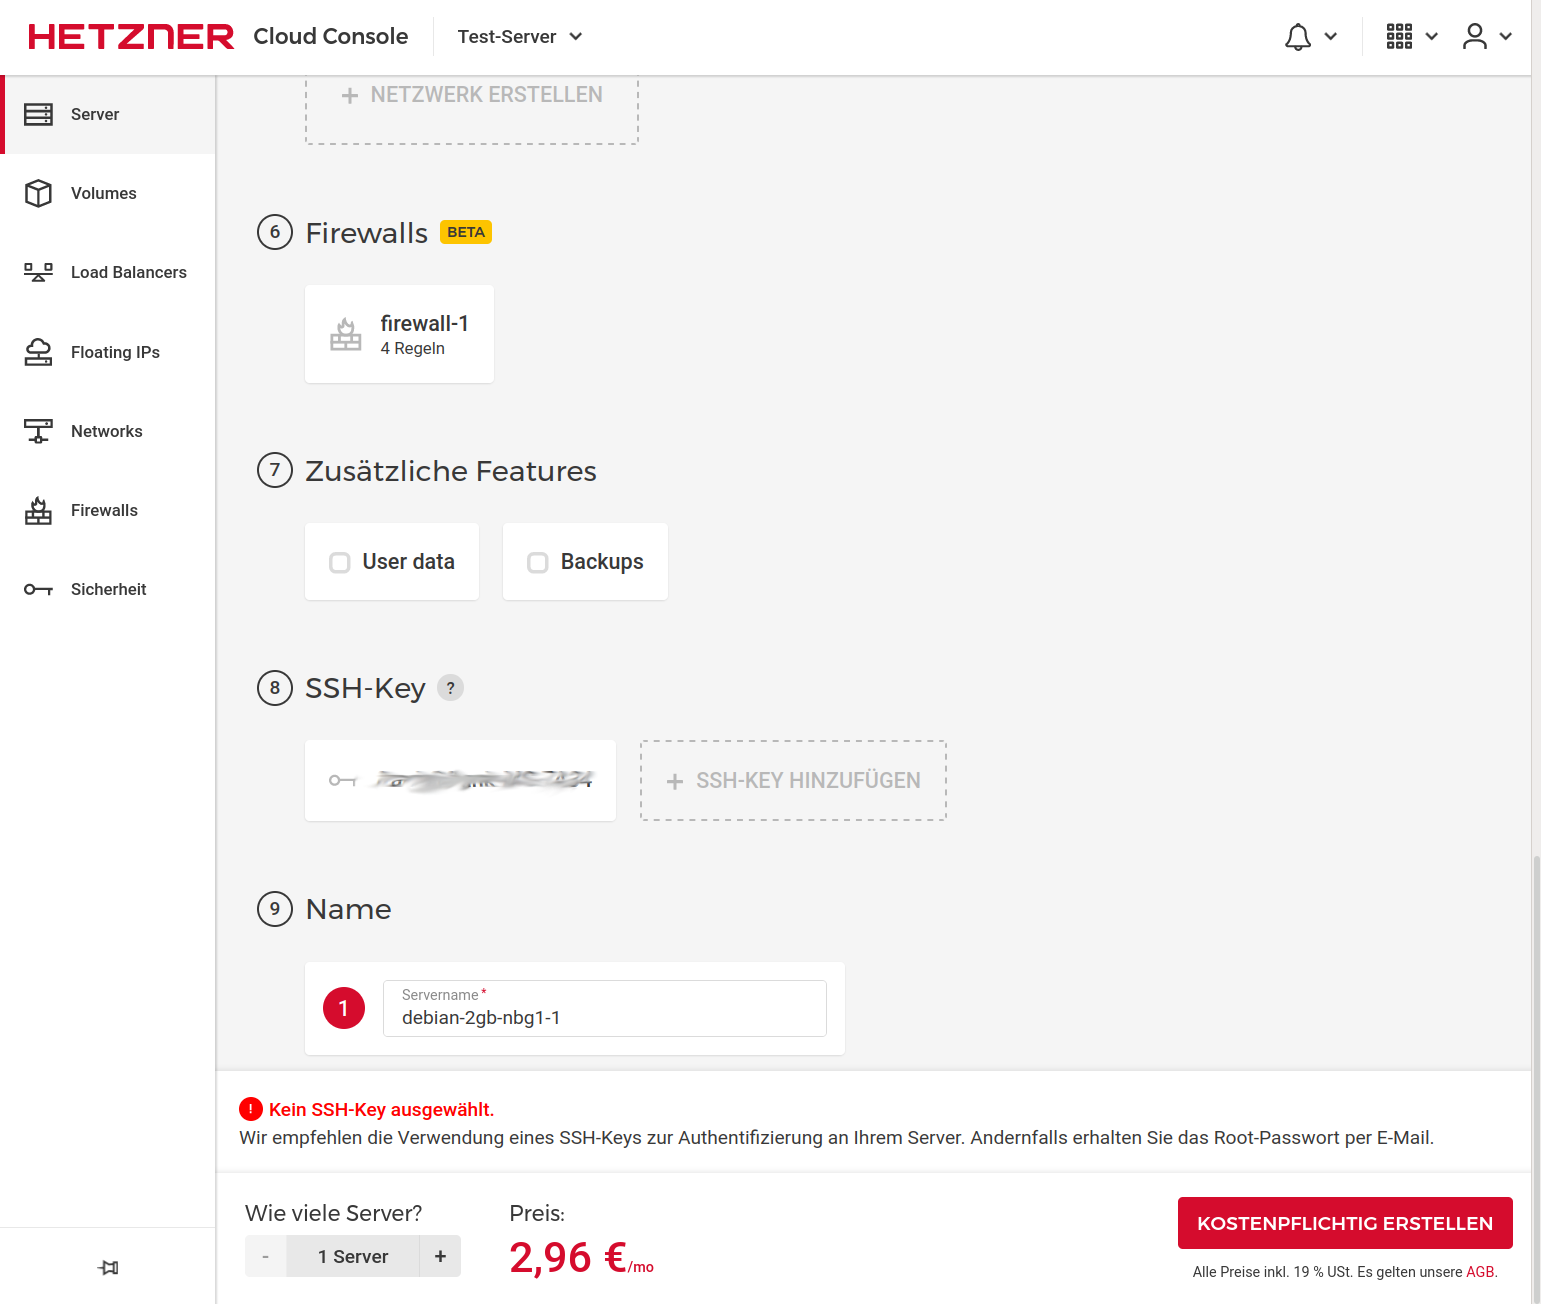
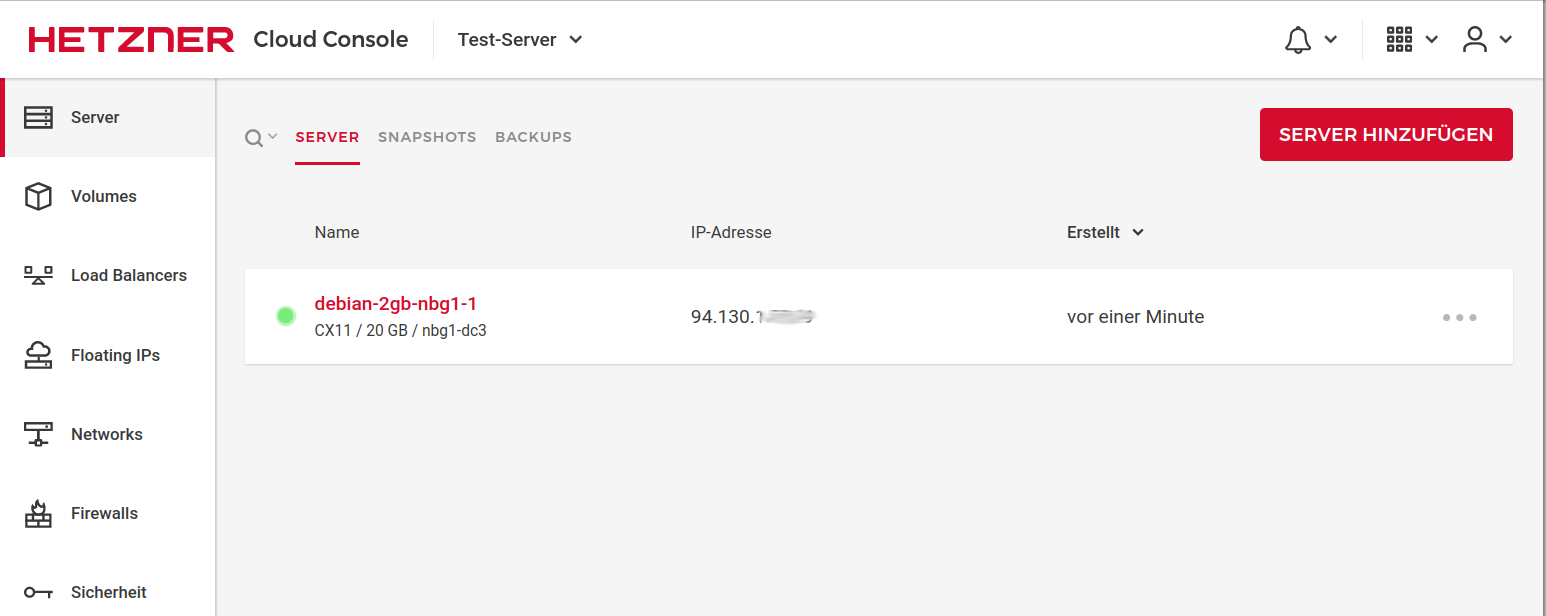






 dann ist es Perfekt.
