ASRock N100M
Linux
9
Beiträge
2
Kommentatoren
2.2k
Aufrufe
-
Was auch interessant ist, ich hatte vorher gesucht wie verrückt, ob es was Moderneres gibt, als ich mein neues NAS gebaut habe. Es gab nichts. Da lese ich die Tage folgenden Artikel bei Heise
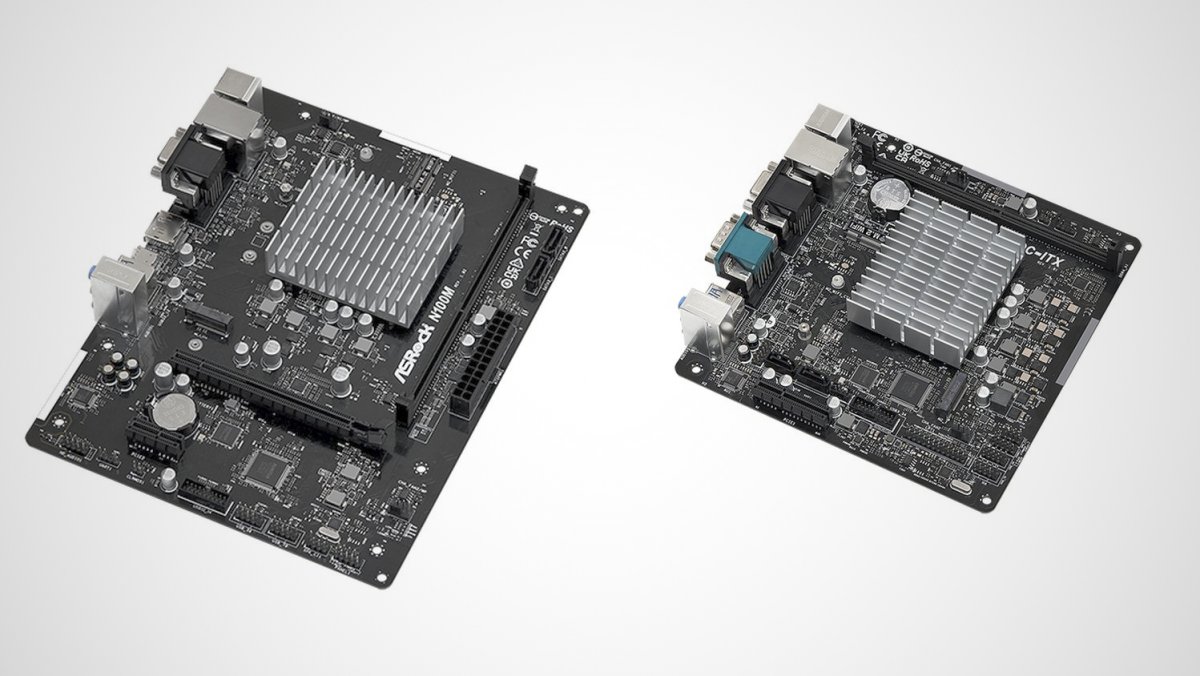
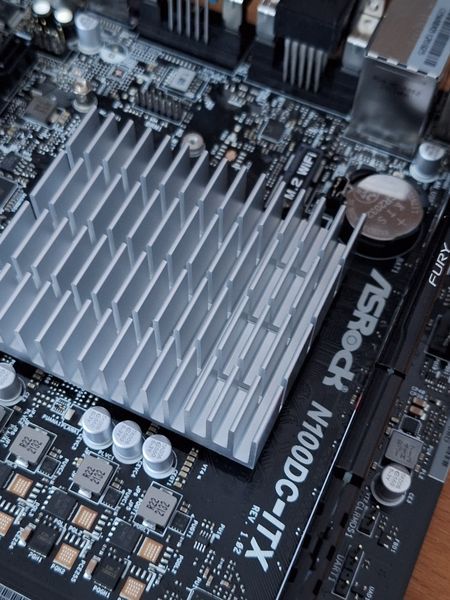
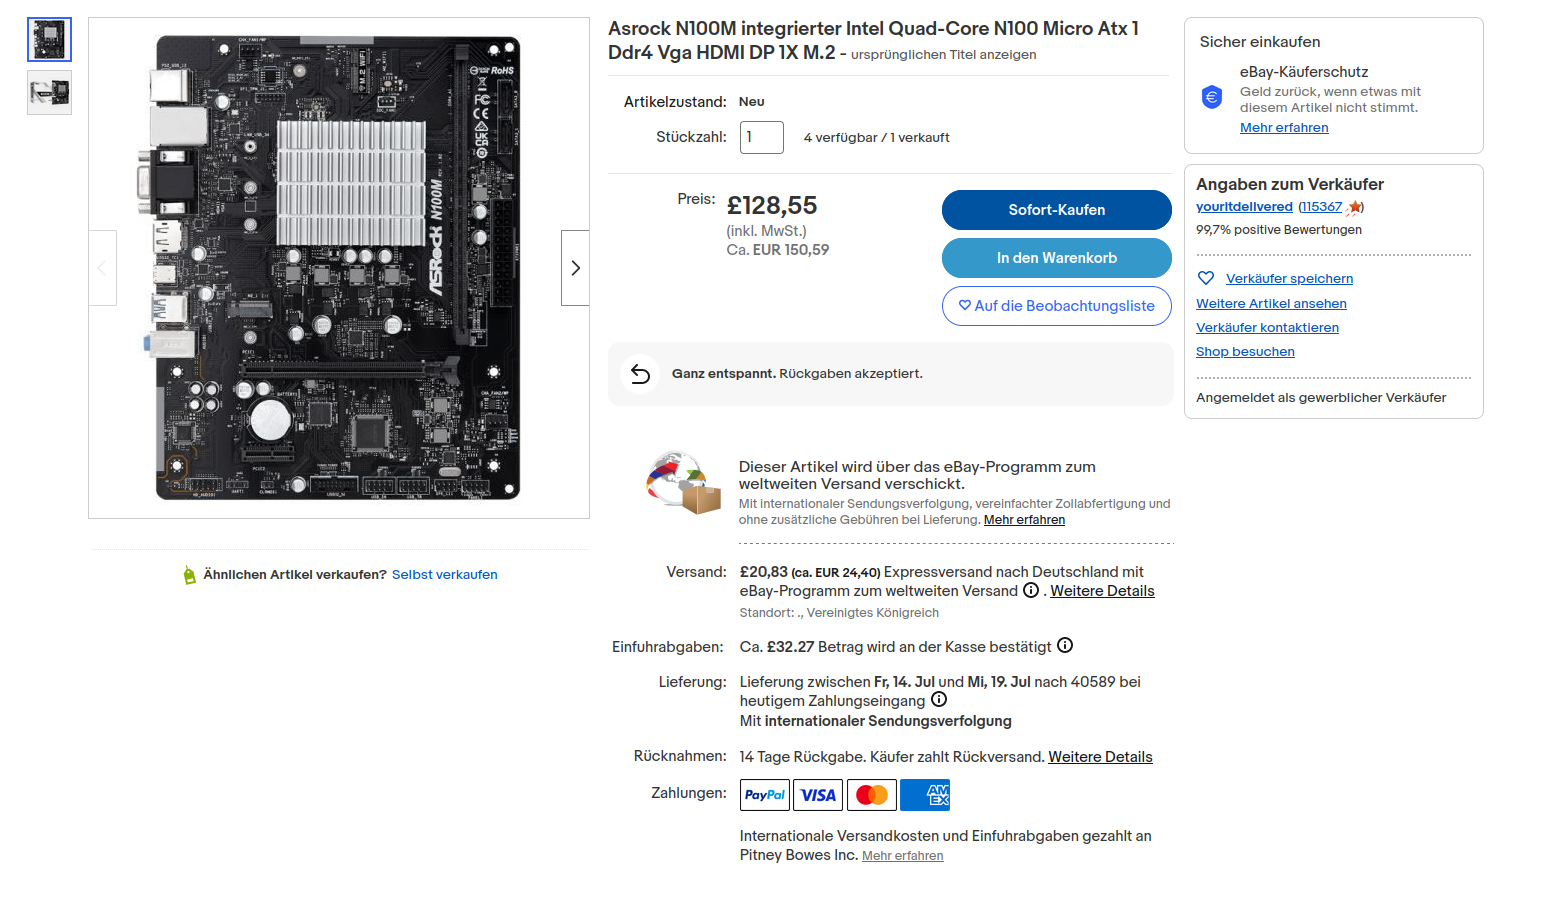
Asrock: Desktop-PC-Mainboards mit lüfterlos gekühlter Intel-N100-CPU
Der sparsame Alder-Lake-N-Chip auf Asrocks N100M und N100DC-ITX kommt ohne Lüfter aus und verspricht ähnliche Performance wie Core i3-7100 oder Ryzen 3 1200.
c't Magazin (www.heise.de)
Die Boards sind nur angekündigt, noch kann man sie nicht kaufen. Preise zur Zeit unbekannt.
- Das N100M ist ein Micro ATX Form Factor: 8.9-in x 7.0-in, 22.6 cm x 17.8 cm
- Das N100DC-ITX Mini-ITX Form Factor: 6.7-in x 6.7-in, 17.0 cm x 17.0 cm
Schauen wir mal, ob es eine Alternative zu meinem ASRock J5040-ITX ist. So weit man das aktuell an Hand der Infos machen kann.
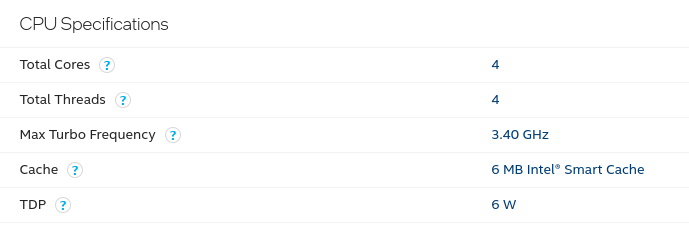
Beide Boards haben einen Quad-Core Prozessor. Das N100M ist geringfügig schneller getaktet. 3,4 GHz zu 3,2 GHz. Leichter Pluspunkt für das N100M.
Der Speicher ist auf dem N100M moderner und schneller, es ist aber nur ein Slot verbaut. Maximal 32GB, auf dem J5040 gehen offiziell nur 8GB. Wie wir alle wissen, gehen auch 32GB problemlos. Leichter Pluspunkt für das N100M.
Die integrierte Grafik ist auf dem N100M leistungsfähiger, auch hier ein Pluspunkt. Aber, für ein NAS völlig uninteressant.
Beide Boards haben eine Realtek 8111H Gigabit LAN Schnittstelle.
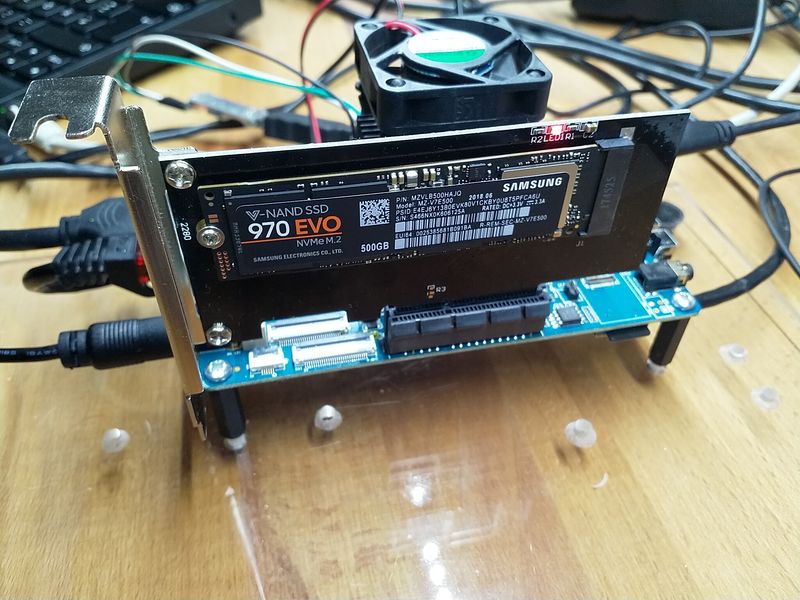
Das N100M hat einen Sockel für einen NVMe SSD. Aufpassen, dieser ist nur x1 Dieser Slot wird die NVMe also nicht ausreizen. In meinen Augen kein großer Vorteil, außer das man nicht so basteln muss, wie ich das im J5040 machen musste.
Im N100M sind nur zwei SATA Ports, im J5040 sind es vier. Wie ich gerade lese, sind aber zwei über ein ASMedia ASM1061 Device angebunden und nicht direkt. Pluspunkt für das J5040.
Die Ausstattung mit schnellen USB Ports ist auf dem N100M besser. Pluspunkt.
Was interessant ist, ist folgendes.
N100M
J5040
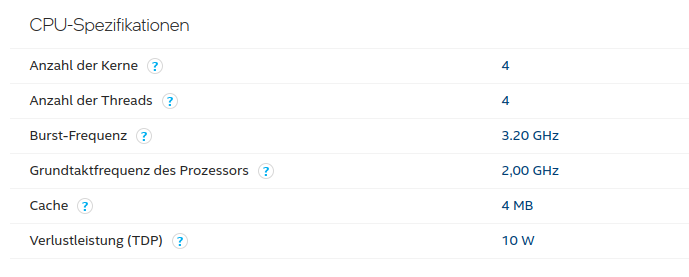
Die TDP des N100M ist bei 6W, das sollte man ja auch erwarten können, ist ja auch brandneu. Das J5040 ist bei 10W.
Auf dem Blatt Papier hat man dann ein modernes Board auf der Höhe der Zeit, in Sparausführung. Aber, ist das schlimm? Wie immer, es kommt drauf an was man machen möchte. Mein aktuelles NAS ließe sich ohne Probleme damit bauen. Ich gehe davon aus, das es mich jetzt nicht besonderes mehr erfreuen würde
")
Es gäbe zwei Gründe, die es interessant machen könnten.
- Stromverbrauch - jedes Watt im Idle zählt, bei 24/7 Betrieb
- Preis
Ich freue mich auf die ersten echten Tests.
Quellen:
https://ark.intel.com/content/www/us/en/ark/products/231803/intel-processor-n100-6m-cache-up-to-3-40-ghz.html
https://ark.intel.com/content/www/de/de/ark/products/197304/intel-pentium-silver-j5040-processor-4m-cache-up-to-3-20-ghz.html
https://www.heise.de/news/Desktop-PC-Mainboards-mit-passiv-gekuehlter-Intel-N100-CPU-9017109.html
https://www.asrock.com/mb/Intel/N100M/#Specification
https://www.asrock.com/MB/Intel/N100DC-ITX/index.asp#Specification
https://www.asrock.com/MB/Intel/J5040-ITX/index.de.asp#Specification -
finde auch die CPU recht interessant,
sollen wohl nur die E-Cores aus Alder Lake-S bzw. Raptor Lake-S Serie seinschade finde ich das mal wieder nur Gbit verbaut wurde
PCIe-Lanes scheint es auch nur begrenzt zu geben bzw. nutzbar zu sein
für die NVME 3.0 2x
und dann nur 2 für ErweiterungskartenIntel sagt aber es sollen wohl 9 Lanes bei der CPU verfügbar sein,
keine Ahnung wo alle hin sind auf dem ASROCK Boardwerden sicher bald noch mehr n100 Geräte auf dem Markt erscheinen
Beelink EQ12 | ZX01 Plus | Topton M6S z.B.Leider dein NAS Projekt zu spät gesehen, könnte aber auch interessant sein.
ODROID-H3 (N5105) https://www.hardkernel.com/shop/odroid-h3/
ODROID-H3+ (N6005) https://www.hardkernel.com/shop/odroid-h3-plus/
ist aber alles 10Watt klasse -
Diese ODROID Dinger hatte ich auch mal auf dem Radar, die waren aber leider nirgends zu bekommen. Ansonsten bin ich auch nicht so der ODROID Freund.
Gibt es da von Deiner Seite aus Erfahrungswerte?
Aktuell bin ich mit meinem NAS Projekt zufrieden. Läuft alles so wie erwünscht.
-
in DE 5stk bei mindfac für 125€
https://www.mindfactory.de/product_info.php/ASRock-N100M-Intel-Q-Core-N100-1xDDR4-2xSATA-G-LAN-retail_1493054.html -
Ok, es kommt näher
-
 F FrankM hat am auf dieses Thema verwiesen
") Jetzt noch den Umzug vorbereiten und dann kann es losgehen. Aktuell ist es aber zu warm zum Basteln..
Jetzt noch den Umzug vorbereiten und dann kann es losgehen. Aktuell ist es aber zu warm zum Basteln..