Skip to content

Proxmox - Erster Container

Verschoben Proxmox
  • Eine schöne Anleitung findet man hier.

    Template

    Template runterladen, da ich im Moment Debian 10 ausgiebig am Testen bin habe ich mir das Debian 10 Template runtergeladen.

    Container erstellen

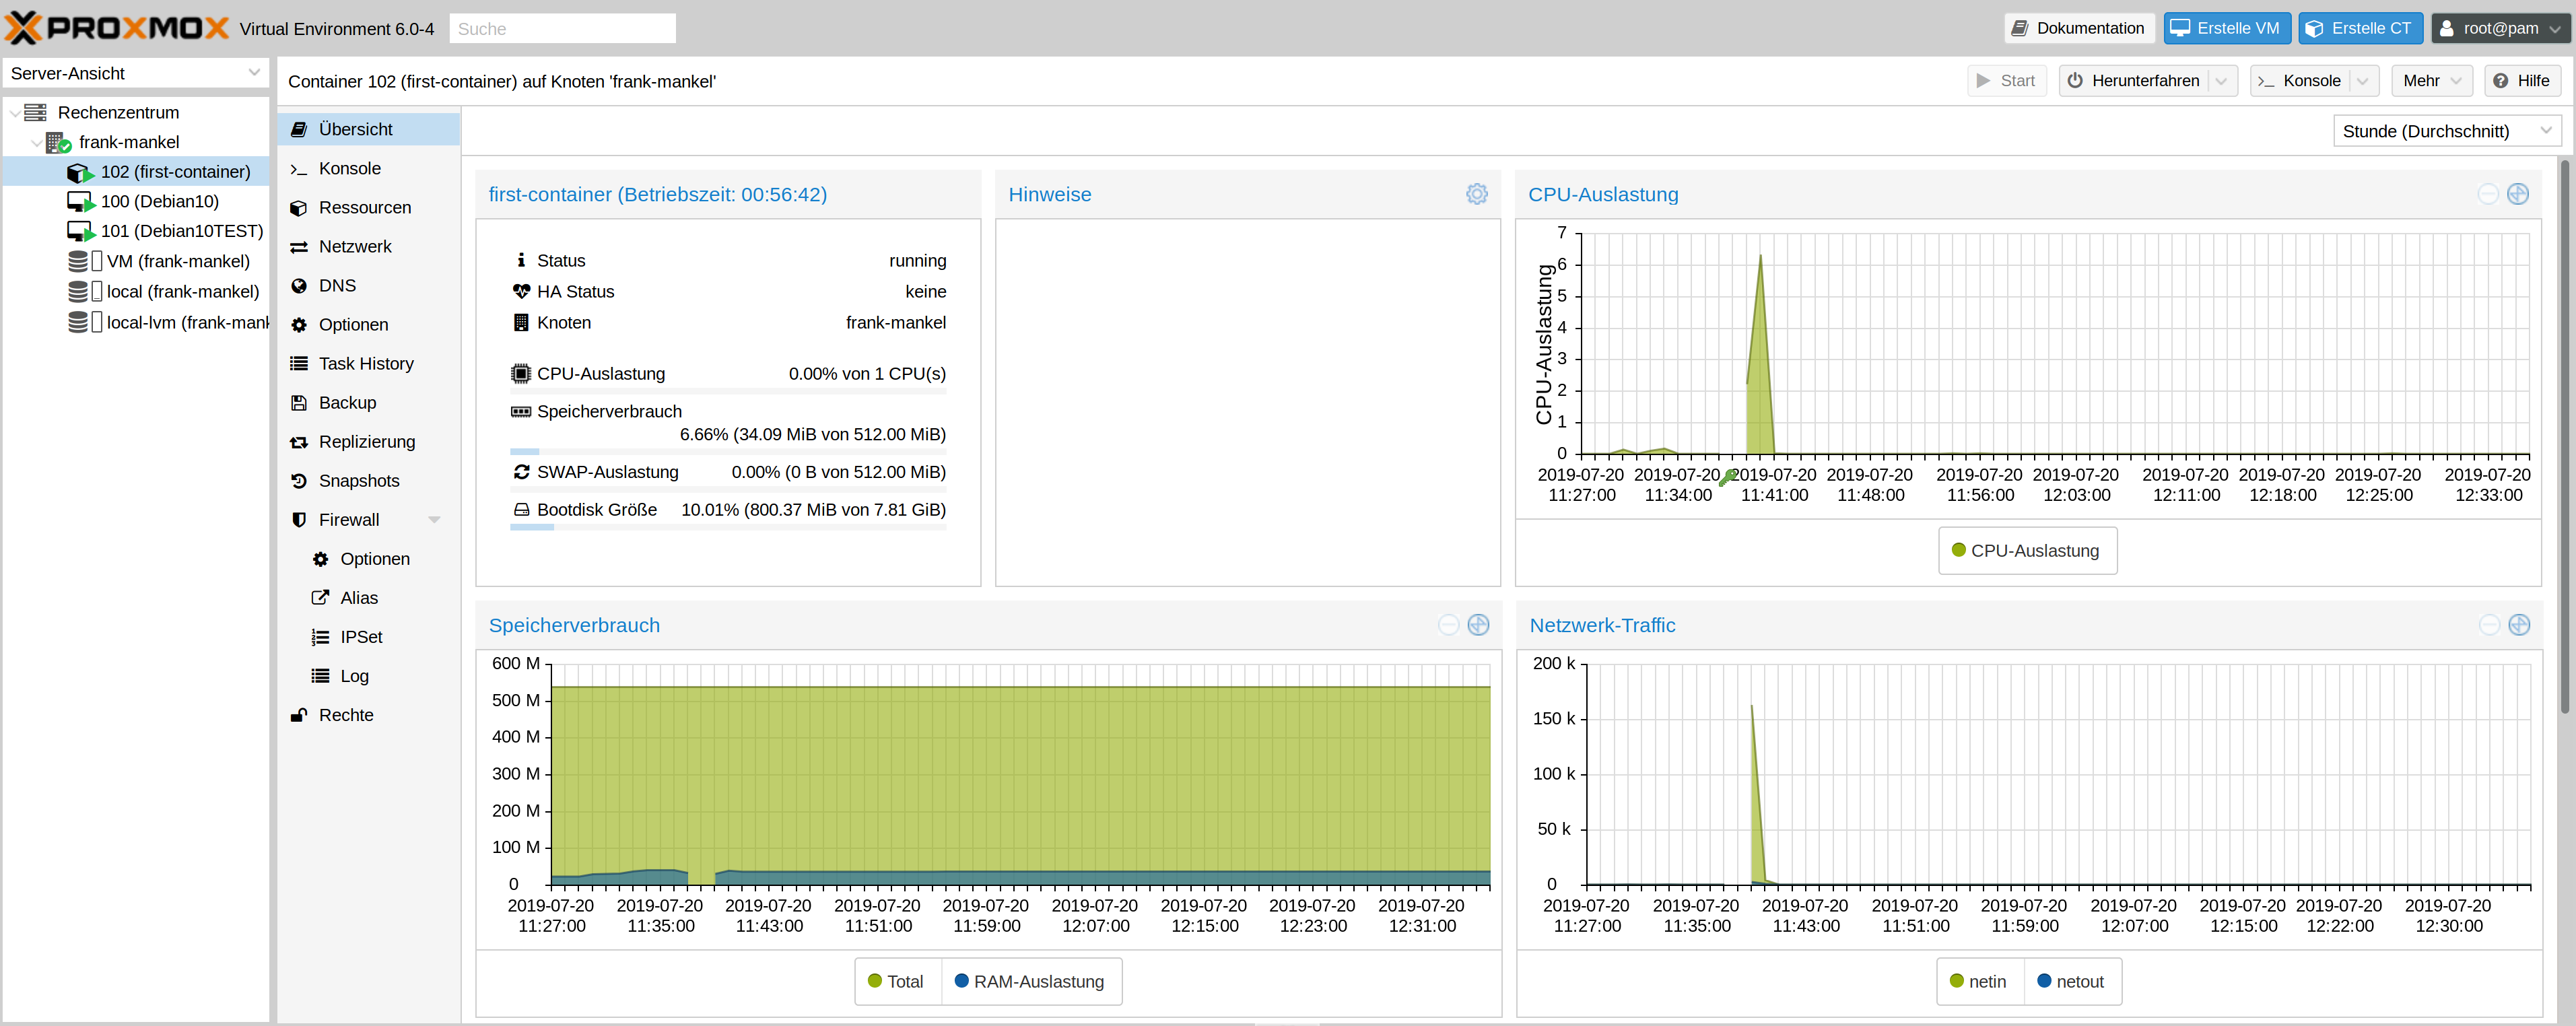
    Nach der Anleitung erstellt. Gestartet, aber kein Root-Login möglich. Ja, der ist in der ssh Config nicht erlaubt, also schnell einen User angelegt. Dazu im Container auf Konsole geklickt. Eingeloggt und den User angelegt.

    root@first-container:~# adduser frank
    Adding user `frank' ...
    Adding new group `frank' (1000) ...
    Adding new user `frank' (1000) with group `frank' ...
    Creating home directory `/home/frank' ...
    Copying files from `/etc/skel' ...
    New password: 
    Retype new password: 
    passwd: password updated successfully
    Changing the user information for frank
    Enter the new value, or press ENTER for the default
            Full Name []: Frank
            Room Number []: 
            Work Phone []: 
            Home Phone []: 
            Other []: 
    Is the information correct? [Y/n] Y
    root@first-container:~# 
    

    Danach klappt der Login per SSH wie gewohnt.

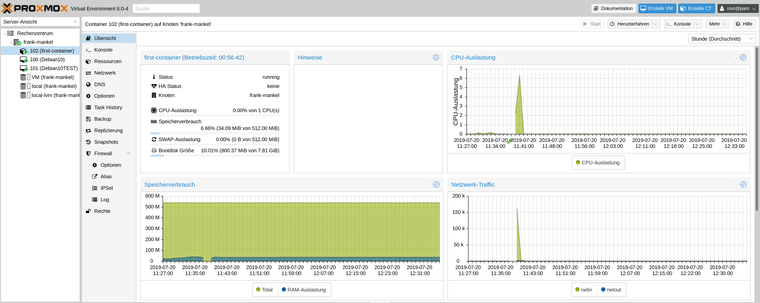
    9de79292-2205-4a68-ba79-72c46aba8e7a-grafik.png

  • Snapshot mal testen.

    apt install nginx
    

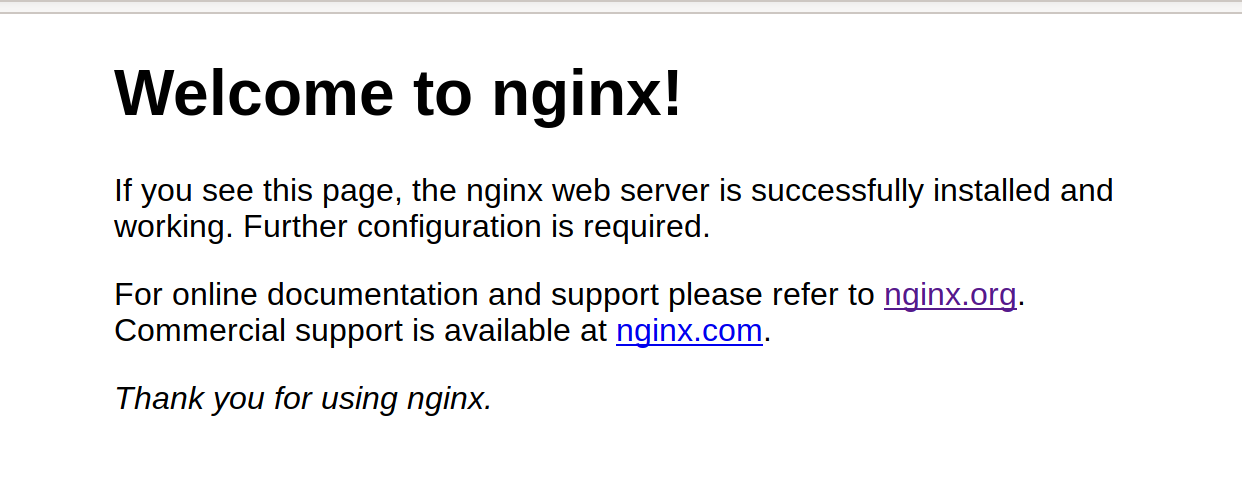
    Dann läuft nginx auf dem Container.

    3fcd22ec-62c1-4805-8166-9baaebc05c43-grafik.png

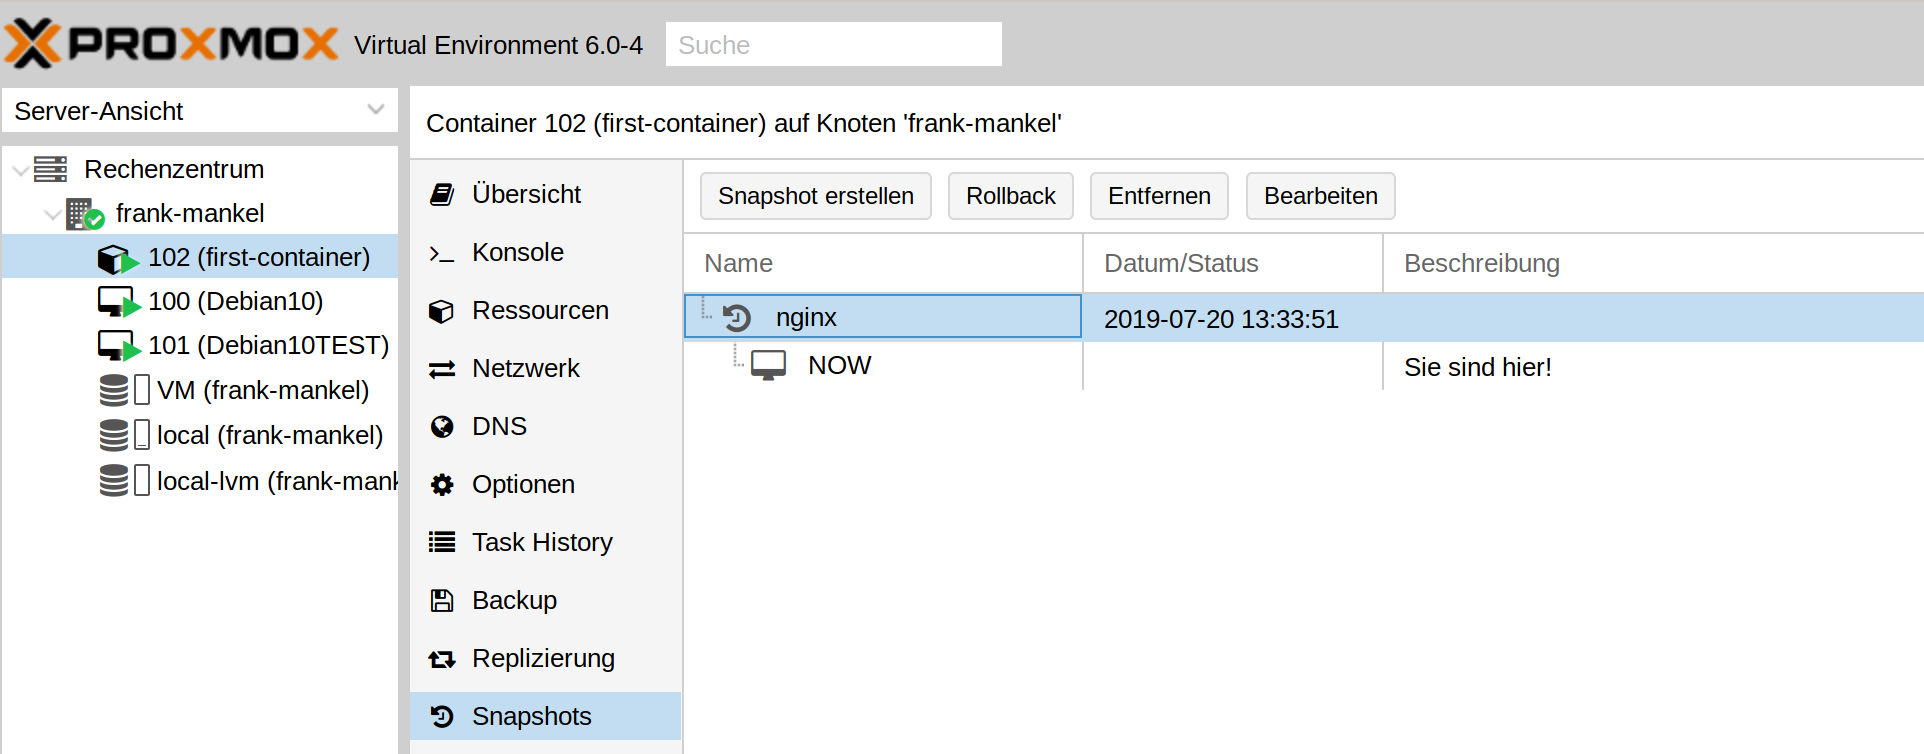
    Davon erstellen wir mal einen Snapshot

    324ee261-4c86-4340-9408-904fa6ceb878-grafik.png

    Danach einfach mal so nodejs installieren.

    root@first-container:~# apt install nodejs
    Reading package lists... Done
    Building dependency tree       
    Reading state information... Done
    The following additional packages will be installed:
      libc-ares2 libnode64 libuv1 nodejs-doc
    Suggested packages:
      npm
    The following NEW packages will be installed:
      libc-ares2 libnode64 libuv1 nodejs nodejs-doc
    0 upgraded, 5 newly installed, 0 to remove and 0 not upgraded.
    Need to get 6753 kB of archives.
    After this operation, 30.4 MB of additional disk space will be used.
    Do you want to continue? [Y/n] 
    Get:1 http://ftp.debian.org/debian buster/main amd64 libc-ares2 amd64 1.14.0-1 [85.8 kB]
    Get:2 http://ftp.debian.org/debian buster/main amd64 libuv1 amd64 1.24.1-1 [110 kB]
    Get:3 http://ftp.debian.org/debian buster/main amd64 libnode64 amd64 10.15.2~dfsg-2 [5521 kB]
    Get:4 http://ftp.debian.org/debian buster/main amd64 nodejs amd64 10.15.2~dfsg-2 [86.2 kB]
    Get:5 http://ftp.debian.org/debian buster/main amd64 nodejs-doc all 10.15.2~dfsg-2 [950 kB]
    Fetched 6753 kB in 1s (8268 kB/s)
    Selecting previously unselected package libc-ares2:amd64.
    (Reading database ... 20715 files and directories currently installed.)
    Preparing to unpack .../libc-ares2_1.14.0-1_amd64.deb ...
    Unpacking libc-ares2:amd64 (1.14.0-1) ...
    Selecting previously unselected package libuv1:amd64.
    Preparing to unpack .../libuv1_1.24.1-1_amd64.deb ...
    Unpacking libuv1:amd64 (1.24.1-1) ...
    Selecting previously unselected package libnode64:amd64.
    Preparing to unpack .../libnode64_10.15.2~dfsg-2_amd64.deb ...
    Unpacking libnode64:amd64 (10.15.2~dfsg-2) ...
    Selecting previously unselected package nodejs.
    Preparing to unpack .../nodejs_10.15.2~dfsg-2_amd64.deb ...
    Unpacking nodejs (10.15.2~dfsg-2) ...
    Selecting previously unselected package nodejs-doc.
    Preparing to unpack .../nodejs-doc_10.15.2~dfsg-2_all.deb ...
    Unpacking nodejs-doc (10.15.2~dfsg-2) ...
    Setting up libc-ares2:amd64 (1.14.0-1) ...
    Setting up libuv1:amd64 (1.24.1-1) ...
    Setting up libnode64:amd64 (10.15.2~dfsg-2) ...
    Setting up nodejs-doc (10.15.2~dfsg-2) ...
    Setting up nodejs (10.15.2~dfsg-2) ...
    update-alternatives: using /usr/bin/nodejs to provide /usr/bin/js (js) in auto mode
    Processing triggers for libc-bin (2.28-10) ...
    Processing triggers for man-db (2.8.5-2) ...
    

    Testen

    root@first-container:~# nodejs
    > 
    (To exit, press ^C again or type .exit)
    > 
    

    Ok, läuft. Dann mal wieder zurück. Den Snapshot auswählen und auf Rollback klicken. Was warten, dann ist der Container wieder hergestellt.

    Testen

    root@first-container:~# nodejs
    -bash: nodejs: command not found
    

    Und wieder der alte Zustand 🙂

  • Spannnend .. das Proxmox hatte ich bisher noch nicht getestet ..

    Gerade mal auf die Specs geschaut und da steht:

    Intel EMT64 oder AMD64 mit Intel VT/AMD-V CPU Flag.

    Ist dies nur für den Server gültig?

    Bzw. Frage anderst gestellt, können damit auch Rockpro64 / ARM Docker Container orchestriert werden?

  • Eine spannende Frage, die ich nicht beantworten kann. Aber Versuch macht klug 😉 Aber ich gehe im Moment nicht davon aus, so als Baugefühl.

    Edit: https://forum.proxmox.com/threads/arm64-vm-emulation-on-proxmox-5-3-amd64.49699/
  • Proxmox 8.3 released

    Proxmox
    2
    0 Stimmen
    2 Beiträge
    128 Aufrufe
    FrankMF

    Ich habe gestern mal eine Neuigkeit ausprobiert, den Import einer Anwendung mittels OVA. Dazu habe ich irgendwo im Netz ein File für OpenProject gefunden (steht schon sehr lange auf meiner Testliste).

    Der Import war langweilig einfach. Nach Import ein paar Dinge eingestellt, Netzwerk usw. und die VM gestartet. Ok, die Installation war so alt, das ich sie danach wieder gelöscht habe, aber das soll ja kein Problem sein. Man kann OpenProject ja auch mittels .deb Package installieren.

    Zweiter Test war der "Tag View". Interessantes Feature, was ich auch mal direkt angewendet habe, auch wenn fast alle meine VMs Debian sind 🤓

  • NAS 2023 - Thema Datensicherung

    Verschoben Linux
    2
    0 Stimmen
    2 Beiträge
    144 Aufrufe
    FrankMF

    Bleibt noch etwas wichtiges. Die ganzen Konfigurationsdateien vom Proxmox Host. Sinnvoll, das man sich das sichert.

    #!/bin/bash # Script um mit Restic Daten automatisiert zu sichern! # Dient zum Sichern des Ordners /etc/pve! # Was soll gesichert werden? backup_pfad=/etc/pve # Programm Start restic --password-file /root/passwd -r /mnt/pve/Restic_Backups/pve backup $backup_pfad > backup_pve_001.log restic --password-file /root/passwd -r /mnt/pve/Restic_Backups/pve forget --keep-last 3 --keep-monthly 3 --prune >> backup_pve_002.log # Testen restic --password-file /root/passwd -r /mnt/pve/Restic_Backups/pve check --read-data >> backup_pve_003.log

    Crontab eingerichtet - fertig!

  • Fritzbox - Proxmox - pfSense - IPv6

    Verschoben Linux
    1
    0 Stimmen
    1 Beiträge
    512 Aufrufe
    Niemand hat geantwortet
  • ZFS-Pool - Do not use (sda & sdb) to create a pool!

    Linux
    2
    0 Stimmen
    2 Beiträge
    292 Aufrufe
    FrankMF

    Hier kurz vor dem Abschluss der Spiegelung.

    d54abd23-aa52-482d-b9e1-52ece09106ec-grafik.png

    Und alles wieder gut und eine Menge gelernt 🤓

    594b6283-bbbe-4cec-8401-d57cce52012b-grafik.png

  • Proxmox - Offline

    Linux
    1
    0 Stimmen
    1 Beiträge
    260 Aufrufe
    Niemand hat geantwortet
  • Proxmox - Qemu Guest Agent

    Proxmox
    1
    0 Stimmen
    1 Beiträge
    1k Aufrufe
    Niemand hat geantwortet
  • Proxmox - Partition einer VM vergrößern

    Proxmox
    1
    0 Stimmen
    1 Beiträge
    355 Aufrufe
    Niemand hat geantwortet
  • Proxmox - pfSense einrichten

    Verschoben pfSense
    5
    0 Stimmen
    5 Beiträge
    3k Aufrufe
    FrankMF

    Als kleine Ergänzung. Von einer VM aus zum Hauptrechner.

    frank@debian:~$ iperf3 -R -c 192.168.3.8 Connecting to host 192.168.3.8, port 5201 Reverse mode, remote host 192.168.3.8 is sending [ 5] local 192.168.3.213 port 42102 connected to 192.168.3.8 port 5201 [ ID] Interval Transfer Bitrate [ 5] 0.00-1.00 sec 112 MBytes 943 Mbits/sec [ 5] 1.00-2.00 sec 112 MBytes 941 Mbits/sec [ 5] 2.00-3.00 sec 112 MBytes 941 Mbits/sec [ 5] 3.00-4.00 sec 112 MBytes 941 Mbits/sec [ 5] 4.00-5.00 sec 112 MBytes 941 Mbits/sec [ 5] 5.00-6.00 sec 112 MBytes 941 Mbits/sec [ 5] 6.00-7.00 sec 112 MBytes 941 Mbits/sec [ 5] 7.00-8.00 sec 112 MBytes 941 Mbits/sec [ 5] 8.00-9.00 sec 112 MBytes 941 Mbits/sec [ 5] 9.00-10.00 sec 112 MBytes 941 Mbits/sec - - - - - - - - - - - - - - - - - - - - - - - - - [ ID] Interval Transfer Bitrate Retr [ 5] 0.00-10.04 sec 1.10 GBytes 940 Mbits/sec 10 sender [ 5] 0.00-10.00 sec 1.10 GBytes 941 Mbits/sec receiver iperf Done. frank@debian:~$ iperf3 -c 192.168.3.8 Connecting to host 192.168.3.8, port 5201 [ 5] local 192.168.3.213 port 42106 connected to 192.168.3.8 port 5201 [ ID] Interval Transfer Bitrate Retr Cwnd [ 5] 0.00-1.00 sec 114 MBytes 953 Mbits/sec 0 281 KBytes [ 5] 1.00-2.00 sec 112 MBytes 940 Mbits/sec 0 293 KBytes [ 5] 2.00-3.00 sec 112 MBytes 944 Mbits/sec 0 293 KBytes [ 5] 3.00-4.00 sec 112 MBytes 938 Mbits/sec 0 293 KBytes [ 5] 4.00-5.00 sec 113 MBytes 945 Mbits/sec 0 293 KBytes [ 5] 5.00-6.00 sec 112 MBytes 939 Mbits/sec 0 293 KBytes [ 5] 6.00-7.00 sec 112 MBytes 944 Mbits/sec 0 305 KBytes [ 5] 7.00-8.00 sec 112 MBytes 939 Mbits/sec 0 305 KBytes [ 5] 8.00-9.00 sec 113 MBytes 945 Mbits/sec 0 305 KBytes [ 5] 9.00-10.00 sec 113 MBytes 947 Mbits/sec 0 438 KBytes - - - - - - - - - - - - - - - - - - - - - - - - - [ ID] Interval Transfer Bitrate Retr [ 5] 0.00-10.00 sec 1.10 GBytes 943 Mbits/sec 0 sender [ 5] 0.00-10.04 sec 1.10 GBytes 938 Mbits/sec receiver iperf Done.