Installation von Grav & NGinx & PHP7.2
-
Wird nochmal überarbeitet, da ich noch über einige Probleme gestolpert bin! Für Einsteiger im Moment nur bedingt zu empfehlen!
Ich hatte schon mal auf einem Debian System PHP7 installiert -> https://frank-mankel.de/kategorien/15-joomla/202-debian-joomla-mit-php7-auf-nginx
Nun habe ich das auf einem ROCKPro64 gemacht und ein wenig Kopfschmerzen bekommen
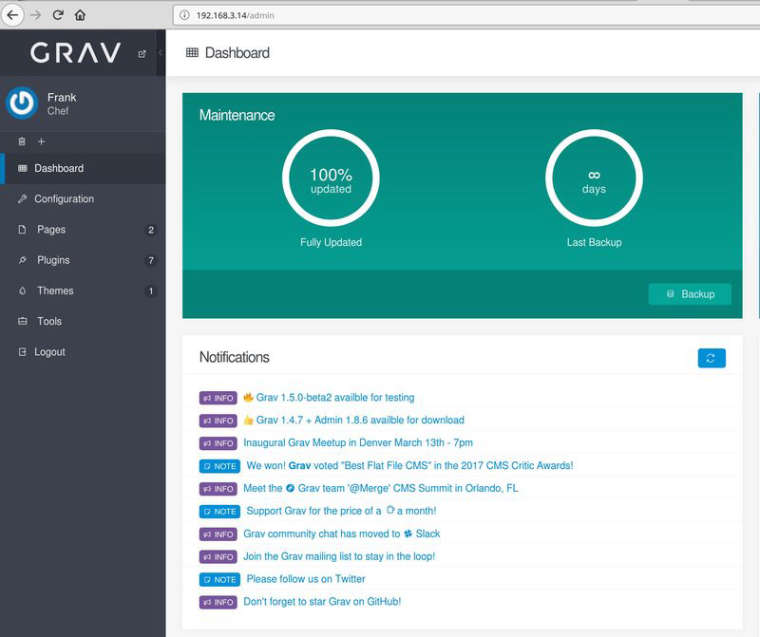
 Ziel des Ganzen ist es eine Grav-Installation zum Laufen zu bekommen.
Hardware
- ROCKPro64 v2.0
Software
Linux
rock64@rockpro64v2_0:~$ uname -a
Linux rockpro64v2_0 4.4.132-1081-rockchip-ayufan-g50be7e64a779 #1 SMP Tue Jul 31 20:09:25 UTC 2018 aarch64 aarch64 aarch64 GNU/Linux
NGinx
rock64@rockpro64:~$ nginx -v
nginx version: nginx/1.14.0 (Ubuntu)
PHP
 rock64@rockpro64:~$ php -v
 PHP 7.2.7-0ubuntu0.18.04.2 (cli) (built: Jul  4 2018 16:55:24) ( NTS )
 Copyright (c) 1997-2018 The PHP Group
 Zend Engine v3.2.0, Copyright (c) 1998-2018 Zend Technologies
     with Zend OPcache v7.2.7-0ubuntu0.18.04.2, Copyright (c) 1999-2018, by Zend Technologies
Installation
NGinx
sudo apt-get install nginxPHP
sudo apt-get install php7.2Benötigte Module für PHP
sudo apt-get install php7.2-mysql php7.2-opcache php7.2-readline php7.2-xml php7.2-xsl php7.2-zip
sudo apt-get install php7.2-cli php7.2-curl php7.2-gd php7.2-geoip php7.2-intl php7.2-json php7.2-mbstring
Konfiguration NGinx
/etc/nginx/nginx.conf
user www-data;
worker_processes auto;
worker_rlimit_nofile 8192; # should be bigger than worker_connections
pid /run/nginx.pid;

events {
    use epoll;
    worker_connections 8000;
    multi_accept on;
}

http {
    sendfile on;
    tcp_nopush on;
    tcp_nodelay on;

    keepalive_timeout 30; # longer values are better for each ssl client, but take up a worker connection longer
    types_hash_max_size 2048;
    server_tokens off;

    # maximum file upload size
    # update 'upload_max_filesize' & 'post_max_size' in /etc/php5/fpm/php.ini accordingly
    client_max_body_size 32m;
    # client_body_timeout 60s; # increase for very long file uploads

    # set default index file (can be overwritten for each site individually)
    index index.html;

    # load MIME types
    include mime.types; # get this file from https://github.com/h5bp/server-configs-nginx
    default_type application/octet-stream; # set default MIME type

    # logging
    access_log /var/log/nginx/access.log;
    error_log /var/log/nginx/error.log;

    # turn on gzip compression
    gzip on;
    gzip_disable "msie6";
    gzip_vary on;
    gzip_proxied any;
    gzip_comp_level 5;
    gzip_buffers 16 8k;
    gzip_http_version 1.1;
    gzip_min_length 256;
    gzip_types
        application/atom+xml
        application/javascript
        application/json
        application/ld+json
        application/manifest+json
        application/rss+xml
        application/vnd.geo+json
        application/vnd.ms-fontobject
        application/x-font-ttf
        application/x-web-app-manifest+json
        application/xhtml+xml
        application/xml
        font/opentype
        image/bmp
        image/svg+xml
        image/x-icon
        text/cache-manifest
        text/css
        text/plain
        text/vcard
        text/vnd.rim.location.xloc
        text/vtt
        text/x-component
        text/x-cross-domain-policy;

    # disable content type sniffing for more security
    add_header "X-Content-Type-Options" "nosniff";

    # force the latest IE version
    add_header "X-UA-Compatible" "IE=Edge";

    # enable anti-cross-site scripting filter built into IE 8+
    add_header "X-XSS-Protection" "1; mode=block";

    # include virtual host configs
    include sites-enabled/*;
}
Unter /etc/nginx/sites-available die Datei default löschen. Die Datei grav-site anlegen.
/etc/nginx/sites-available/grav-site
server {
    #listen 80;
    index index.html index.php;

    ## Begin - Server Info
    root /var/www/grav;
    server_name localhost;
    ## End - Server Info

    ## Begin - Index
    # for subfolders, simply adjust:
    # `location /subfolder {`
    # and the rewrite to use `/subfolder/index.php`
    location / {
        try_files $uri $uri/ /index.php?$query_string;
    }
    ## End - Index

    ## Begin - Security
    # deny all direct access for these folders
    location ~* /(\.git|cache|bin|logs|backup|tests)/.*$ { return 403; }
    # deny running scripts inside core system folders
    location ~* /(system|vendor)/.*\.(txt|xml|md|html|yaml|yml|php|pl|py|cgi|twig|sh|bat)$ { return 403; }
    # deny running scripts inside user folder
    location ~* /user/.*\.(txt|md|yaml|yml|php|pl|py|cgi|twig|sh|bat)$ { return 403; }
    # deny access to specific files in the root folder
    location ~ /(LICENSE\.txt|composer\.lock|composer\.json|nginx\.conf|web\.config|htaccess\.txt|\.htaccess) { return 403; }
    ## End - Security

    ## Begin - PHP
    location ~ \.php$ {
        # Choose either a socket or TCP/IP address
        #fastcgi_pass unix:/var/run/php/php7.0-fpm.sock;
         fastcgi_pass 127.0.0.1:9000;

        fastcgi_split_path_info ^(.+\.php)(/.+)$;
        fastcgi_index index.php;
        include fastcgi_params;
        fastcgi_param SCRIPT_FILENAME $document_root/$fastcgi_script_name;
    }
    ## End - PHP
}
Danach brauchen wir einen symbolischen Link in /etc/nginx/sites-enabled Nur dann funktioniert eine Seite.
sudo ln -s /etc/nginx/sites-available/grav-site /etc/nginx/sites-enabled/Installation Grav
Core installieren
Option 3 der Anleitung https://learn.getgrav.org/basics/installationAdmin Panel installieren
https://learn.getgrav.org/admin-panel/introductionMeine Grav-Installation liegt unter
/var/www/gravWomit hatte ich nun Probleme? NGinx dient ja als Webserver, dieser Webserver muss jetzt die PHP-Dateien entsprechend verarbeiten können. Dazu gibt es folgenden Block in der Datei /etc/nginx/sites-available/grav-site
 ## Begin - PHP
     location ~ \.php$ {
         # Choose either a socket or TCP/IP address
         #fastcgi_pass unix:/var/run/php/php7.0-fpm.sock;
          fastcgi_pass 127.0.0.1:9000;

         fastcgi_split_path_info ^(.+\.php)(/.+)$;
         fastcgi_index index.php;
         include fastcgi_params;
         fastcgi_param SCRIPT_FILENAME $document_root/$fastcgi_script_name;
     }
     ## End - PHP
Es war vorher folgendermaßen
fastcgi_pass unix:/var/run/php/php7.2-fpm.sock;
#fastcgi_pass 127.0.0.1:9000;
Das hat nicht geklappt. Was sagt die Ubuntu Seite dazu?? Man soll folgendes machen. Datei /usr/local/bin/php-fastcgi anlegen.
 #!/bin/bash
 php-cgi -b 127.0.0.1:9000
Ausführungsrechte
chmod a+x /usr/local/bin/php-fastcgiDanach starten
sudo php-fastcgiDas funktioniert aber nur, wenn folgendes eingestellt ist.
#fastcgi_pass unix:/var/run/php/php7.2-fpm.sock;
fastcgi_pass 127.0.0.1:9000;
Damit wird PHP direkt an die FastCGI-Schnittstelle gebunden.
Quelle: https://wiki.ubuntuusers.de/nginx/PHP/
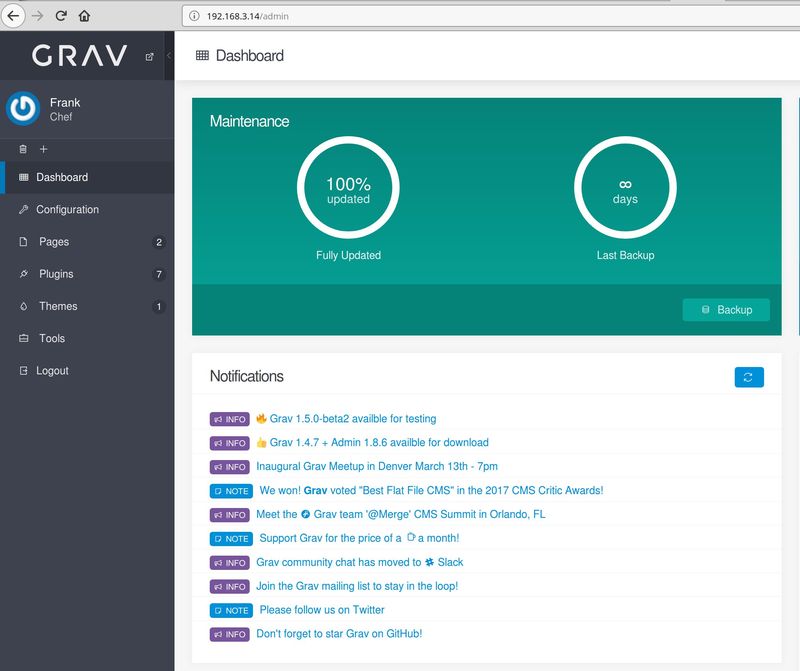
Danach lief meine Grav-Installation.

So weit so gut. Ein kleiner Schönheitsfehler. Konsole zu beendet
sudo php-fastcgidann war es das wieder mit NGinx. Die Lösung wir brauchen eine Datei /etc/rc.local
#!/bin/bash
#
# rc.local - executed at the end of each multiuser runlevel
#
# Make sure that the script will "exit 0" on success or any other
# value on error.
php-fastcgi
exit 0
Den Dienst dann nach dieser Anleitung einrichten

How to Enable /etc/rc.local with Systemd - LinuxBabe
If you are running a Linux distro that uses Systemd, then you may find that your command in /etc/rc.local file would not run at system boot time. This guide explains how to enable /etc/rc.local script to run on system startup. Enable /etc/rc.local on Systemd If you type the following command in terminal: sudo systemctl status…

LinuxBabe (www.linuxbabe.com)
Danach den Server neu starten und es funktioniert!
Achtung! Nicht auf einem produktiven System einsetzen, ich bin mir nicht sicher ob das zu 100% sicher ist.
-
Nachdem ich den ROCKPro64 jetzt auf den Mainline umgestellt habe, lief meine Testinstallation von Grav nicht mehr.
Hilfreiche Sache um das Problem zu lösen -> https://gist.github.com/GhazanfarMir/03bd1f1f770a3834d47274586d46ea62
Ich bekam immer 502 Bad Gateway, Grund war ein nicht korrekt gestarteter php-pfm Service.
rock64@rockpro64v2_0:/usr/local/bin$ sudo service php7.2-fpm start
rock64@rockpro64v2_0:/usr/local/bin$ sudo service php7.2-fpm status
● php7.2-fpm.service - The PHP 7.2 FastCGI Process Manager
   Loaded: loaded (/lib/systemd/system/php7.2-fpm.service; enabled; vendor preset: enabled)
   Active: active (running) since Thu 2018-08-16 20:15:20 CEST; 21s ago
     Docs: man:php-fpm7.2(8)
 Main PID: 3206 (php-fpm7.2)
   Status: "Processes active: 0, idle: 2, Requests: 3, slow: 0, Traffic: 0.2req/sec"
    Tasks: 3 (limit: 4622)
   CGroup: /system.slice/php7.2-fpm.service
           ├─3206 php-fpm: master process (/etc/php/7.2/fpm/php-fpm.conf)
           ├─3207 php-fpm: pool www
           └─3208 php-fpm: pool www

Aug 16 20:15:19 rockpro64v2_0 systemd[1]: Starting The PHP 7.2 FastCGI Process Manager...
Aug 16 20:15:20 rockpro64v2_0 systemd[1]: Started The PHP 7.2 FastCGI Process Manager.


