Skip to content

Debian 12 - Bluetooth Ausfall nach Stromausfall

Linux
1 1 197
  • Nach einem Stromausfall heute, ist der Rechner mal komplett durchgestartet. Danach hatte ich kein Bluetooth mehr. Der Grund dafür ist mir absolut schleierhaft, weil ich natürlich davor auch ab und an den Rechner neustarte. Also, jetzt nicht wirklich etwas Besonderes.

    Das hier sollte das Problem sein.

    [   29.680207] Bluetooth: hci0: command 0xfc05 tx timeout
    [   29.680209] Bluetooth: hci0: Reading Intel version command failed (-110)
    [   35.530848] usb 1-6.4: reset high-speed USB device number 7 using xhci_hcd
    

    Gesucht und bei unix.stackexchange.com fündig geworden.

    Die Reihenfolge der Kernelmodule bringt einem Bluetooth zurück? Halleluja.... 😮

    Test

    root@debian:~# rmmod btusb
    root@debian:~# rmmod btintel
    root@debian:~# modprobe btintel
    root@debian:~# modprobe btusb
    

    Danach ging Bluetooth sofort wieder ohne Probleme !?!?!?

    [  322.313132] usbcore: deregistering interface driver btusb
    [  347.435528] usbcore: registered new interface driver btusb
    [  347.439921] Bluetooth: hci0: Bootloader revision 0.3 build 0 week 24 2017
    [  347.444926] Bluetooth: hci0: Device revision is 1
    [  347.444929] Bluetooth: hci0: Secure boot is enabled
    [  347.444930] Bluetooth: hci0: OTP lock is enabled
    [  347.444931] Bluetooth: hci0: API lock is enabled
    [  347.444931] Bluetooth: hci0: Debug lock is disabled
    [  347.444932] Bluetooth: hci0: Minimum firmware build 1 week 10 2014
    [  347.454320] bluetooth hci0: firmware: direct-loading firmware intel/ibt-20-1-3.sfi
    [  347.454325] Bluetooth: hci0: Found device firmware: intel/ibt-20-1-3.sfi
    [  347.454360] Bluetooth: hci0: Boot Address: 0x24800
    [  347.454361] Bluetooth: hci0: Firmware Version: 15-45.22
    [  351.466998] Bluetooth: hci0: Waiting for firmware download to complete
    [  351.468049] Bluetooth: hci0: Firmware loaded in 3919649 usecs
    [  351.468099] Bluetooth: hci0: Waiting for device to boot
    [  351.485060] Bluetooth: hci0: Device booted in 16583 usecs
    [  351.485164] bluetooth hci0: firmware: direct-loading firmware intel/ibt-20-1-3.ddc
    [  351.485168] Bluetooth: hci0: Found Intel DDC parameters: intel/ibt-20-1-3.ddc
    [  351.493895] Bluetooth: hci0: Applying Intel DDC parameters completed
    [  351.498888] Bluetooth: hci0: Firmware revision 0.3 build 15 week 45 2022
    [  351.763047] Bluetooth: MGMT ver 1.22
    [  351.770898] NET: Registered PF_ALG protocol family
    [  351.779544] Bluetooth: RFCOMM TTY layer initialized
    [  351.779550] Bluetooth: RFCOMM socket layer initialized
    [  351.779554] Bluetooth: RFCOMM ver 1.11
    [  378.557197] usb 1-6.1.4: USB disconnect, device number 10
    [  381.077391] input: MX Vertical Mouse as /devices/virtual/misc/uhid/0005:046D:B020.000B/input/input28
    [  381.077698] hid-generic 0005:046D:B020.000B: input,hidraw3: BLUETOOTH HID v0.09 Mouse [MX Vertical] on a4:b1:c1:97:68:4f
    

    Wie bekomme ich das jetzt erst mal dauerhaft hin, das ich mir nicht immer wieder Gedanken darüber machen muss.

    /etc/systemd/system/bluetooth-modules-load.service

    [Unit]
    Description=Load Bluetooth Modules in Specific Order
    Before=bluetooth.service
    After=local-fs.target
    
    [Service]
    Type=oneshot
    ExecStart=/bin/sh -c 'modprobe btusb && modprobe btintel'
    RemainAfterExit=yes
    
    [Install]
    WantedBy=multi-user.target
    

    Danach noch

    systemctl daemon-reload
    systemctl enable bluetooth-modules-load.service
    

    Reboot und getestet - geht. 🤓

    Der SystemD Dienst ist entstanden mit freundlicher Unterstützung von ChatGPT 😋

    root@debian:/etc/systemd/system# systemctl status bluetooth-modules-load.service 
    ● bluetooth-modules-load.service - Load Bluetooth Modules in Specific Order
         Loaded: loaded (/etc/systemd/system/bluetooth-modules-load.service; enabled; preset: enabled)
         Active: active (exited) since Tue 2023-11-07 16:49:52 CET; 9min ago
        Process: 1002 ExecStart=/bin/sh -c modprobe btusb && modprobe btintel (code=exited, status=0/SUCCESS)
       Main PID: 1002 (code=exited, status=0/SUCCESS)
            CPU: 2ms
    
    Nov 07 16:49:52 debian systemd[1]: Starting bluetooth-modules-load.service - Load Bluetooth Modules in Specific Order...
    Nov 07 16:49:52 debian systemd[1]: Finished bluetooth-modules-load.service - Load Bluetooth Modules in Specific Order.
    

    Es kann sein, das dieser Beitrag Blödsinn enthält. Wenn ihr es besser wisst, dann freue ich mich über Kommentare. Danke!

  • Introducing KDE Linux!

    Uncategorized kde kdelinux kdeplasma linux news
    1
    1
    0 Stimmen
    1 Beiträge
    22 Aufrufe
    Niemand hat geantwortet
  • OpenCloud - Docker Compose local

    Verschoben OpenCloud opencloud linux
    3
    1
    0 Stimmen
    3 Beiträge
    761 Aufrufe
    FrankMF
    Noch was Wichtiges. Die Docker Installation nutzt folgende config. In meinem Beispiel findet man sie unter /home/frank/opencloud/deployments/examples/opencloud_full Darin liegt ein .env ## Basic Settings ## # Define the docker compose log driver used. # Defaults to local LOG_DRIVER= # If you're on an internet facing server, comment out following line. # It skips certificate validation for various parts of OpenCloud and is # needed when self signed certificates are used. INSECURE=true ## Traefik Settings ## # Note: Traefik is always enabled and can't be disabled. # Serve Traefik dashboard. # Defaults to "false". TRAEFIK_DASHBOARD= # Domain of Traefik, where you can find the dashboard. # Defaults to "traefik.opencloud.test" TRAEFIK_DOMAIN= # Basic authentication for the traefik dashboard. # Defaults to user "admin" and password "admin" (written as: "admin:$2y$05$KDHu3xq92SPaO3G8Ybkc7edd51pPLJcG1nWk3lmlrIdANQ/B6r5pq"). # To create user:password pair, it's possible to use this command: # echo $(htpasswd -nB user) | sed -e s/\\$/\\$\\$/g TRAEFIK_BASIC_AUTH_USERS= # Email address for obtaining LetsEncrypt certificates. # Needs only be changed if this is a public facing server. TRAEFIK_ACME_MAIL= # Set to the following for testing to check the certificate process: # "https://acme-staging-v02.api.letsencrypt.org/directory" # With staging configured, there will be an SSL error in the browser. # When certificates are displayed and are emitted by # "Fake LE Intermediate X1", # the process went well and the envvar can be reset to empty to get valid certificates. TRAEFIK_ACME_CASERVER= [....gekürzt....] Man kann dort etwas ändern und mittels docker compose up -d alles aktualisieren. Radicale OpenCloud nutzt im Moment folgendes https://radicale.org/v3.html als Backend Server für Kalender & Kontakte. Jemand hat mir dann erklärt, wie das so funktioniert. Danach hatte es dann klick gemacht. https://fosstodon.org/@h4kamp/114562514701351170 In der config findet man zum Beispiel die Konfiguration für radicale (Kalender- und Kontakte-App) Das ist nur eine rudimentäre Ablage, wird gesteuert über Clienten, z.B. die Thunderbird Kalender Funktion. ### Radicale Setting ### # Radicale is a small open-source CalDAV (calendars, to-do lists) and CardDAV (contacts) server. # When enabled OpenCloud is configured as a reverse proxy for Radicale, providing all authenticated # OpenCloud users access to a Personal Calendar and Addressbook RADICALE=:radicale.yml # Docker image to use for the Radicale Container #RADICALE_DOCKER_IMAGE=opencloudeu/radicale # Docker tag to pull for the Radicale Container #RADICALE_DOCKER_TAG=latest # Define the storage location for the Radicale data. Set the path to a local path. # Ensure that the configuration and data directories are owned by the user and group with ID 1000:1000. # This matches the default user inside the container and avoids permission issues when accessing files. # Leaving it default stores data in docker internal volumes. #RADICALE_DATA_DIR=/your/local/radicale/data In einer Standard Installation ist das auskommentiert. RADICALE=:radicale.yml Danach ein docker compose up -d und Eure Kalendereinträge (extern auf einem Clienten verwaltet) werden in der OpenCloud gesichert.
  • Nextcloud - extrem lange Ladezeiten

    Nextcloud nextcloud code linux
    1
    1
    0 Stimmen
    1 Beiträge
    213 Aufrufe
    Niemand hat geantwortet
  • Star64 lieferbar

    Star64 star64 risc-v linux
    1
    0 Stimmen
    1 Beiträge
    125 Aufrufe
    Niemand hat geantwortet
  • Ubiquiti ER-X - DMZ

    Verschoben OpenWRT & Ubiquiti ER-X openwrt linux er-x
    1
    2
    0 Stimmen
    1 Beiträge
    314 Aufrufe
    Niemand hat geantwortet
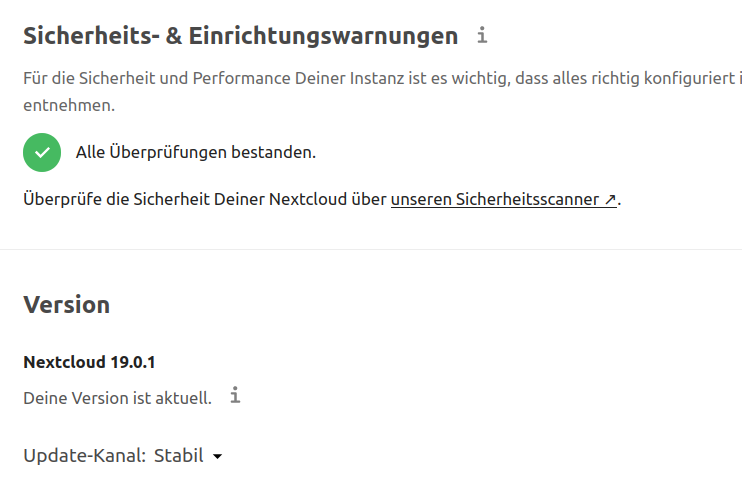
  • Nextcloud - Upgrade auf 19.0.1

    Nextcloud nextcloud linux
    1
    1
    0 Stimmen
    1 Beiträge
    281 Aufrufe
    Niemand hat geantwortet
  • LUKS verschlüsselte Platte mounten

    Linux linux
    2
    1
    0 Stimmen
    2 Beiträge
    1k Aufrufe
    FrankMF
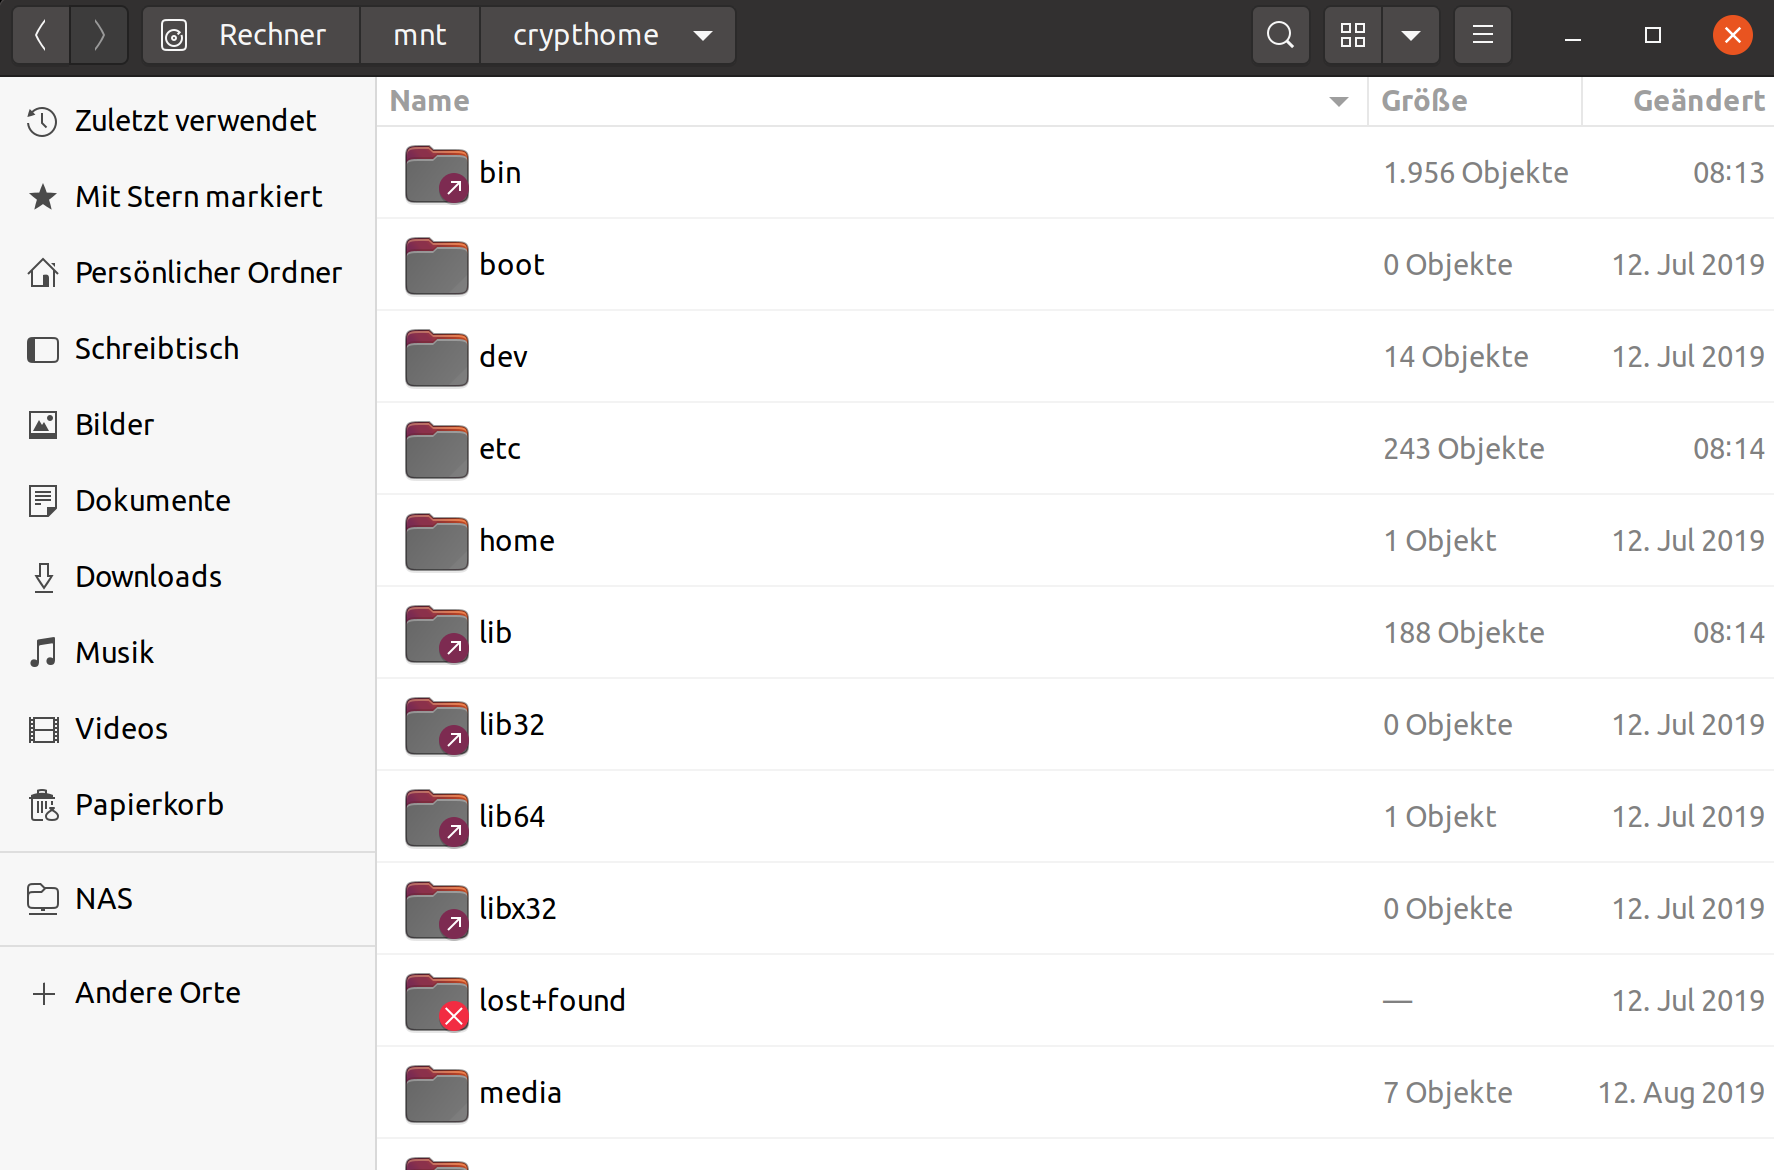
    So, jetzt das ganze noch einen Ticken komplizierter Ich habe ja heute, für eine Neuinstallation von Ubuntu 20.04 Focal eine zweite NVMe SSD eingebaut. Meinen Bericht zu dem Thema findet ihr hier. Aber, darum soll es jetzt hier nicht gehen. Wir haben jetzt zwei verschlüsselte Ubuntu NVMe SSD Riegel im System. Jetzt klappt die ganze Sache da oben nicht mehr. Es kommt immer einen Fehlermeldung. unbekannter Dateisystemtyp „LVM2_member“. Ok, kurz googlen und dann findet man heraus, das es nicht klappen kann, weil beide LVM Gruppen, den selben Namen benutzen. root@frank-MS-7C37:/mnt/crypthome/root# vgdisplay --- Volume group --- VG Name vgubuntu2 System ID Format lvm2 Metadata Areas 1 Metadata Sequence No 4 VG Access read/write VG Status resizable MAX LV 0 Cur LV 2 Open LV 1 Max PV 0 Cur PV 1 Act PV 1 VG Size <464,53 GiB PE Size 4,00 MiB Total PE 118919 Alloc PE / Size 118919 / <464,53 GiB Free PE / Size 0 / 0 VG UUID lpZxyv-cNOS-ld2L-XgvG-QILa-caHS-AaIC3A --- Volume group --- VG Name vgubuntu System ID Format lvm2 Metadata Areas 1 Metadata Sequence No 3 VG Access read/write VG Status resizable MAX LV 0 Cur LV 2 Open LV 2 Max PV 0 Cur PV 1 Act PV 1 VG Size <475,71 GiB PE Size 4,00 MiB Total PE 121781 Alloc PE / Size 121781 / <475,71 GiB Free PE / Size 0 / 0 VG UUID jRYTXL-zjpY-lYr6-KODT-u0LJ-9fYf-YVDna7 Hier oben sieht man das schon mit geändertem Namen. Der VG Name muss unterschiedlich sein. Auch dafür gibt es ein Tool. root@frank-MS-7C37:/mnt/crypthome/root# vgrename --help vgrename - Rename a volume group Rename a VG. vgrename VG VG_new [ COMMON_OPTIONS ] Rename a VG by specifying the VG UUID. vgrename String VG_new [ COMMON_OPTIONS ] Common options for command: [ -A|--autobackup y|n ] [ -f|--force ] [ --reportformat basic|json ] Common options for lvm: [ -d|--debug ] [ -h|--help ] [ -q|--quiet ] [ -v|--verbose ] [ -y|--yes ] [ -t|--test ] [ --commandprofile String ] [ --config String ] [ --driverloaded y|n ] [ --nolocking ] [ --lockopt String ] [ --longhelp ] [ --profile String ] [ --version ] Use --longhelp to show all options and advanced commands. Das muss dann so aussehen! vgrename lpZxyv-cNOS-ld2L-XgvG-QILa-caHS-AaIC3A vgubuntu2 ACHTUNG Es kann zu Datenverlust kommen, also wie immer, Hirn einschalten! Ich weiß, das die erste eingebaute Platte mit der Nummer /dev/nvme0n1 geführt wird. Die zweite, heute verbaute, hört dann auf den Namen /dev/nvme1n1. Die darf ich nicht anpacken, weil sonst das System nicht mehr startet. /etc/fstab # /etc/fstab: static file system information. # # Use 'blkid' to print the universally unique identifier for a # device; this may be used with UUID= as a more robust way to name devices # that works even if disks are added and removed. See fstab(5). # # <file system> <mount point> <type> <options> <dump> <pass> /dev/mapper/vgubuntu-root / ext4 errors=remount-ro 0 1 # /boot was on /dev/nvme1n1p2 during installation UUID=178c7e51-a1d7-4ead-bbdf-a956eb7b754f /boot ext4 defaults 0 2 # /boot/efi was on /dev/nvme0n1p1 during installation UUID=7416-4553 /boot/efi vfat umask=0077 0 1 /dev/mapper/vgubuntu-swap_1 none swap sw 0 0 Jo, wenn jetzt die Partition /dev/mapper/vgubuntu2-root / anstatt /dev/mapper/vgubuntu-root / heißt läuft nichts mehr. Nur um das zu verdeutlichen, auch das könnte man problemlos reparieren. Aber, ich möchte nur warnen!! Nachdem die Änderung durchgeführt wurde, habe ich den Rechner neugestartet. Puuh, Glück gehabt, richtige NVMe SSD erwischt Festplatte /dev/mapper/vgubuntu2-root: 463,58 GiB, 497754832896 Bytes, 972177408 Sektoren Einheiten: Sektoren von 1 * 512 = 512 Bytes Sektorgröße (logisch/physikalisch): 512 Bytes / 512 Bytes E/A-Größe (minimal/optimal): 512 Bytes / 512 Bytes Nun können wir die Platte ganz normal, wie oben beschrieben, mounten. Nun kann ich noch ein paar Dinge kopieren
  • Veracrypt Volume einhängen

    Linux linux
    1
    0 Stimmen
    1 Beiträge
    936 Aufrufe
    Niemand hat geantwortet