LUKS verschlüsselte Platte mounten
Linux
2
Beiträge
1
Kommentatoren
1.4k
Aufrufe
-
schrieb am 1. Mai 2020, 11:45 zuletzt editiert von FrankM 5. Feb. 2020, 10:23
Ich bin mal wieder am Spielen
") Nachdem doch einiges schief gegangen ist, dazu später mehr, musste ich eine verschlüsselte NVMe SSD mal eben mounten um an ein paar Daten ran zu kommen.
Nachdem doch einiges schief gegangen ist, dazu später mehr, musste ich eine verschlüsselte NVMe SSD mal eben mounten um an ein paar Daten ran zu kommen.Pakete die benötigt werden
apt install cryptsetup
apt install lvm2
Platte suchen
root@frank-MS-7A34:~# blkid | grep crypto
/dev/nvme0n1p3: UUID="abf46827-9c34-4ab5-a376-5e6344b4b164" TYPE="crypto_LUKS" PARTUUID="0552c66a-55cd-4153-bf01-787479575f0c"
Platte entsperren
root@frank-MS-7A34:~# cryptsetup luksOpen /dev/nvme0n1p3 crypthome
Geben Sie die Passphrase für »/dev/nvme0n1p3« ein:
Mount Verzeichnis anlegen
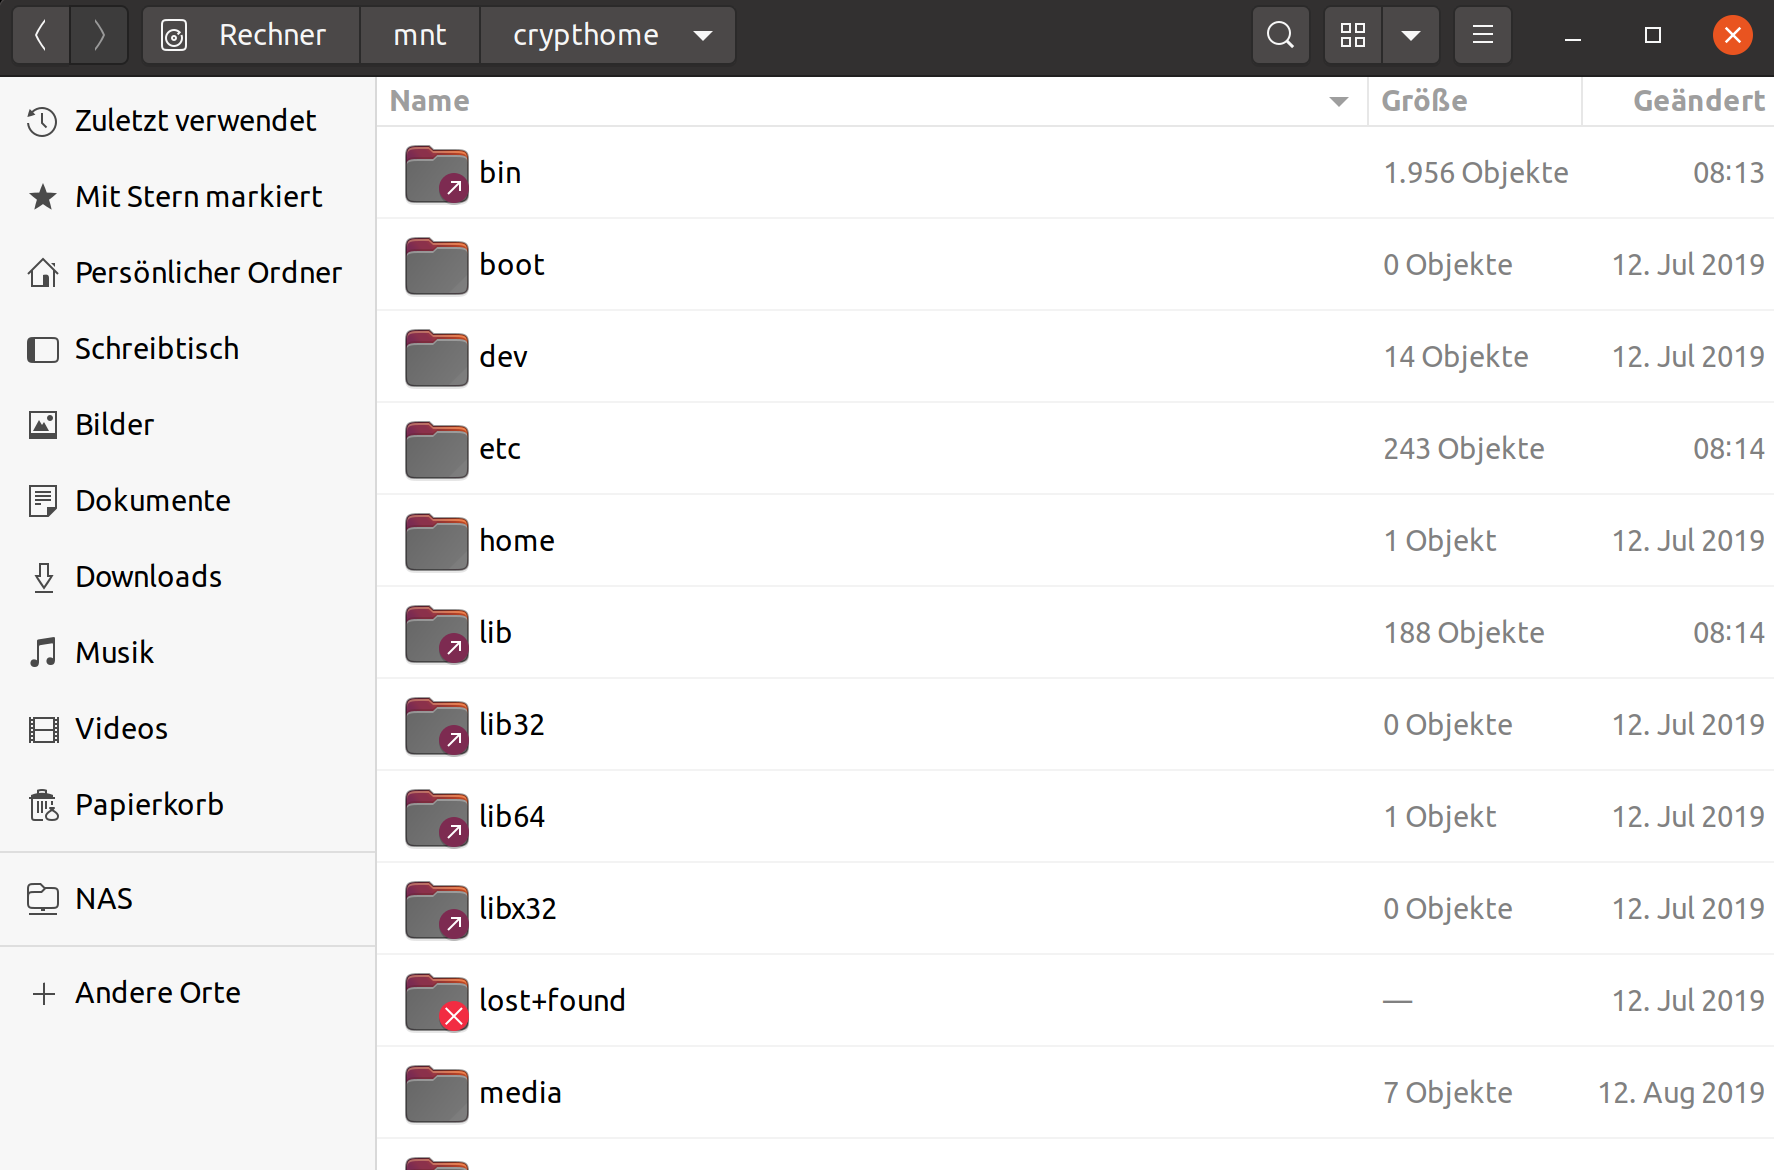
mkdir /mnt/crypthome/dev/mapper anzeigen
root@frank-MS-7A34:~# fdisk -l
[..gekürzt..]
Festplatte /dev/mapper/crypthome: 476,19 GiB, 511299289088 Bytes, 998631424 Sektoren
Einheiten: Sektoren von 1 * 512 = 512 Bytes
Sektorgröße (logisch/physikalisch): 512 Bytes / 512 Bytes
E/A-Größe (minimal/optimal): 512 Bytes / 512 Bytes


Festplatte /dev/mapper/debian--vg-root: 444,24 GiB, 476988833792 Bytes, 931618816 Sektoren
Einheiten: Sektoren von 1 * 512 = 512 Bytes
Sektorgröße (logisch/physikalisch): 512 Bytes / 512 Bytes
E/A-Größe (minimal/optimal): 512 Bytes / 512 Bytes


Festplatte /dev/mapper/debian--vg-swap_1: 31,98 GiB, 34309406720 Bytes, 67010560 Sektoren
Einheiten: Sektoren von 1 * 512 = 512 Bytes
Sektorgröße (logisch/physikalisch): 512 Bytes / 512 Bytes
E/A-Größe (minimal/optimal): 512 Bytes / 512 Bytes
Das Root Verzeichnis möchte ich mounten.
Mounten
root@frank-MS-7A34:~# mount /dev/mapper/debian--vg-root /mnt/crypthomeFertig!
Quelle: https://evilshit.wordpress.com/2012/10/29/how-to-mount-luks-encrypted-partitions-manually/
-
schrieb am 21. Mai 2020, 14:29 zuletzt editiert von FrankM
So, jetzt das ganze noch einen Ticken komplizierter
Ich habe ja heute, für eine Neuinstallation von Ubuntu 20.04 Focal eine zweite NVMe SSD eingebaut. Meinen Bericht zu dem Thema findet ihr hier. Aber, darum soll es jetzt hier nicht gehen.
Wir haben jetzt zwei verschlüsselte Ubuntu NVMe SSD Riegel im System. Jetzt klappt die ganze Sache da oben nicht mehr. Es kommt immer einen Fehlermeldung.
unbekannter Dateisystemtyp „LVM2_member“.Ok, kurz googlen und dann findet man heraus, das es nicht klappen kann, weil beide LVM Gruppen, den selben Namen benutzen.
root@frank-MS-7C37:/mnt/crypthome/root# vgdisplay
  --- Volume group ---
  VG Name               vgubuntu2
  System ID
  Format                lvm2
  Metadata Areas        1
  Metadata Sequence No  4
  VG Access             read/write
  VG Status             resizable
  MAX LV                0
  Cur LV                2
  Open LV               1
  Max PV                0
  Cur PV                1
  Act PV                1
  VG Size               <464,53 GiB
  PE Size               4,00 MiB
  Total PE              118919
  Alloc PE / Size       118919 / <464,53 GiB
  Free  PE / Size       0 / 0
  VG UUID               lpZxyv-cNOS-ld2L-XgvG-QILa-caHS-AaIC3A

  --- Volume group ---
  VG Name               vgubuntu
  System ID
  Format                lvm2
  Metadata Areas        1
  Metadata Sequence No  3
  VG Access             read/write
  VG Status             resizable
  MAX LV                0
  Cur LV                2
  Open LV               2
  Max PV                0
  Cur PV                1
  Act PV                1
  VG Size               <475,71 GiB
  PE Size               4,00 MiB
  Total PE              121781
  Alloc PE / Size       121781 / <475,71 GiB
  Free  PE / Size       0 / 0
  VG UUID               jRYTXL-zjpY-lYr6-KODT-u0LJ-9fYf-YVDna7
Hier oben sieht man das schon mit geändertem Namen. Der VG Name muss unterschiedlich sein. Auch dafür gibt es ein Tool.
root@frank-MS-7C37:/mnt/crypthome/root# vgrename --help
  vgrename - Rename a volume group

  Rename a VG.
  vgrename VG VG_new
	[ COMMON_OPTIONS ]

  Rename a VG by specifying the VG UUID.
  vgrename String VG_new
	[ COMMON_OPTIONS ]

  Common options for command:
	[ -A|--autobackup y|n ]
	[ -f|--force ]
	[    --reportformat basic|json ]

  Common options for lvm:
	[ -d|--debug ]
	[ -h|--help ]
	[ -q|--quiet ]
	[ -v|--verbose ]
	[ -y|--yes ]
	[ -t|--test ]
	[    --commandprofile String ]
	[    --config String ]
	[    --driverloaded y|n ]
	[    --nolocking ]
	[    --lockopt String ]
	[    --longhelp ]
	[    --profile String ]
	[    --version ]

  Use --longhelp to show all options and advanced commands.
Das muss dann so aussehen!
vgrename lpZxyv-cNOS-ld2L-XgvG-QILa-caHS-AaIC3A vgubuntu2ACHTUNG
Es kann zu Datenverlust kommen, also wie immer, Hirn einschalten!
Ich weiß, das die erste eingebaute Platte mit der Nummer /dev/nvme0n1 geführt wird. Die zweite, heute verbaute, hört dann auf den Namen /dev/nvme1n1. Die darf ich nicht anpacken, weil sonst das System nicht mehr startet.
/etc/fstab
# /etc/fstab: static file system information.
#
# Use 'blkid' to print the universally unique identifier for a
# device; this may be used with UUID= as a more robust way to name devices
# that works even if disks are added and removed. See fstab(5).
#
# <file system> <mount point>   <type>  <options>       <dump>  <pass>
/dev/mapper/vgubuntu-root /               ext4    errors=remount-ro 0       1
# /boot was on /dev/nvme1n1p2 during installation
UUID=178c7e51-a1d7-4ead-bbdf-a956eb7b754f /boot           ext4    defaults        0       2
# /boot/efi was on /dev/nvme0n1p1 during installation
UUID=7416-4553  /boot/efi       vfat    umask=0077      0       1
/dev/mapper/vgubuntu-swap_1 none            swap    sw              0       0
Jo, wenn jetzt die Partition /dev/mapper/vgubuntu2-root / anstatt /dev/mapper/vgubuntu-root / heißt läuft nichts mehr. Nur um das zu verdeutlichen, auch das könnte man problemlos reparieren. Aber, ich möchte nur warnen!!
Nachdem die Änderung durchgeführt wurde, habe ich den Rechner neugestartet. Puuh, Glück gehabt, richtige NVMe SSD erwischt
Festplatte /dev/mapper/vgubuntu2-root: 463,58 GiB, 497754832896 Bytes, 972177408 Sektoren
Einheiten: Sektoren von 1 * 512 = 512 Bytes
Sektorgröße (logisch/physikalisch): 512 Bytes / 512 Bytes
E/A-Größe (minimal/optimal): 512 Bytes / 512 Bytes
Nun können wir die Platte ganz normal, wie oben beschrieben, mounten. Nun kann ich noch ein paar Dinge kopieren
")