Skip to content

nginx konfigurieren

NodeBB
1 1 674
  • Nehmen wir an, wir haben uns eine kleine Testumgebung geschaffen, mit

    Dann kann man den Server so aufrufen

    http://192.168.3.200:4567
    

    Der Port in der Adresse nervt und muss weg 😉 Dazu braucht man einen Proxy. Ich wähle dafür nginx.

    Installation

    sudo apt.get install nginx

    Konfiguration

    cd /etc/nginx/sites-available
    sudo cp default default.bak
    rm default
    

    Damit erzeugen wir uns erst mal eine Kopie der Original Einstellungen. Dann mit dem Editor eine neue Datei default

     sudo nano default
    

    Folgender Inhalt

    server {
        listen 80;
    
        server_name 192.168.3.200;
    
        location / {
            proxy_set_header X-Real-IP $remote_addr;
            proxy_set_header X-Forwarded-For $proxy_add_x_forwarded_for;
            proxy_set_header X-Forwarded-Proto $scheme;
            proxy_set_header Host $http_host;
            proxy_set_header X-NginX-Proxy true;
    
            proxy_pass http://127.0.0.1:4567;
            proxy_redirect off;
    
            # Socket.IO Support
            proxy_http_version 1.1;
            proxy_set_header Upgrade $http_upgrade;
            proxy_set_header Connection "upgrade";
        }
    }
    

    nginx neustarten

    sudo service nginx restart
    

    Danach kann man das Forum mit

    http://192.168.3.200
    

    aufrufen. Fertig!!

    Das ist nicht für Server am Netz geeignet, dazu sind evt. noch mehr Konfigurationsschritte nötig. Thema Sicherheit!!

    Quelle: NodeBB Dokumentation
  • NodeBB - v3.0.0 released

    NodeBB nodebb
    1
    0 Stimmen
    1 Beiträge
    114 Aufrufe
    Niemand hat geantwortet
  • Manjaro Stable-Update vom 20.02.23

    Linux manjaro docker linux
    2
    0 Stimmen
    2 Beiträge
    218 Aufrufe
    FrankMF
    Ich konnte es nicht lassen, ich habe es mal getestet.    ~  docker version  ✔  1m 37s  Client: Version: 23.0.1 API version: 1.42 Go version: go1.20 Git commit: a5ee5b1dfc Built: Sat Feb 11 13:58:04 2023 OS/Arch: linux/amd64 Context: default In der aktuellen systemd Datei steht folgendes drin. Bei mir zu finden unter /usr/lib/systemd/system/docker.service LimitNOFILE=infinity LimitNPROC=infinity LimitCORE=infinity Die override Dateien angelegt und durchgestartet. Läuft alles einwandfrei. Aber bitte fragt mich nicht, was dieser Wert da oben macht. Ich habe keine Ahnung. Update: Erklärung zu ulimits https://stackoverflow.com/questions/62127643/need-understand-ulimits-nofile-setting-in-host-and-container
  • NGINX - Neue Domain bekannt machen

    NGINX nginx
    1
    0 Stimmen
    1 Beiträge
    155 Aufrufe
    Niemand hat geantwortet
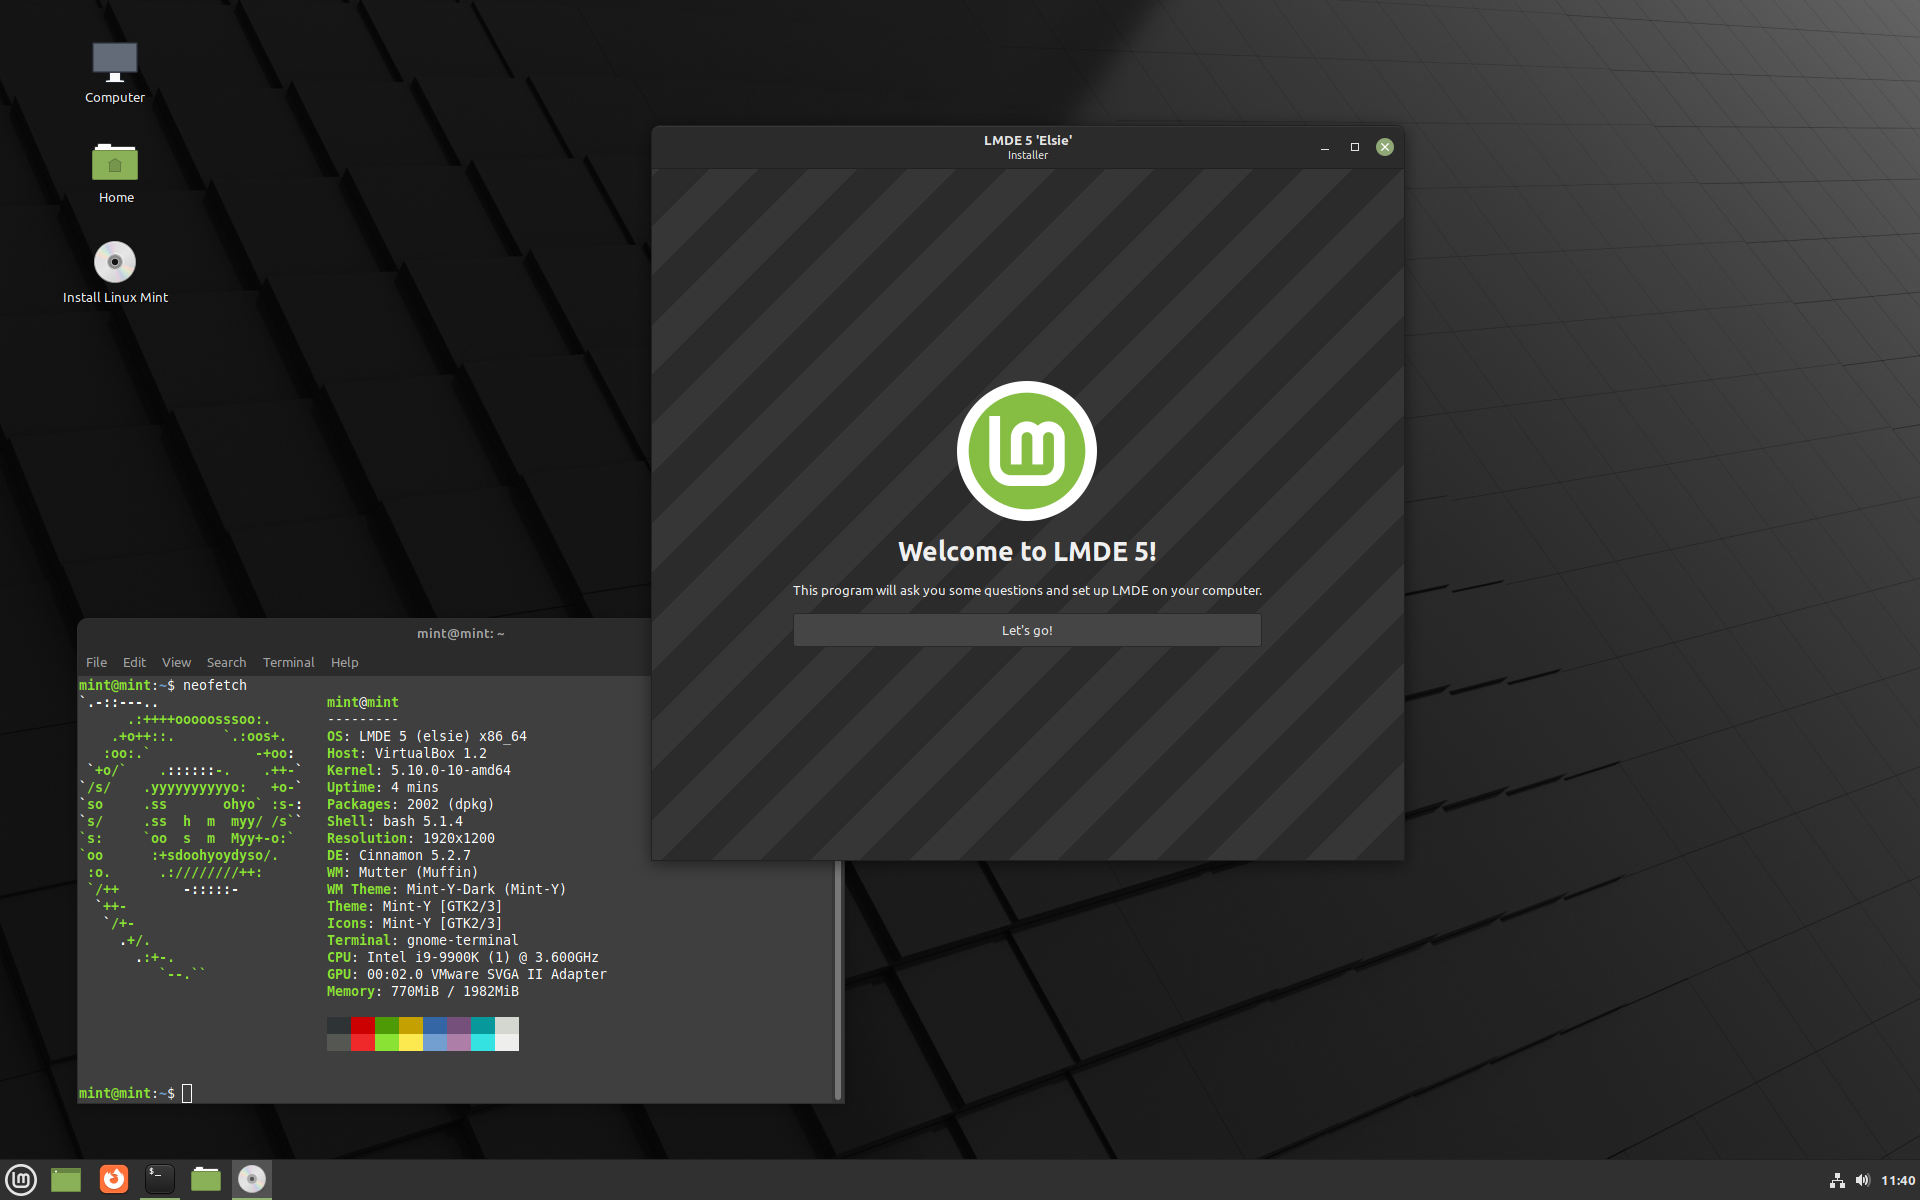
  • LMDE Beta

    Linux lmde linux
    1
    1
    0 Stimmen
    1 Beiträge
    254 Aufrufe
    Niemand hat geantwortet
  • ZFS - Wichtige Befehle

    Linux zfs linux
    3
    0 Stimmen
    3 Beiträge
    1k Aufrufe
    FrankMF
    Heute mal drüber gestolpert, das es auch so was geben kann. root@pve2:~# zpool status pool: pool_NAS state: ONLINE status: Some supported and requested features are not enabled on the pool. The pool can still be used, but some features are unavailable. action: Enable all features using 'zpool upgrade'. Once this is done, the pool may no longer be accessible by software that does not support the features. See zpool-features(7) for details. scan: scrub repaired 0B in 00:20:50 with 0 errors on Sun Apr 13 00:44:51 2025 config: NAME STATE READ WRITE CKSUM pool_NAS ONLINE 0 0 0 mirror-0 ONLINE 0 0 0 ata-WDC_WDS100T1R0A-68A4W0_230520800733 ONLINE 0 0 0 ata-WDC_WDS100T1R0A-68A4W0_230520801376 ONLINE 0 0 0 errors: No known data errors Was machen? Als erstes mal ein Backup angestoßen. Danach root@pve2:~# zpool get all pool_NAS | grep feature pool_NAS feature@async_destroy enabled local pool_NAS feature@empty_bpobj active local pool_NAS feature@lz4_compress active local pool_NAS feature@multi_vdev_crash_dump enabled local pool_NAS feature@spacemap_histogram active local pool_NAS feature@enabled_txg active local pool_NAS feature@hole_birth active local pool_NAS feature@extensible_dataset active local pool_NAS feature@embedded_data active local pool_NAS feature@bookmarks enabled local pool_NAS feature@filesystem_limits enabled local pool_NAS feature@large_blocks enabled local pool_NAS feature@large_dnode enabled local pool_NAS feature@sha512 enabled local pool_NAS feature@skein enabled local pool_NAS feature@edonr enabled local pool_NAS feature@userobj_accounting active local pool_NAS feature@encryption enabled local pool_NAS feature@project_quota active local pool_NAS feature@device_removal enabled local pool_NAS feature@obsolete_counts enabled local pool_NAS feature@zpool_checkpoint enabled local pool_NAS feature@spacemap_v2 active local pool_NAS feature@allocation_classes enabled local pool_NAS feature@resilver_defer enabled local pool_NAS feature@bookmark_v2 enabled local pool_NAS feature@redaction_bookmarks enabled local pool_NAS feature@redacted_datasets enabled local pool_NAS feature@bookmark_written enabled local pool_NAS feature@log_spacemap active local pool_NAS feature@livelist enabled local pool_NAS feature@device_rebuild enabled local pool_NAS feature@zstd_compress enabled local pool_NAS feature@draid enabled local pool_NAS feature@zilsaxattr disabled local pool_NAS feature@head_errlog disabled local pool_NAS feature@blake3 disabled local pool_NAS feature@block_cloning disabled local pool_NAS feature@vdev_zaps_v2 disabled local Das kommt von neuen Funktionen, die zu ZFS hinzugefügt wurden und bei Erstellung des Pools nicht vorhanden waren. Dann upgraden wir mal root@pve2:~# zpool upgrade pool_NAS This system supports ZFS pool feature flags. Enabled the following features on 'pool_NAS': zilsaxattr head_errlog blake3 block_cloning vdev_zaps_v2 Kontrolle root@pve2:~# zpool status pool: pool_NAS state: ONLINE scan: scrub repaired 0B in 00:20:50 with 0 errors on Sun Apr 13 00:44:51 2025 config: NAME STATE READ WRITE CKSUM pool_NAS ONLINE 0 0 0 mirror-0 ONLINE 0 0 0 ata-WDC_WDS100T1R0A-68A4W0_230520800733 ONLINE 0 0 0 ata-WDC_WDS100T1R0A-68A4W0_230520801376 ONLINE 0 0 0 errors: No known data errors Features kontrollieren root@pve2:~# zpool get all pool_NAS | grep feature pool_NAS feature@async_destroy enabled local pool_NAS feature@empty_bpobj active local pool_NAS feature@lz4_compress active local pool_NAS feature@multi_vdev_crash_dump enabled local pool_NAS feature@spacemap_histogram active local pool_NAS feature@enabled_txg active local pool_NAS feature@hole_birth active local pool_NAS feature@extensible_dataset active local pool_NAS feature@embedded_data active local pool_NAS feature@bookmarks enabled local pool_NAS feature@filesystem_limits enabled local pool_NAS feature@large_blocks enabled local pool_NAS feature@large_dnode enabled local pool_NAS feature@sha512 enabled local pool_NAS feature@skein enabled local pool_NAS feature@edonr enabled local pool_NAS feature@userobj_accounting active local pool_NAS feature@encryption enabled local pool_NAS feature@project_quota active local pool_NAS feature@device_removal enabled local pool_NAS feature@obsolete_counts enabled local pool_NAS feature@zpool_checkpoint enabled local pool_NAS feature@spacemap_v2 active local pool_NAS feature@allocation_classes enabled local pool_NAS feature@resilver_defer enabled local pool_NAS feature@bookmark_v2 enabled local pool_NAS feature@redaction_bookmarks enabled local pool_NAS feature@redacted_datasets enabled local pool_NAS feature@bookmark_written enabled local pool_NAS feature@log_spacemap active local pool_NAS feature@livelist enabled local pool_NAS feature@device_rebuild enabled local pool_NAS feature@zstd_compress enabled local pool_NAS feature@draid enabled local pool_NAS feature@zilsaxattr enabled local pool_NAS feature@head_errlog active local pool_NAS feature@blake3 enabled local pool_NAS feature@block_cloning enabled local pool_NAS feature@vdev_zaps_v2 enabled local So, alle neuen Features aktiviert. Jetzt kann der Pool weiterhin seine Arbeit machen.
  • ZFS - One Disk Pool -> Mirror Pool

    Linux linux zfs
    1
    0 Stimmen
    1 Beiträge
    222 Aufrufe
    Niemand hat geantwortet
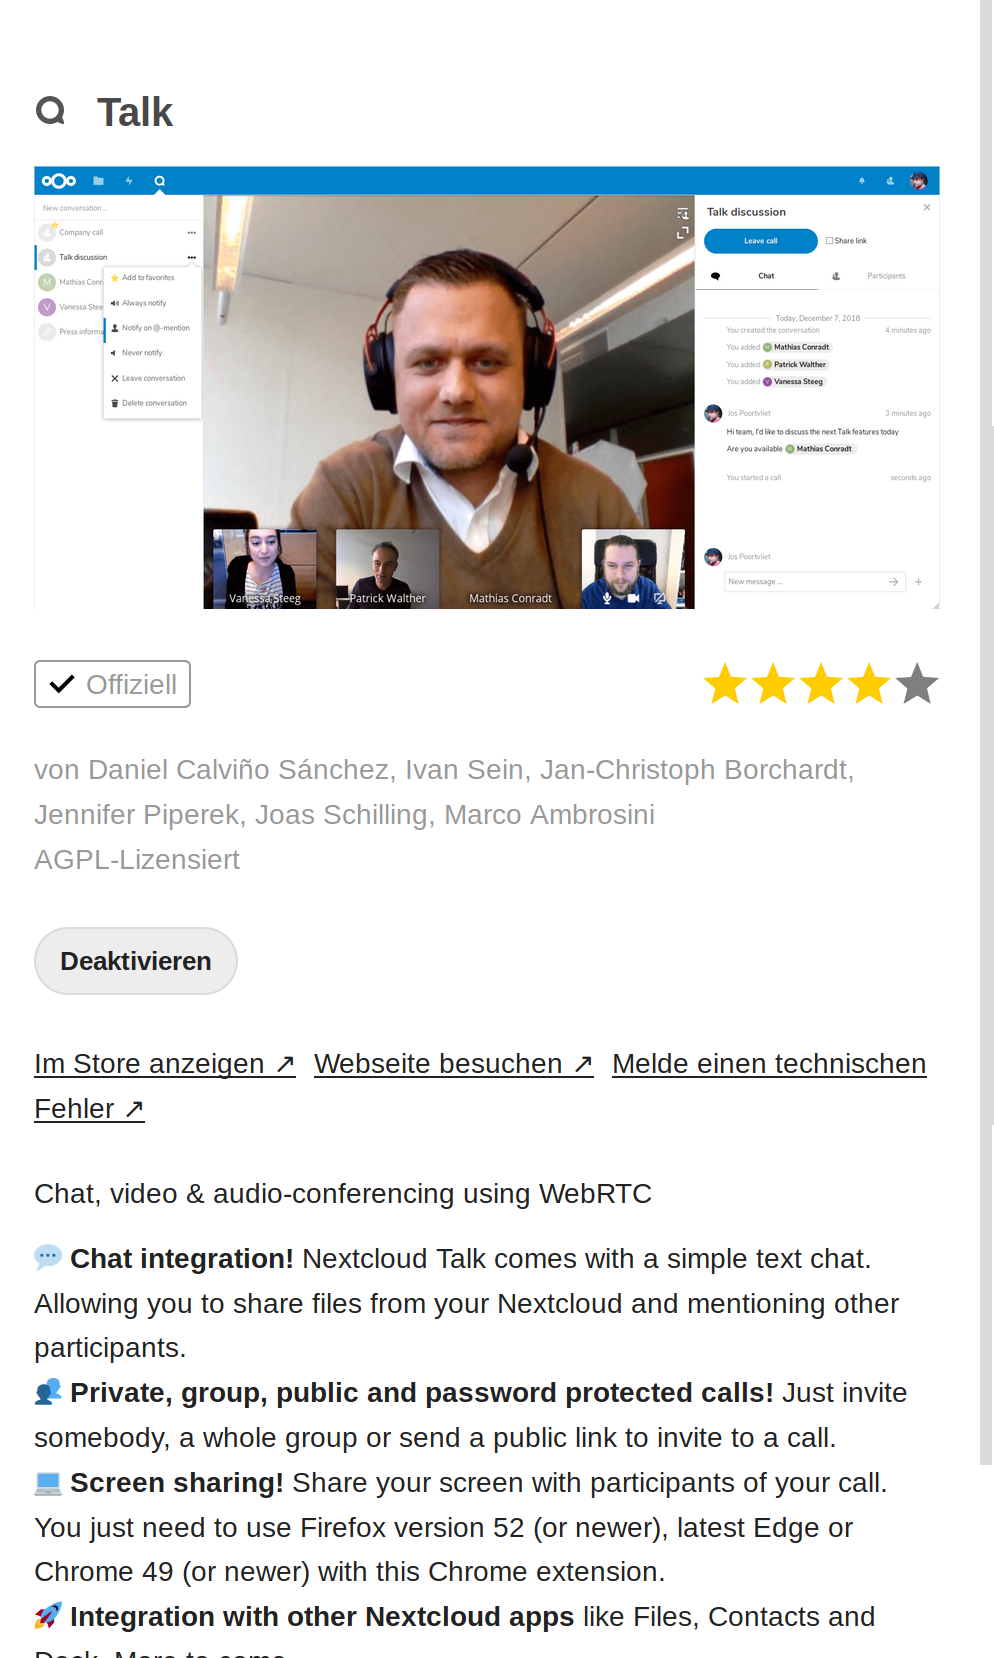
  • Nextcloud Talk

    Nextcloud nextcloud coturn linux talk
    5
    2
    0 Stimmen
    5 Beiträge
    1k Aufrufe
    FrankMF
    All I needed to do was setting the permissions to 744 for the archive directory and the symlinks resolved correctly after a reboot of coturn My turnserver installation on Debian runs as the user turnserver and not as root, nor is the user turnserver in any group owning the letsencrypt directory. If your turnserver does run as root, it should be fine just adding execute permissions. I hope this helps some of you. Quelle: https://help.nextcloud.com/t/lets-encrypt-symlink-breaks-coturn-configuration/70166 Was zum Testen die Tage....
  • Linux Befehle - ls & tail

    Linux linux
    1
    0 Stimmen
    1 Beiträge
    504 Aufrufe
    Niemand hat geantwortet