Skip to content

Vorstellung von Joplin

Linux
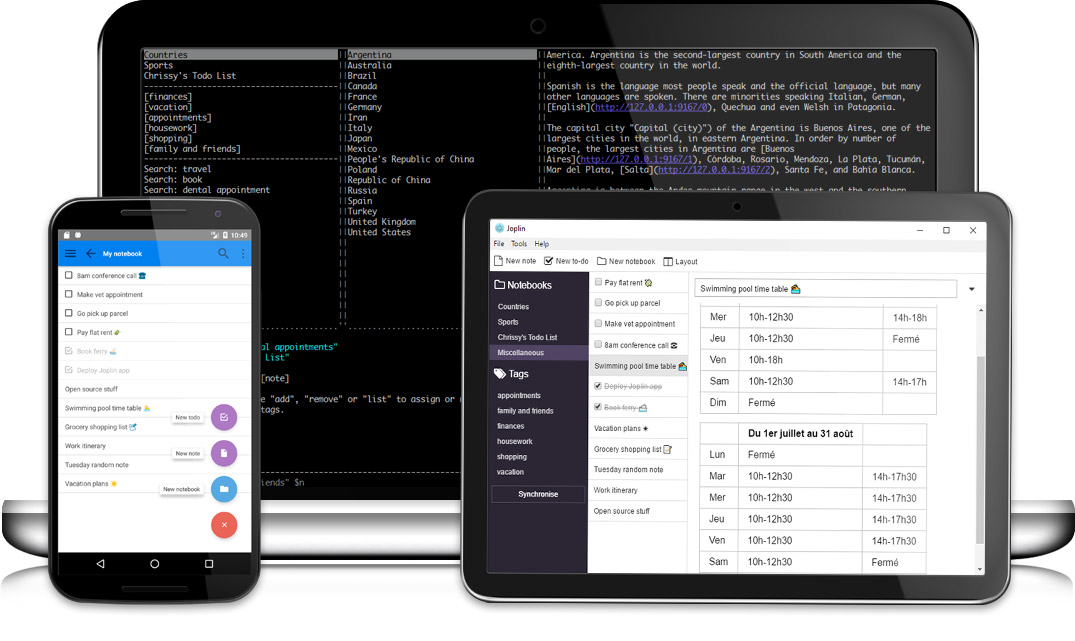
  • Joplin ist ein Programm zum Erstellen von Notizen oder To-Do-Listen, so ähnlich wie das kommerzielle Evernote. So Dienste wie Evernote habe ich früher auch benutzt, lehne ich aber mittlerweile komplett ab. Ich setze nur noch Software ein, wo ich die Kontrolle drüber habe. Und ganz wichtig = OpenSource!
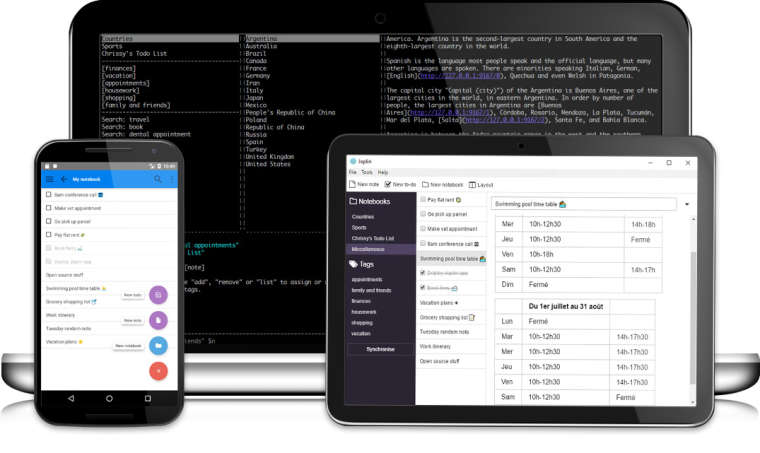
    0_1524377755638_joplin.jpg
    Bildquelle: https://github.com/laurent22/joplin

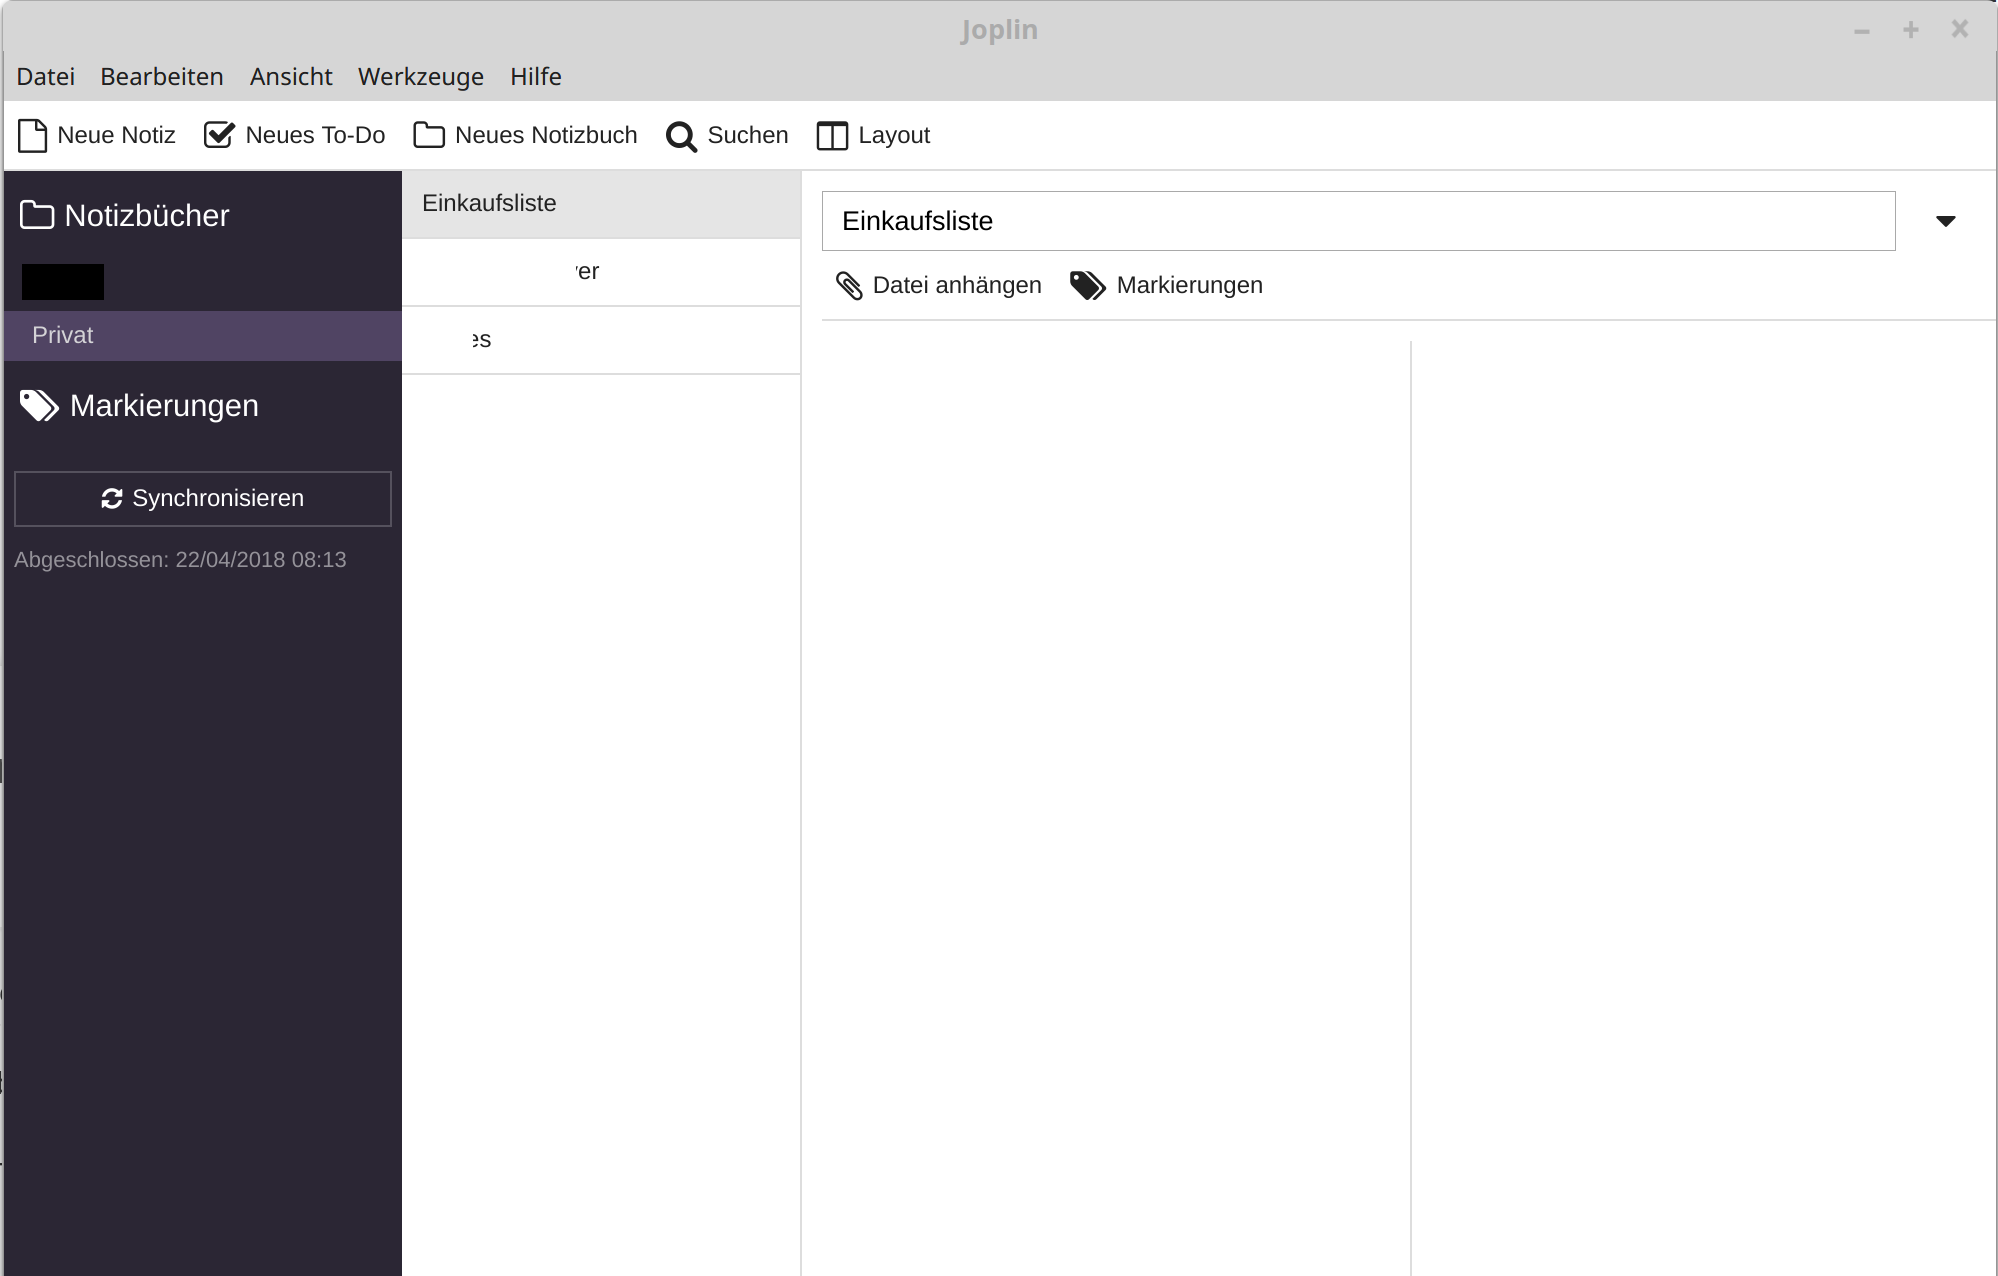
    Das Linux AppImage was man herunterladen kann, sieht s bei mir aus.
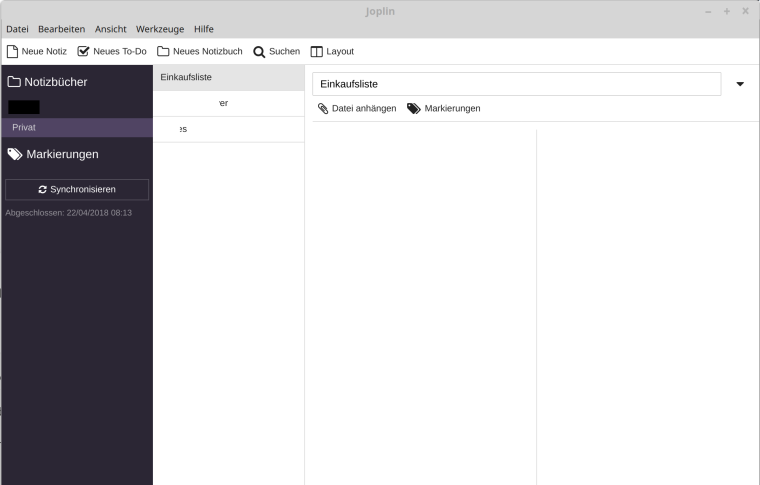
    0_1524378145404_Linux_Desktop.png

    Und auf dem Smartphone so

    0_1524379400480_sp2.png

    Aber, welche Cloud nutzt man? Da Joplin End-to-End verschlüsselt, kann man getrost auch kommerzielle Dienste nutzen. Diese Dienste sind dann nicht mehr in der Lage mitzulesen. Aber, da eigene Kontrolle wichtig ist , wählen wir auch hier eine eigene Lösung.

    Nextcloud

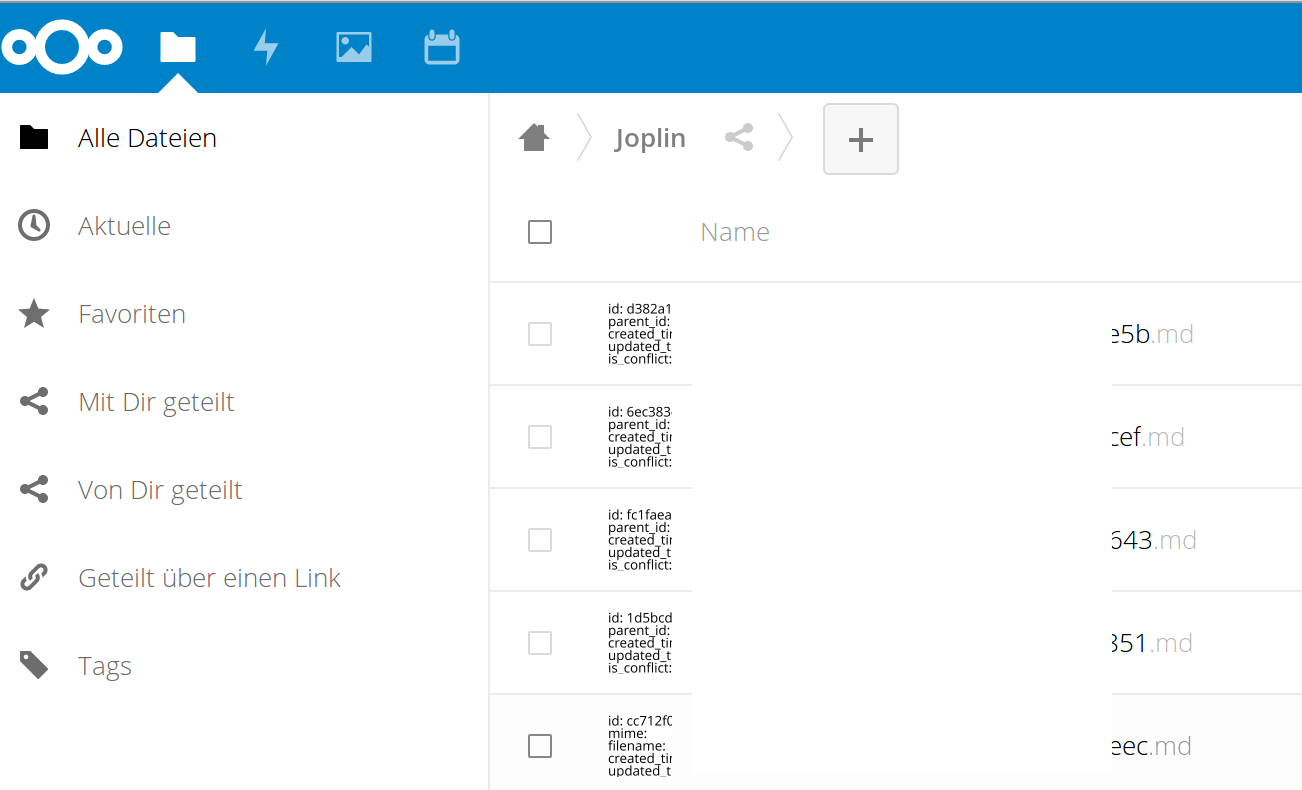
    Diese Lösung hoste ich selber und kann nun damit meine Notizen usw. selber speichern und synchronisieren. So sieht das innerhalb von Nextcloud aus.
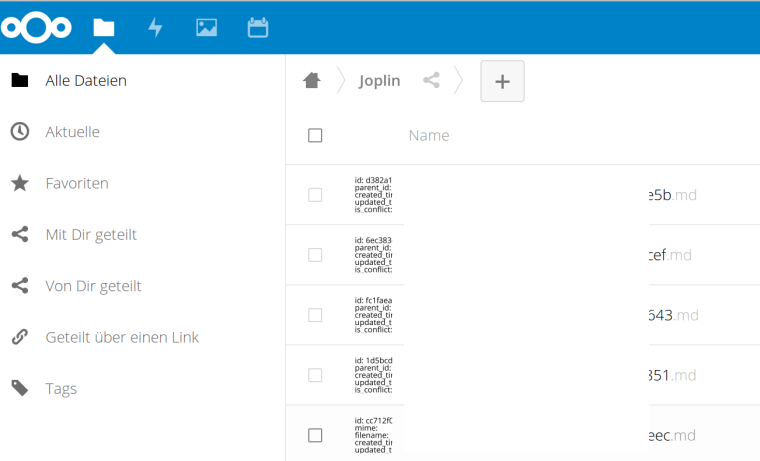
    0_1524378743598_nextcloud_joplin.png

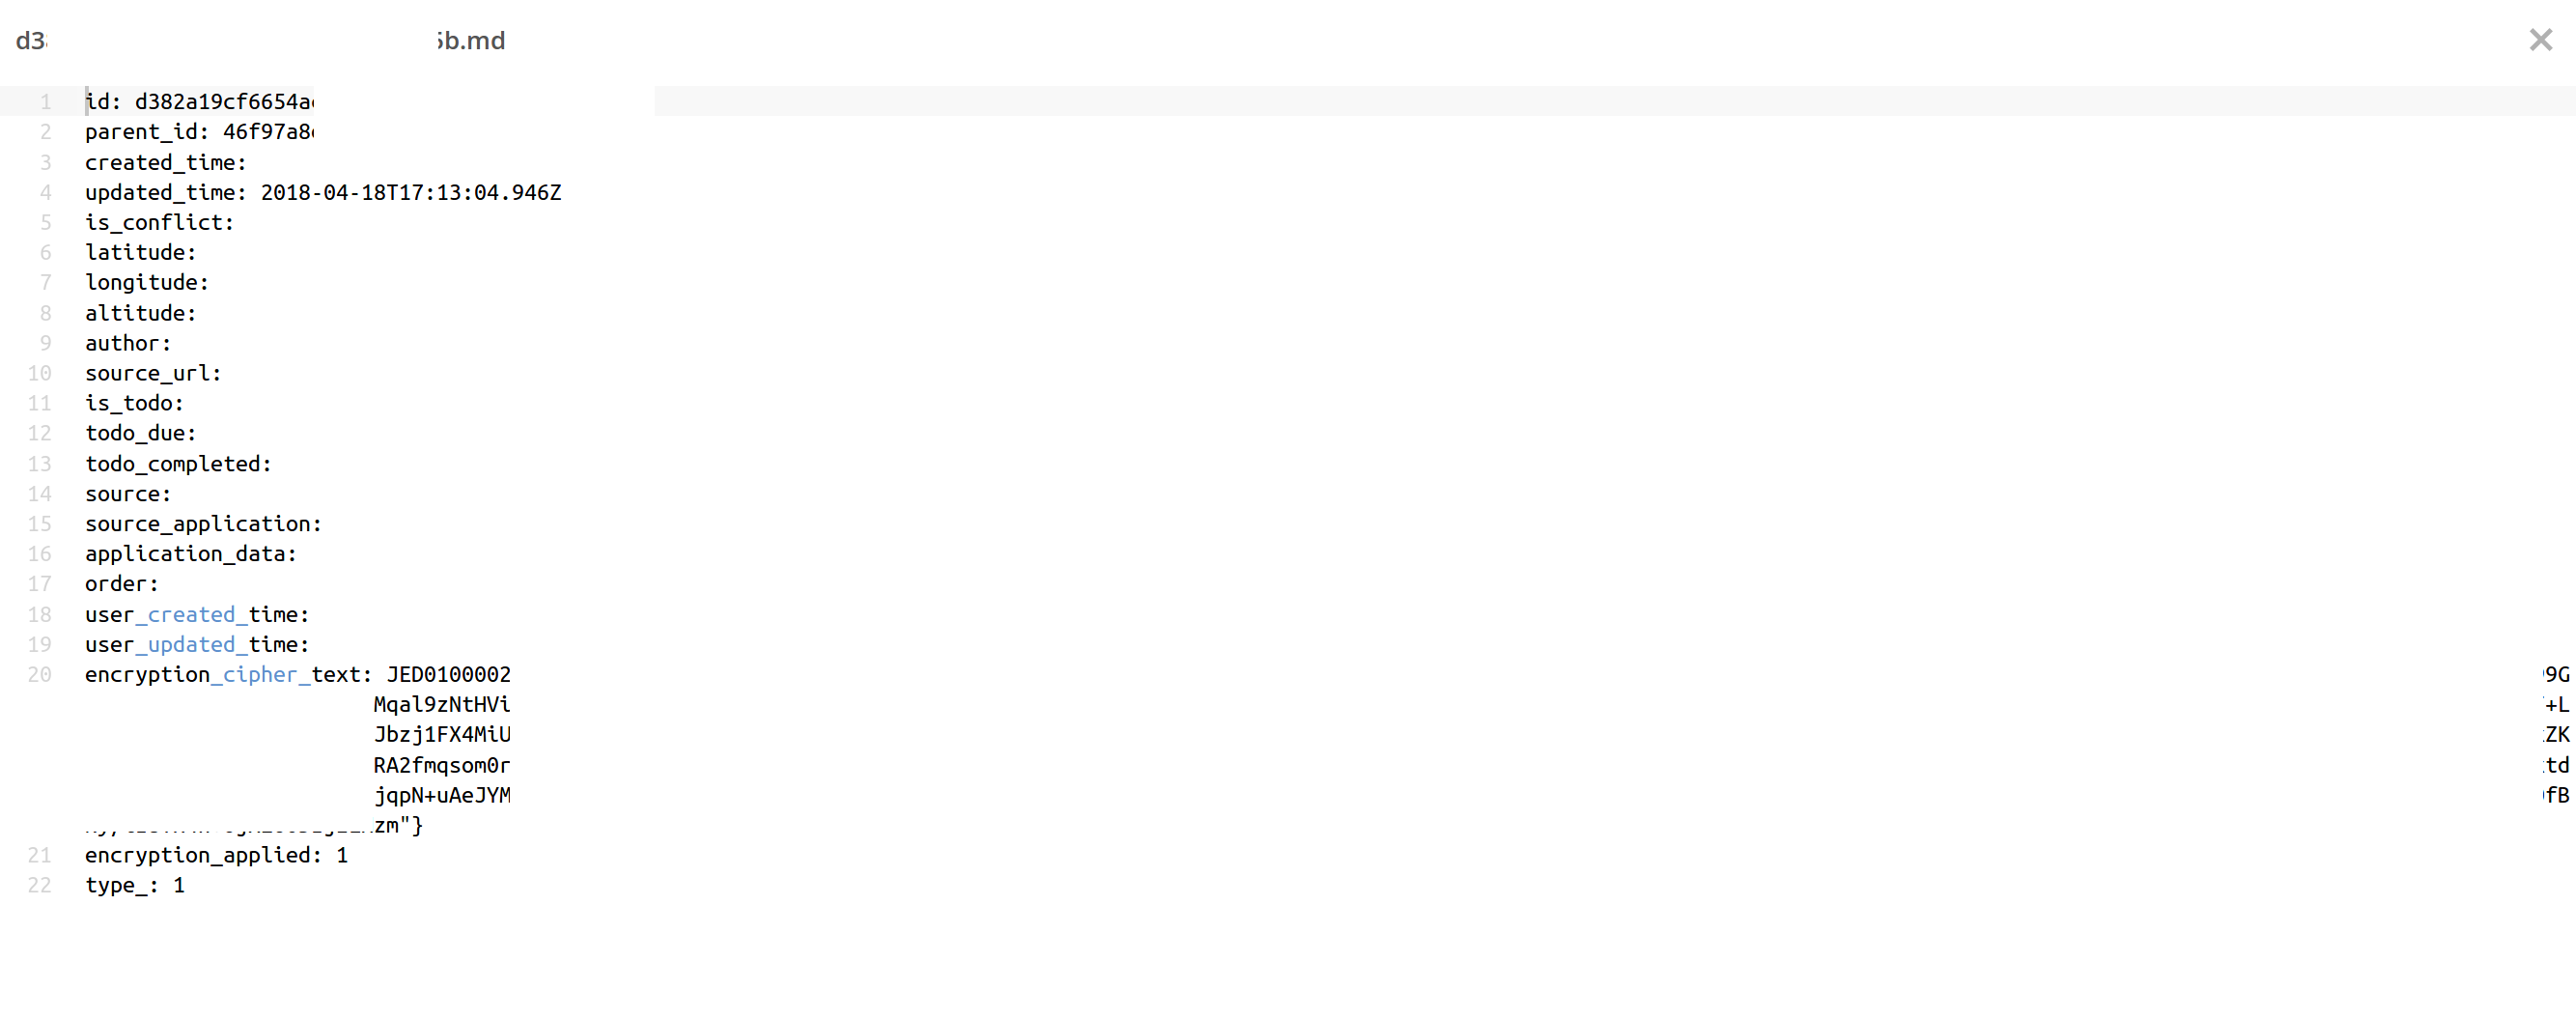
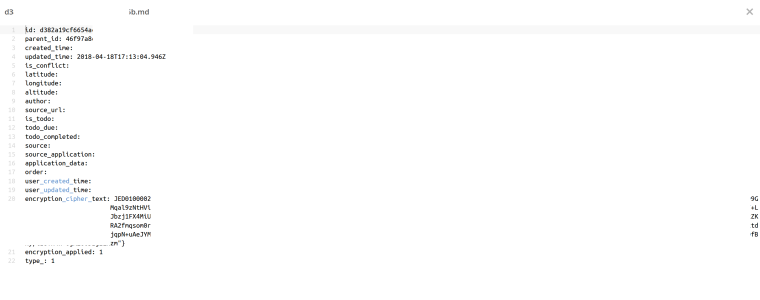
    Kurze Kontrolle ob das File auch wirklich verschlüsselt ist.
    0_1524378794304_nextcloud_joplin2.png

    Das eingesetzte Verfahren ist AES256. Damit kann man ruhig schlafen und den Notizen auch mal was anvertrauen, was niemand anderes lesen soll. Hier wird das End-to-End Verfahren genau beschrieben https://joplin.cozic.net/spec/

    Voraussetzung wie immer, ein gutes Passwort!

    Viel Spaß beim Ausprobieren.

  • Nachdem ich Joplin jetzt schon ein paar Monate einsetze, musste ich jetzt nach einer Neuinstallation meines Haupt-PCs das Programm wieder installieren. So weit keine größeren Probleme, bis auf

    • ich musste das Syncronisationsziel auf WebDAV stellen, Nextcloud ging nicht so richtig!?
    • es kommt ein orangenes Wanfenster, mit irgendwas "Masterkey........", einfach den Rechner mal was länger anlassen, die Meldung verschwindet nach einiger Zeit von alleine.

    Joplin läuft jetzt wieder einwandfrei.

  • Heute das Ganze nochmal ausprobiert. 🙂

    Unter "Werkzeuge/Allgemeine Einstellungen"

    0_1539095579387_2541359f-78f0-4b14-b540-beddb80e7f45-grafik.png

    Danach auf "Synchronisieren" klicken. Nach kurzer Zeit fragt er nach dem fehlenden Passwort. Passwort eingeben und kurze Zeit später waren alle Daten wieder da. Diesmal ging das ruckzuck.

     Joplin 1.0.111 (prod, linux)
    

  • Update 1.32.3 released

    Vaultwarden
    1
    0 Stimmen
    1 Beiträge
    92 Aufrufe
    Niemand hat geantwortet
  • Nextcloud - Upgrade Hub 9 (30.0.0)

    Nextcloud
    3
    0 Stimmen
    3 Beiträge
    900 Aufrufe
    FrankMF

    Ich habe dann mal weitergesucht, dank ein paar Tipps aus dem Fediverse, sehe ich jetzt was heller 😉

    towo (@towo@chaos.social)

    @FrankM@nrw.social IIRC ist das auch so eine External App, die man dazu packen muss. Da darf man dann noch der Nextcloud Zugriff auf eine Docker-API, damit die die Applikationen hochzieht, geben; alternativ geht wohl auch ein statisches Deployment.

    favicon

    chaos.social (chaos.social)

    Nachdem ich dann ein paar Apps gefunden und installiert hatte

    AppAPI Flow

    tauchte dann im Benutzermenü, rechts oben, folgendes auf.

    Bildschirmfoto_20240922_101125.png

    Das Interessante ist der Menüpunkt Externe Apps.

    Nun sollte ich diese Funktion verstanden haben. Das Nextcloud Team integriert also diese Windmill App via Docker Container und greift dann darauf zu. In der Videopräsentation war doch von in Nextcloud integriert die Werbeansprache!? Ein Docker Container ist für mich keine Integration.

    Ich habe einige rudimentäre Kenntnisse von Docker, ausschließlich lokal. Aber, ich komme nicht auf die Idee das auf einem produktiven Server zu installieren. Somit kann ich das Testen hier beenden und die Apps alle wieder deinstallieren.

    Jetzt habe ich noch im Kopf, ob man das mal mit einem Nextcloud-AIO testen soll? Natürlich auf einem Testsystem.

    Link Preview Image GitHub - nextcloud/all-in-one: 📦 The official Nextcloud installation method. Provides easy deployment and maintenance with most features included in this one Nextcloud instance.

    📦 The official Nextcloud installation method. Provides easy deployment and maintenance with most features included in this one Nextcloud instance. - nextcloud/all-in-one

    favicon

    GitHub (github.com)

  • Ansible - Proxmox Server bearbeiten

    Ansible
    1
    0 Stimmen
    1 Beiträge
    394 Aufrufe
    Niemand hat geantwortet
  • Debian 12 Bookworm - Release 12.1

    Linux
    1
    0 Stimmen
    1 Beiträge
    114 Aufrufe
    Niemand hat geantwortet
  • Rest-Server Version 0.12.1 released

    Linux
    1
    0 Stimmen
    1 Beiträge
    93 Aufrufe
    Niemand hat geantwortet
  • NAS 2023 - Thema Datensicherung

    Verschoben Linux
    2
    0 Stimmen
    2 Beiträge
    143 Aufrufe
    FrankMF

    Bleibt noch etwas wichtiges. Die ganzen Konfigurationsdateien vom Proxmox Host. Sinnvoll, das man sich das sichert.

    #!/bin/bash # Script um mit Restic Daten automatisiert zu sichern! # Dient zum Sichern des Ordners /etc/pve! # Was soll gesichert werden? backup_pfad=/etc/pve # Programm Start restic --password-file /root/passwd -r /mnt/pve/Restic_Backups/pve backup $backup_pfad > backup_pve_001.log restic --password-file /root/passwd -r /mnt/pve/Restic_Backups/pve forget --keep-last 3 --keep-monthly 3 --prune >> backup_pve_002.log # Testen restic --password-file /root/passwd -r /mnt/pve/Restic_Backups/pve check --read-data >> backup_pve_003.log

    Crontab eingerichtet - fertig!

  • FAN control OMV Auyfan 0.10.12: gitlab-ci-linux-build-184, Kernel 5.6

    Linux
    12
    1 Stimmen
    12 Beiträge
    1k Aufrufe
    M

    Hi,

    since I'm currently change my rockpro64 setup I came across this.

    With the kernel from ayufan you need to set PWM_CTL to

    /sys/devices/platform/pwm-fan/hwmon/hwmon3/pwm1

    for my self compiled one I need

    /sys/devices/platform/pwm-fan/hwmon/hwmon0/pwm1

    But I got it only working with one entry for PWM_CTL e.g.

    PWM_CTL = "/sys/devices/platform/pwm-fan/hwmon/hwmon0/pwm1",

    after that you need to start ats again

    sudo systemctl stop ats sudo systemctl start ats

    initially the fan should start immediately for a short period of time.

    In case it is even a different one on your kernel you can find the right one using this command.

    sudo find /sys -name pwm1 | grep hwmon

    So far I'm not sure which kernel parameter or modul changes this.

    Martin

  • ReactPHP auf einem ROCKPro64 testen

    Linux
    1
    0 Stimmen
    1 Beiträge
    186 Aufrufe
    Niemand hat geantwortet