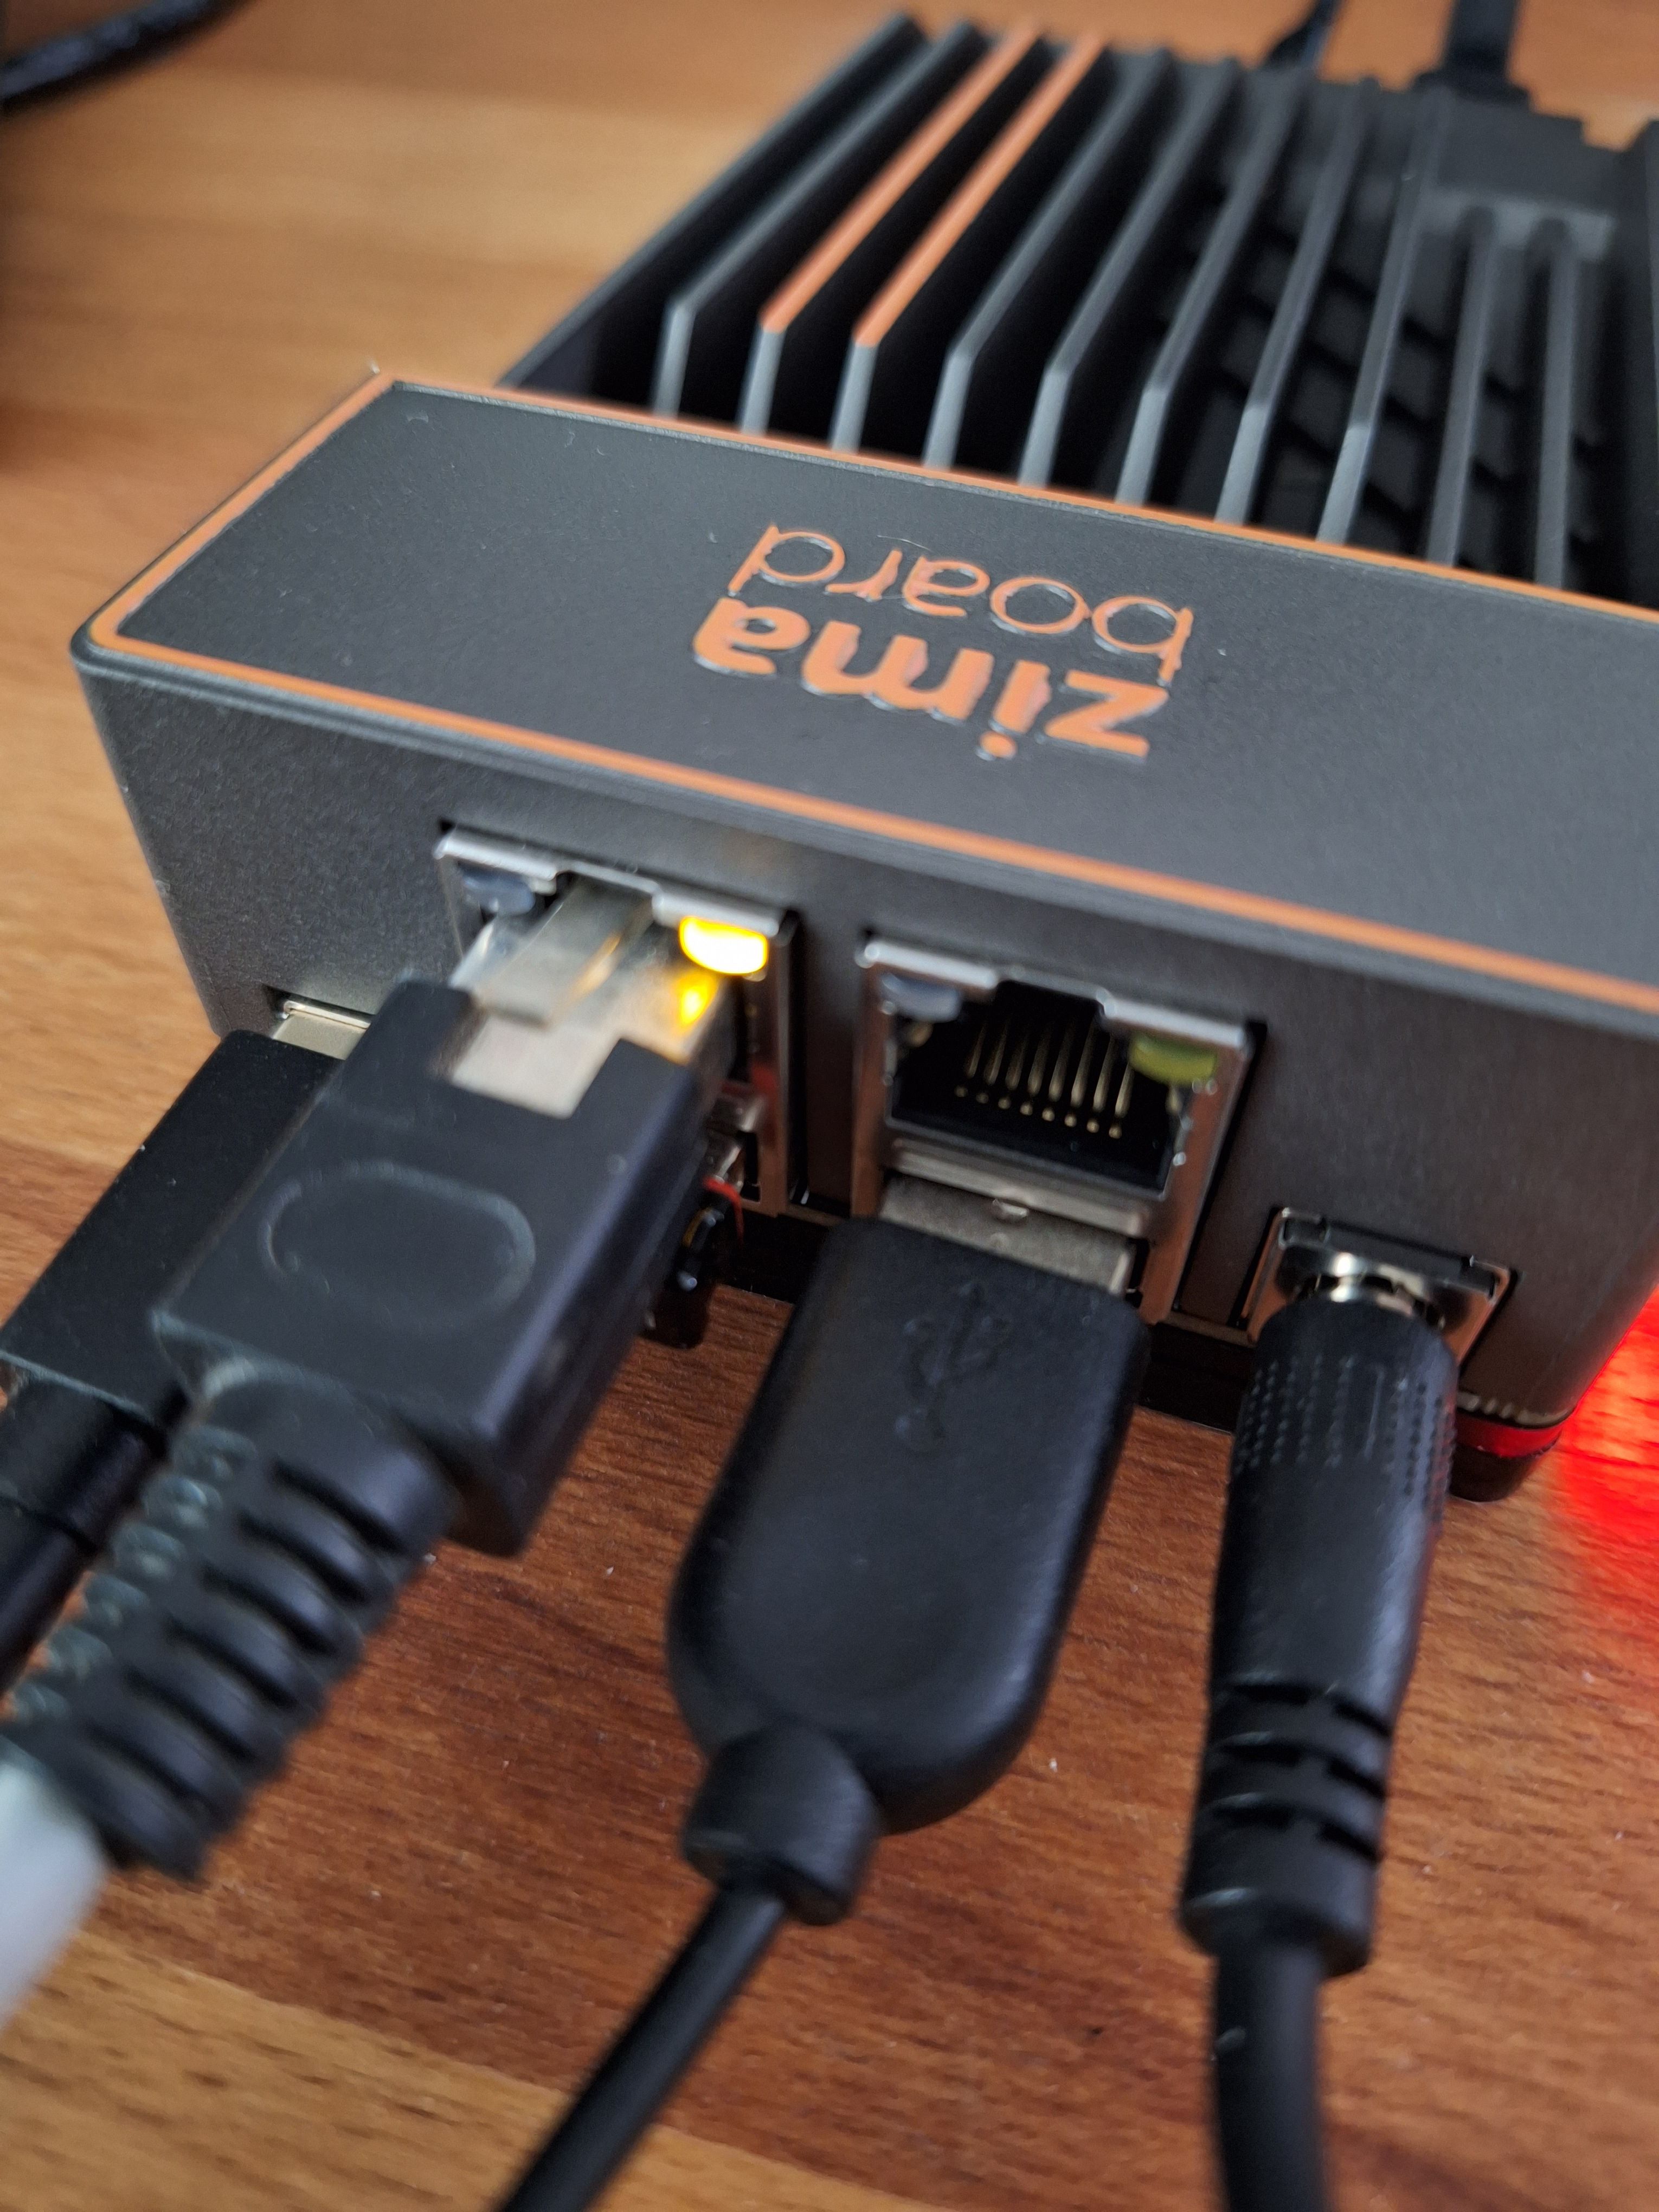
Zima Board
-
Ok, über eine Videoseite im Netz
 auf neues Spielzeug aufmerksam geworden. Das könnte doch ein schönes "NAS" werden, kleine pfSense oder was anderes. Mal sehen wann ich Zeit habe mich damit zu beschäftigen.
Das vorinstallierte Debian der Chinesen läuft, nur will man das nicht wirklich haben...
Auf dem User Manual steht Single Board Server

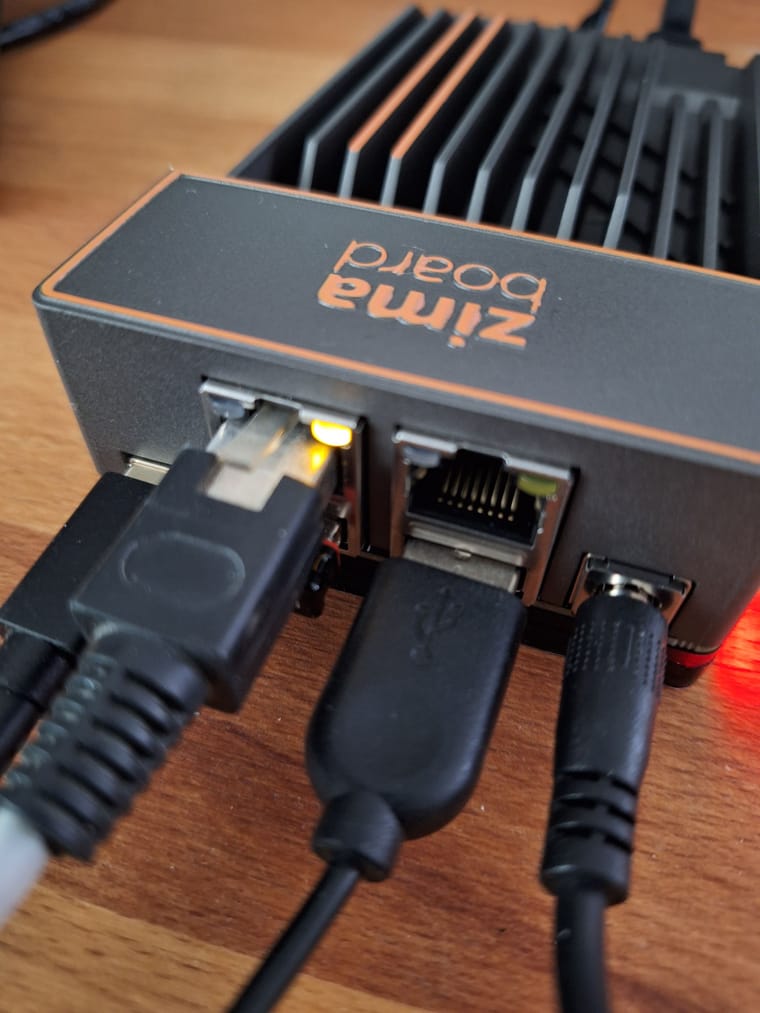
https://docs.zimaboard.com/docs/Hardware-Interface-Introduction.html
-
Ein paar schnelle Infos. Gestartet mit dem vorinstallierten CasaOS der Chinesen. Das ist ein Debian mit Gnome Desktop.
lscpu
root@CasaOS:~# lscpu
Architecture:                    x86_64
CPU op-mode(s):                  32-bit, 64-bit
Byte Order:                      Little Endian
Address sizes:                   39 bits physical, 48 bits virtual
CPU(s):                          4
On-line CPU(s) list:             0-3
Thread(s) per core:              1
Core(s) per socket:              4
Socket(s):                       1
NUMA node(s):                    1
Vendor ID:                       GenuineIntel
CPU family:                      6
Model:                           92
Model name:                      Intel(R) Celeron(R) CPU N3450 @ 1.10GHz
Stepping:                        9
CPU MHz:                         1445.919
CPU max MHz:                     2200.0000
CPU min MHz:                     800.0000
BogoMIPS:                        2188.80
Virtualization:                  VT-x
L1d cache:                       96 KiB
L1i cache:                       128 KiB
L2 cache:                        2 MiB
NUMA node0 CPU(s):               0-3
Vulnerability Itlb multihit:     Not affected
Vulnerability L1tf:              Not affected
Vulnerability Mds:               Not affected
Vulnerability Meltdown:          Not affected
Vulnerability Mmio stale data:   Not affected
Vulnerability Retbleed:          Not affected
Vulnerability Spec store bypass: Not affected
Vulnerability Spectre v1:        Mitigation; usercopy/swapgs barriers and __user pointer sanitization
Vulnerability Spectre v2:        Mitigation; Retpolines, IBPB conditional, IBRS_FW, STIBP disabled, RSB filling, PBRSB-eIBRS Not affected
Vulnerability Srbds:             Not affected
Vulnerability Tsx async abort:   Not affected
Flags:                           fpu vme de pse tsc msr pae mce cx8 apic sep mtrr pge mca cmov pat pse36 clflush dts acpi mmx fxsr sse sse2 ss
                                  ht tm pbe syscall nx pdpe1gb rdtscp lm constant_tsc art arch_perfmon pebs bts rep_good nopl xtopology tsc_re
                                 liable nonstop_tsc cpuid aperfmperf tsc_known_freq pni pclmulqdq dtes64 monitor ds_cpl vmx est tm2 ssse3 sdbg
                                  cx16 xtpr pdcm sse4_1 sse4_2 x2apic movbe popcnt tsc_deadline_timer aes xsave rdrand lahf_lm 3dnowprefetch c
                                 puid_fault cat_l2 ibrs ibpb stibp tpr_shadow vnmi flexpriority ept vpid ept_ad fsgsbase tsc_adjust smep erms
                                 mpx rdt_a rdseed smap clflushopt intel_pt sha_ni xsaveopt xsavec xgetbv1 xsaves dtherm ida arat pln pts md_cl
                                 ear arch_capabilities
free
root@CasaOS:~# free -h
               total        used        free      shared  buff/cache   available
Mem:           7.6Gi       1.0Gi       5.3Gi       375Mi       1.3Gi       6.0Gi
Swap:          976Mi          0B       976Mi
fdisk
root@CasaOS:~# df -h
Filesystem      Size  Used Avail Use% Mounted on
udev            3.8G     0  3.8G   0% /dev
tmpfs           781M  2.9M  778M   1% /run
/dev/mmcblk0p2   28G  8.6G   18G  34% /
tmpfs           3.9G     0  3.9G   0% /dev/shm
tmpfs           5.0M  4.0K  5.0M   1% /run/lock
/dev/mmcblk0p1  511M  5.8M  506M   2% /boot/efi
tmpfs           781M   88K  781M   1% /run/user/1000
fdisk (mit angesteckter 2,5 Zoll SSD)
root@CasaOS:~# fdisk -l
Disk /dev/mmcblk0: 29.12 GiB, 31268536320 bytes, 61071360 sectors
Units: sectors of 1 * 512 = 512 bytes
Sector size (logical/physical): 512 bytes / 512 bytes
I/O size (minimum/optimal): 512 bytes / 512 bytes
Disklabel type: gpt
Disk identifier: 002EB32E-EA04-4A34-8B17-240303106A2E

Device            Start      End  Sectors  Size Type
/dev/mmcblk0p1     2048  1050623  1048576  512M EFI System
/dev/mmcblk0p2  1050624 59070463 58019840 27.7G Linux filesystem
/dev/mmcblk0p3 59070464 61071326  2000863  977M Linux swap
GPT PMBR size mismatch (12333055 != 468862127) will be corrected by write.
The backup GPT table is not on the end of the device.


Disk /dev/sda: 223.57 GiB, 240057409536 bytes, 468862128 sectors
Disk model: SanDisk SDSSDA24
Units: sectors of 1 * 512 = 512 bytes
Sector size (logical/physical): 512 bytes / 512 bytes
I/O size (minimum/optimal): 512 bytes / 512 bytes
Disklabel type: gpt
Disk identifier: C0586116-CBB4-48AB-AAAC-BFD7E6A7B567

Device      Start      End  Sectors   Size Type
/dev/sda1   16384    30719    14336     7M Microsoft basic data
/dev/sda2   62500   500000   437501 213.6M EFI System
/dev/sda3  500001 12333022 11833022   5.6G Linux filesystem
Kernel
root@CasaOS:~# uname -a
Linux CasaOS 5.10.0-20-amd64 #1 SMP Debian 5.10.158-2 (2022-12-13) x86_64 GNU/Linux
Debian
root@CasaOS:/etc# cat debian_version
11.6
eMMC
So langsam ist der gar nicht, wie ich erwartet habe.
root@CasaOS:~# dd if=/dev/zero of=sd.img bs=1M count=4096 conv=fdatasync
4096+0 records in
4096+0 records out
4294967296 bytes (4.3 GB, 4.0 GiB) copied, 32.6777 s, 131 MB/s
lspci
root@CasaOS:~# lspci
00:00.0 Host bridge: Intel Corporation Celeron N3350/Pentium N4200/Atom E3900 Series Host Bridge (rev 0b)
00:02.0 VGA compatible controller: Intel Corporation HD Graphics 500 (rev 0b)
00:0e.0 Audio device: Intel Corporation Celeron N3350/Pentium N4200/Atom E3900 Series Audio Cluster (rev 0b)
00:0f.0 Communication controller: Intel Corporation Celeron N3350/Pentium N4200/Atom E3900 Series Trusted Execution Engine (rev 0b)
00:12.0 SATA controller: Intel Corporation Celeron N3350/Pentium N4200/Atom E3900 Series SATA AHCI Controller (rev 0b)
00:13.0 PCI bridge: Intel Corporation Celeron N3350/Pentium N4200/Atom E3900 Series PCI Express Port A #1 (rev fb)
00:14.0 PCI bridge: Intel Corporation Celeron N3350/Pentium N4200/Atom E3900 Series PCI Express Port B #1 (rev fb)
00:14.1 PCI bridge: Intel Corporation Celeron N3350/Pentium N4200/Atom E3900 Series PCI Express Port B #2 (rev fb)
00:15.0 USB controller: Intel Corporation Celeron N3350/Pentium N4200/Atom E3900 Series USB xHCI (rev 0b)
00:1c.0 SD Host controller: Intel Corporation Celeron N3350/Pentium N4200/Atom E3900 Series eMMC Controller (rev 0b)
00:1f.0 ISA bridge: Intel Corporation Celeron N3350/Pentium N4200/Atom E3900 Series Low Pin Count Interface (rev 0b)
00:1f.1 SMBus: Intel Corporation Celeron N3350/Pentium N4200/Atom E3900 Series SMBus Controller (rev 0b)
01:00.0 Ethernet controller: Realtek Semiconductor Co., Ltd. RTL8125 2.5GbE Controller (rev 04)
02:00.0 Ethernet controller: Realtek Semiconductor Co., Ltd. RTL8111/8168/8411 PCI Express Gigabit Ethernet Controller (rev 15)
03:00.0 Ethernet controller: Realtek Semiconductor Co., Ltd. RTL8111/8168/8411 PCI Express Gigabit Ethernet Controller (rev 15)
Netzwerkkarte (2.5G) im PCIe Slot
root@CasaOS:~# ethtool enp1s0
Settings for enp1s0:
        Supported ports: [ TP    MII ]
        Supported link modes:   10baseT/Half 10baseT/Full
                                100baseT/Half 100baseT/Full
                                1000baseT/Full
                                2500baseT/Full
        Supported pause frame use: Symmetric Receive-only
        Supports auto-negotiation: Yes
        Supported FEC modes: Not reported
        Advertised link modes:  10baseT/Half 10baseT/Full
                                100baseT/Half 100baseT/Full
                                1000baseT/Full
                                2500baseT/Full
        Advertised pause frame use: Symmetric Receive-only
        Advertised auto-negotiation: Yes
        Advertised FEC modes: Not reported
        Speed: Unknown!
        Duplex: Unknown! (255)
        Auto-negotiation: on
        master-slave cfg: preferred slave
        master-slave status: unknown
        Port: Twisted Pair
        PHYAD: 0
        Transceiver: external
        MDI-X: Unknown
        Supports Wake-on: pumbg
        Wake-on: d
        Link detected: no
Das sollte als erster grober Überblick reichen. Wer mich kennt, weiß das ich mit diesem Debian und dem Kernel nicht so richtig viel anfangen kann. Das wird sich dann mit dem Testen anderer Betriebssysteme sowieso erledigen.
Grundsätzlich macht das Zima-Board für mich aktuell einen guten Eindruck. Verarbeitung ist solide. Geht auch soweit alles, was ich auf die Schnelle testen konnte. Freue mich schon auf eine Installation, aber was zuerst?

-
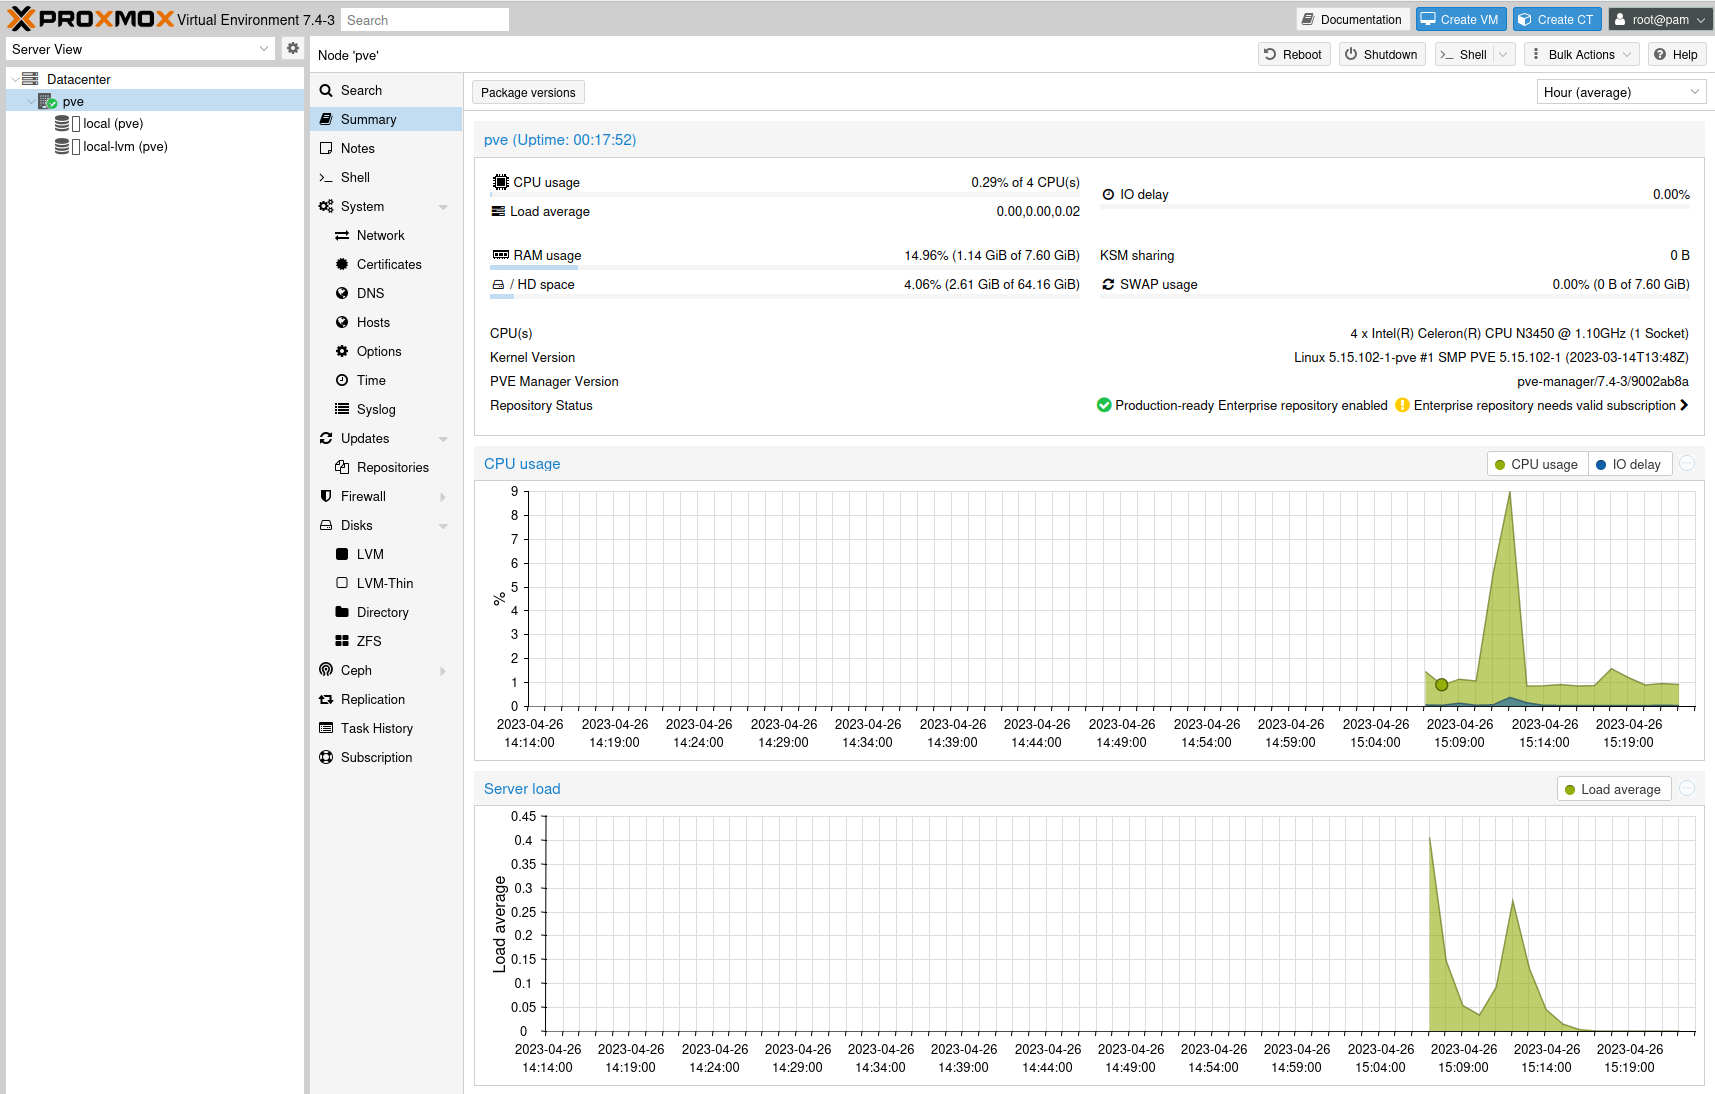
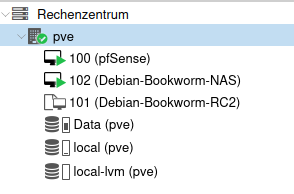
Ich mag ja den Proxmox, habe da schließlich in Vergangenheit schon viel mit rumgespielt. Hatte schon mal einen echten Proxmox-Server im Netz, wurde aus Kostengründen eingestampft. Dann lange hier zu Hause einen, eingestampft wegen Energiepreisanstieg. Da könnte dieses Zima-Board eine echte Alternative sein.
Also, aktuell läuft er immer noch. Mittlerweile habe ich das Setup auch verfeinert.
Die pfSense stellt mir diverse VLAN's zur Verfügung, die am Switch wieder getrennt werden. So in etwa..
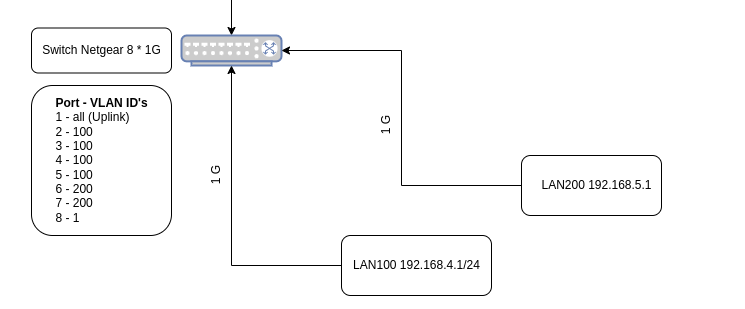
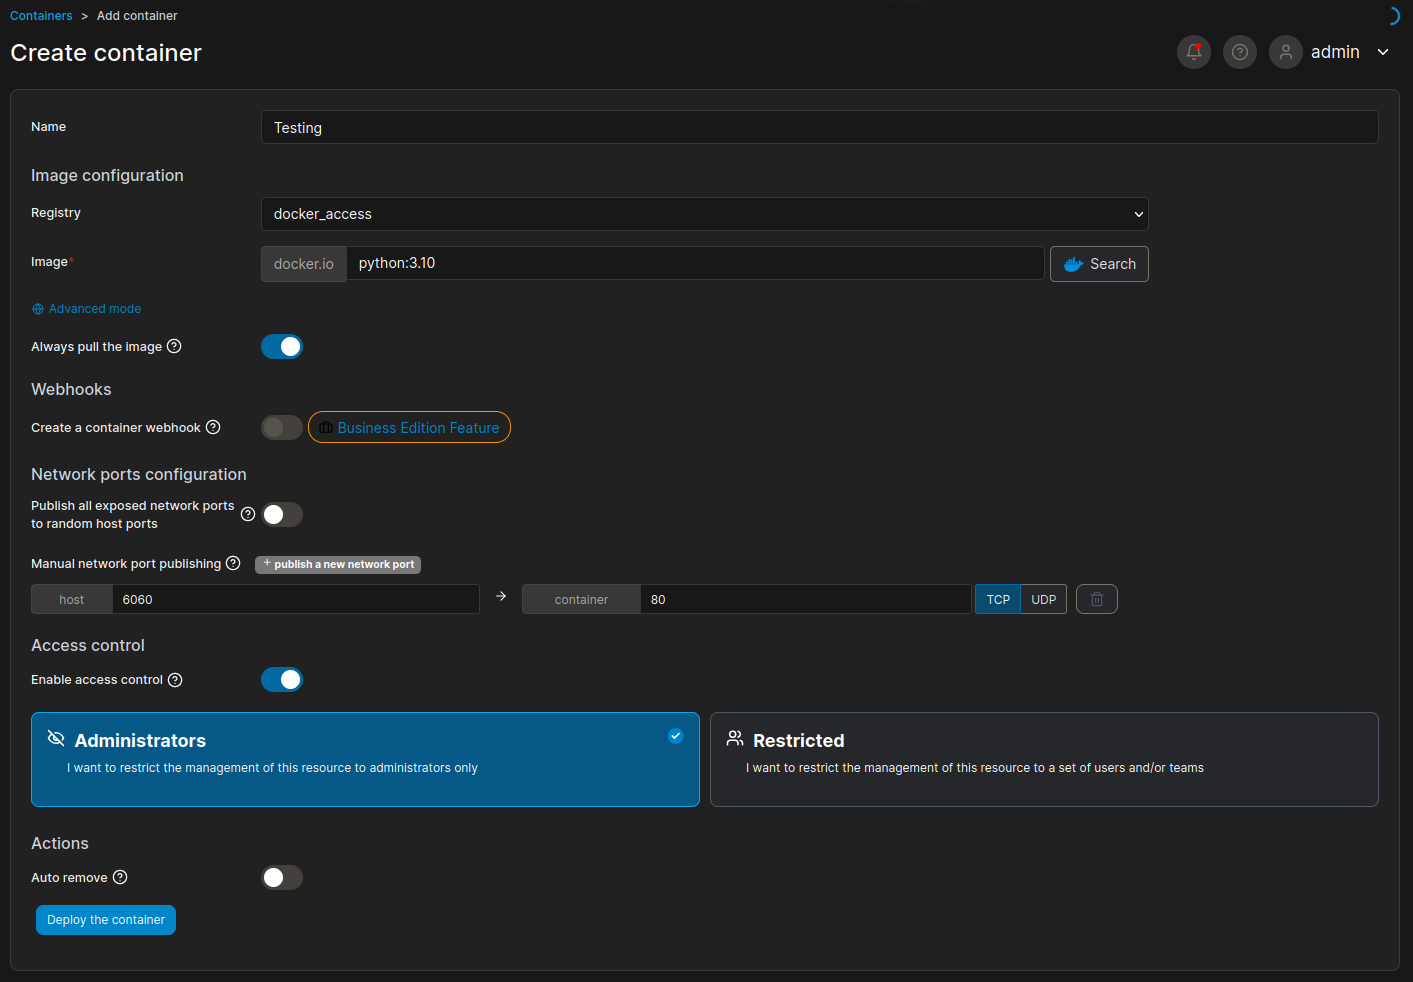
Aktuelles Setup des Zima-Boards
- 2,5 Zoll SATA SSD 240GB (Systemplatte)
- PCIe-Adapter für 500GB NVMe SSD (Daten)
- WAN zur Fritzbox
- LAN zum Netgear-Router
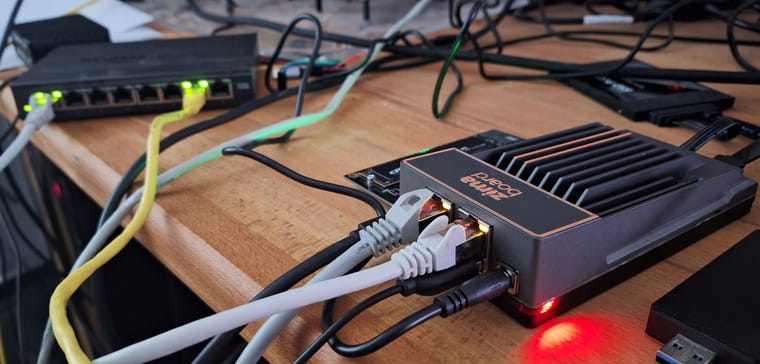
Jetzt mal als erstes ein Energiemessgerät suchen...
-
Energieverbrauch
Zu meinem NanoPi R5S, der aktuell hier alles macht, hatte ich folgendes geschrieben.
Die Proxmox Maschine verbrät 40 Watt, der NanoPi R5S so ca. 5 - 6 Watt. Bei den aktuellen Energiepreisen lohnt sich das, vor allen Dingen bei einem Gerät was 24/7 läuft.
Das Zima Board braucht hier mit dem Proxmox, mehr oder weniger im Idle, ca. 10,12 Watt. Also, etwas mehr als der NanoPi R5S, aber auch mit mehr Komfort. So zwei Punkte, die mir spontan einfallen.
- Natives Linux, wo ich ohne Probleme meine Pakete installieren kann.
- Einfache Updatemöglichkeit, da beiß ich mir beim NanoPi R5S immer die Zähne dran aus (OpenWrt)
-
 F FrankM hat am auf dieses Thema verwiesen
-
 F FrankM hat am auf dieses Thema verwiesen
-
Wer noch einen braucht, sind wieder ein paar im Shop erhältlich.
ZimaBoard 832 is IN STOCK & AVAILABLE NOW
ZimaBoard Official StoreBack In Stock
The item you've been waiting for is back in stock
ZimaBoard 832 - Single Board Server for Creators
$199.90
Model: ZimaBoard 832
Stock: 190
-
Debian Bookworm 12.9 released
Verschoben Linux -
-
-
-
-
-
-
checkmk - systemd crasht
Verschoben checkmk
