Skip to content

Verschlüsseltes RAID1

Linux
2 1 151
  • Heute mal wieder was zum Ausprobieren.

    Hardware

    • 2 * 4TB HDD

    Software

    • Debian Buster 10

    Pakete installieren

    apt install cryptsetup
    apt install mdadm
    

    Installation

    Moment, wir brauchen noch einen Plan 🙂 Jede Platte wird mit je zwei Partitionen ausgestattet.

    • sdb1 raid_pool_1_1
    • sdb2 raid_pool_2_1
    • sdc1 raid_pool_1_2
    • sdc2 raid_pool_2_2

    Platten partitionieren

    root@frank-mankel:~# gdisk /dev/sdb
    GPT fdisk (gdisk) version 1.0.3
    
    Partition table scan:
      MBR: not present
      BSD: not present
      APM: not present
      GPT: not present
    
    Creating new GPT entries.
    
    Command (? for help): d
    No partitions
    
    Command (? for help): n
    Partition number (1-128, default 1): 1
    First sector (34-7814037134, default = 2048) or {+-}size{KMGTP}: 
    Last sector (2048-7814037134, default = 7814037134) or {+-}size{KMGTP}: 3907018567
    Current type is 'Linux filesystem'
    Hex code or GUID (L to show codes, Enter = 8300): 
    Changed type of partition to 'Linux filesystem'
    
    Command (? for help): n
    Partition number (2-128, default 2): 
    First sector (34-7814037134, default = 3907018752) or {+-}size{KMGTP}: 
    Last sector (3907018752-7814037134, default = 7814037134) or {+-}size{KMGTP}: 
    Current type is 'Linux filesystem'
    Hex code or GUID (L to show codes, Enter = 8300): 
    Changed type of partition to 'Linux filesystem'
    
    Command (? for help): w
    
    Final checks complete. About to write GPT data. THIS WILL OVERWRITE EXISTING
    PARTITIONS!!
    
    Do you want to proceed? (Y/N): Y
    OK; writing new GUID partition table (GPT) to /dev/sdb.
    The operation has completed successfully.
    

    Verschlüsseln

    cryptsetup --key-size 512 --hash sha256 --iter-time 5000 --use-random luksFormat /dev/sdb1
    cryptsetup --key-size 512 --hash sha256 --iter-time 5000 --use-random luksFormat /dev/sdb2
    cryptsetup --key-size 512 --hash sha256 --iter-time 5000 --use-random luksFormat /dev/sdc1
    cryptsetup --key-size 512 --hash sha256 --iter-time 5000 --use-random luksFormat /dev/sdc2
    

    Beispiel-Ausgabe

    root@frank-mankel:~# cryptsetup --key-size 512 --hash sha256 --iter-time 5000 --use-random luksFormat /dev/sdb2
    
    WARNING!
    ========
    This will overwrite data on /dev/sdb2 irrevocably.
    
    Are you sure? (Type uppercase yes): YES
    Enter passphrase for /dev/sdb2: 
    Verify passphrase: 
    

    Entschlüsseln

    cryptsetup open /dev/sdb1 raid_pool_1_1
    

    Ok, was passiert hier? Wir müssen das Passwort eingeben, danach wird die HDD für das RAID vorbereitet.

    Disk /dev/mapper/raid_pool_1_1: 1.8 TiB, 2000375681024 bytes, 3906983752 sectors
    Units: sectors of 1 * 512 = 512 bytes
    Sector size (logical/physical): 512 bytes / 4096 bytes
    I/O size (minimum/optimal): 4096 bytes / 4096 bytes
    

    Der Rest

    cryptsetup open /dev/sdc1 raid_pool_1_2
    cryptsetup open /dev/sdb2 raid_pool_2_1
    cryptsetup open /dev/sdc2 raid_pool_2_2
    

    Raid anlegen

    mdadm --create /dev/md0 --auto md --level=1 --raid-devices=2 /dev/mapper/raid_pool_1_1 /dev/mapper/raid_pool_1_2 
    

    Danach gibt es das Device md0

    Disk /dev/md0: 1.8 TiB, 2000240377856 bytes, 3906719488 sectors
    Units: sectors of 1 * 512 = 512 bytes
    Sector size (logical/physical): 512 bytes / 4096 bytes
    I/O size (minimum/optimal): 4096 bytes / 4096 bytes
    

    Das andere

    mdadm --create /dev/md1 --auto md --level=1 --raid-devices=2 /dev/mapper/raid_pool_2_1 /dev/mapper/raid_pool_2_2
    

    und

    Disk /dev/md1: 1.8 TiB, 2000241360896 bytes, 3906721408 sectors
    Units: sectors of 1 * 512 = 512 bytes
    Sector size (logical/physical): 512 bytes / 4096 bytes
    I/O size (minimum/optimal): 4096 bytes / 4096 bytes
    

    Formatieren

    mkfs.ext4 /dev/md0
    mkfs.ext4 /dev/md1
    

    Danach sind beide Raids einsatzbereit. Hier schon gemountet.

    /dev/md0                        1.8T  626M  1.7T   1% /mnt/md0
    /dev/md1                        1.8T   77M  1.7T   1% /mnt/md1
    
  • Mir war dann gestern, nach einigen Neustarts aufgefallen, das die Raids den Status [1/2] hatten. Also nur eine HDD im Raid-Verbund. Ursache - unbekannt!

    Normalzustand

    /dev/mapper/raid_pool_1_1: UUID="7b7a5028-165a-6d71-d51a-671216e353ec" UUID_SUB="109b5184-0d3a-b26b-cd72-8239f0f6a56e" LABEL="frank-mankel:0" TYPE="linux_raid_member"
    /dev/md0: UUID="6744030a-4c14-4cbc-a626-7365aab80e22" TYPE="ext4"
    /dev/mapper/raid_pool_1_2: UUID="7b7a5028-165a-6d71-d51a-671216e353ec" UUID_SUB="6f8da3a7-e86f-f3bf-5602-de7dcad62aa0" LABEL="frank-mankel:0" TYPE="linux_raid_member"
    /dev/mapper/raid_pool_2_1: UUID="aa6daa4e-0964-4446-22f0-e6e3a65ea34a" UUID_SUB="ffd29fd9-84ca-1d64-2671-a0d3c417ee8c" LABEL="frank-mankel:1" TYPE="linux_raid_member"
    /dev/md1: UUID="a56404ef-4525-473d-a616-2fdf79c314f6" TYPE="ext4"
    /dev/mapper/raid_pool_2_2: UUID="aa6daa4e-0964-4446-22f0-e6e3a65ea34a" UUID_SUB="29c67ccb-9582-75e5-8345-c5589680e663" LABEL="frank-mankel:1" TYPE="linux_raid_member"
    

    Status anzeigen (hier korrekt)

    root@frank-mankel:~# cat /proc/mdstat
    Personalities : [linear] [multipath] [raid0] [raid1] [raid6] [raid5] [raid4] [raid10] 
    md1 : active raid1 dm-25[1] dm-24[0]
          1953360704 blocks super 1.2 [2/2] [UU]
          bitmap: 0/15 pages [0KB], 65536KB chunk
    
    md0 : active raid1 dm-23[1] dm-22[0]
          1953359744 blocks super 1.2 [2/2] [UU]
          bitmap: 0/15 pages [0KB], 65536KB chunk
    
    unused devices: <none>
    

    Detaillierter Zustand

    root@frank-mankel:~# mdadm -D /dev/md0
       /dev/md0:
                  Version : 1.2
            Creation Time : Mon Aug 26 15:52:03 2019
               Raid Level : raid1
               Array Size : 1953359744 (1862.87 GiB 2000.24 GB)
            Used Dev Size : 1953359744 (1862.87 GiB 2000.24 GB)
             Raid Devices : 2
            Total Devices : 2
              Persistence : Superblock is persistent
       
            Intent Bitmap : Internal
       
              Update Time : Fri Aug 30 04:03:25 2019
                    State : clean 
           Active Devices : 2
          Working Devices : 2
           Failed Devices : 0
            Spare Devices : 0
       
       Consistency Policy : bitmap
       
                     Name : frank-mankel:0  (local to host frank-mankel)
                     UUID : 7b7a5028:165a6d71:d51a6712:16e353ec
                   Events : 55682
       
           Number   Major   Minor   RaidDevice State
              0     253       22        0      active sync   /dev/dm-22
              1     253       23        1      active sync   /dev/dm-23
    

    Problem

    Jetzt wird die ganze Sache kompliziert und man muss fürchterlich aufpassen, das nichts schief geht. Das Raid zeigt einem die UUID der noch enthaltenen Platte an. Somit muss man sich die andere raus suchen, siehe ganz oben.

    Annahme, vom Raid md0 fehlt das zweite Laufwerk. Dann machen wir

    mdadm --add /dev/md0 /dev/mapper/raid_pool_1_2
    

    Mein md0 besteht ja aus

    /dev/mapper/raid_pool_1_1
    /dev/mapper/raid_pool_1_2   
    

    Script

    Hier mein Script, was ich nach dem Starten des PCs ausführe. Das klappt auf meinem Proxmox perfekt, ich darf nur keine Einträge in der /etc/fstab haben und die eine Maschine, die eine Platte auf diesem Raid nutzt, erst später starten. Auf keinen Fall auf Autostart=1 stellen!

    Außerdem habe ich in dem Script auf

    /dev/disk/by-uuid/4dd45131-bf78-4a23-ad29-af1b24284ca0
    

    umgestellt. Die UUID findet ihr mit

    ls -lha /dev/disk/by-uuid
    

    Ausgabe

    lrwxrwxrwx 1 root root  10 Aug 29 13:24 4dd45131-bf78-4a23-ad29-af1b24284ca0 -> ../../sdc1
    lrwxrwxrwx 1 root root  10 Aug 29 13:24 a8234184-3c6a-44d1-a6a3-d06d0baedfcc -> ../../sdc2
    lrwxrwxrwx 1 root root  10 Aug 29 13:24 857a73ca-199f-4e04-9651-088963e29fae -> ../../sdd1
    lrwxrwxrwx 1 root root  10 Aug 29 13:25 ed78c5ce-5bc9-49aa-9bc7-000771610940 -> ../../sdd2
    

    umgestellt. Das macht die Sache robuster, wenn man mal HDDs ansteckt usw. Weil dabei können sich ja mal gerne die Laufwerksbezeichnungen ändern. Die UUID bleibt aber immer gleich.

    #Passwort abfragen
    echo "Passwort eingeben!"
    read -s password
    echo "Bitte warten......"
    
    
    ## Passwörter abfragen
    echo -n $password | cryptsetup open /dev/disk/by-uuid/4dd45131-bf78-4a23-ad29-af1b24284ca0 raid_pool_1_1 -d -
    echo -n $password | cryptsetup open /dev/disk/by-uuid/857a73ca-199f-4e04-9651-088963e29fae raid_pool_1_2 -d -
    echo -n $password | cryptsetup open /dev/disk/by-uuid/a8234184-3c6a-44d1-a6a3-d06d0baedfcc raid_pool_2_1 -d -
    echo -n $password | cryptsetup open /dev/disk/by-uuid/ed78c5ce-5bc9-49aa-9bc7-000771610940 raid_pool_2_2 -d -
    
    ## Raid 0&1 mounten
    mount /dev/md0 /mnt/md0
    mount /dev/md1 /mnt/md1
    
    echo "Laufwerke erfolgreich gemountet!"
    

    Ich hoffe jetzt, das ich mich damit erst mal nicht mehr beschäftigen muss. Und immer nur machen, wenn man ganz viel Zeit hat 🙂

    Damit es immer so aussieht 🙂

    fcdf8c19-31e3-4933-a452-847f4415c750-grafik.png

  • Forgejo - v11.0.1

    Linux forgejo linux
    1
    0 Stimmen
    1 Beiträge
    70 Aufrufe
    Niemand hat geantwortet
  • Fedora 42

    Linux fedora linux btrfs
    2
    2
    0 Stimmen
    2 Beiträge
    227 Aufrufe
    FrankMF
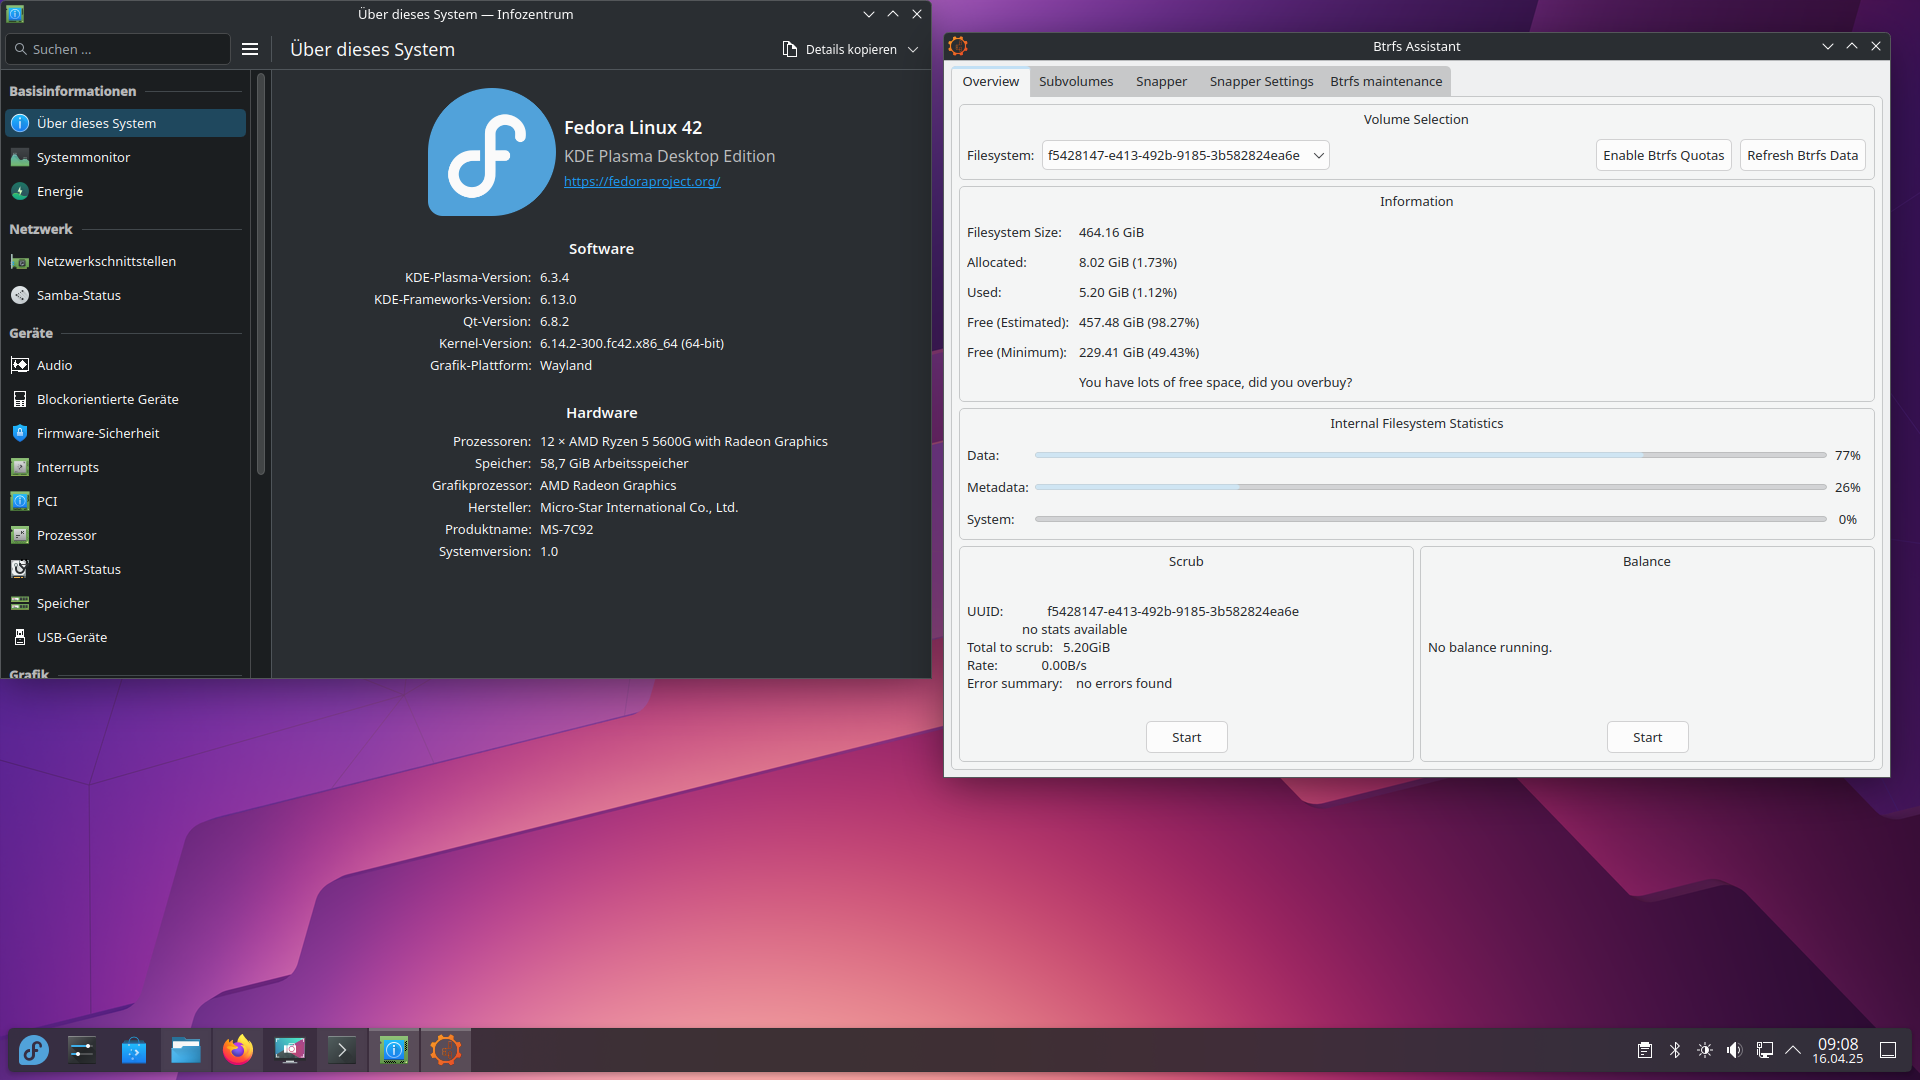
    Ich habe mir gestern den Cosmic Desktop angesehen. Davon abgesehen, das er noch ein sehr frühes Stadium ist, hat er mir nicht wirklich gefallen. Also heute mal die Referenz von Fedora installiert, die Workstation mit Gnome Desktop. Wer hier lange mitliest, weiß das ich kein Fanboy vom Gnome Desktop bin. Aber ich wollte unbedingt mal den Anaconda Installer sehen. Der ist richtig gut geworden und das man jetzt das Tastaturlayout für die Verschlüsselung einstellen kann, wird hoffentlich in Zukunft verhindern, das ich mit einer amerikanischen Tastatur meine Passphrase eingeben muss Da war ja vorher bei meinen Test das Problem, das ich nach Standby nicht über die Tastatur aufwecken konnte. Das war eine Einstellung im BIOS, irgendwas mit Wakeup/BIOS/USB Jetzt funktioniert das auch einwandfrei. Und zu Gnome sag ich mal nichts, ich bin da vermutlich zu alt für Ich lasse es aber mal ein paar Tage auf der Platte, vielleicht erkenne ich ja noch seinen Nutzen. Zum Schluss, das schöne an FOSS ist, wir haben die Wahl welchen Desktop wir installieren dürfen. Fedora 42 sieht gut aus und läuft rund. Jetzt mal suchen, wo ich in Gnome diese beschissene Updateverhalten ausschalten kann, was aussieht wie ein Windows. Das braucht nun wirklich niemand.
  • AI Bots aussperren

    Linux linux block-ai nginx
    2
    0 Stimmen
    2 Beiträge
    147 Aufrufe
    FrankMF
    Wir können das noch für eine sanfte Methode erweitern, das ist die Datei robots.txt, wo man sich in alten Zeiten mal dran hielt. Einige Bots machen das, andere nicht. Praktisch, das o.g. Projekt bietet diese Datei auch an. Dann werden wir das kurz mal mit einbauen. ai-block.sh #!/bin/bash # Script um AI-Bots zu blocken # https://github.com/ai-robots-txt/ai.robots.txt/tree/main mkdir /root/AI-test cd /root/AI-test ## Daten holen curl -O https://raw.githubusercontent.com/ai-robots-txt/ai.robots.txt/master/nginx-block-ai-bots.conf curl -O https://raw.githubusercontent.com/ai-robots-txt/ai.robots.txt/master/robots.txt ## Daten in nginx einbauen mv nginx-block-ai-bots.conf /etc/nginx/blocklists/ mv robots.txt /var/www/html ## NGINX neustarten systemctl restart nginx.service Damit das in nginx funktioniert. Den Server Block um folgendes erweitern. # Serve robots.txt directly from Nginx location = /robots.txt { root /var/www/html; try_files $uri =404; } Kurzer Test https://<DOMAIN>/robots.txt Ergebnis User-agent: AI2Bot User-agent: Ai2Bot-Dolma User-agent: Amazonbot User-agent: anthropic-ai User-agent: Applebot User-agent: Applebot-Extended User-agent: Brightbot 1.0 User-agent: Bytespider User-agent: CCBot User-agent: ChatGPT-User User-agent: Claude-Web User-agent: ClaudeBot User-agent: cohere-ai User-agent: cohere-training-data-crawler User-agent: Crawlspace User-agent: Diffbot User-agent: DuckAssistBot User-agent: FacebookBot User-agent: FriendlyCrawler User-agent: Google-Extended User-agent: GoogleOther User-agent: GoogleOther-Image User-agent: GoogleOther-Video User-agent: GPTBot User-agent: iaskspider/2.0 User-agent: ICC-Crawler User-agent: ImagesiftBot User-agent: img2dataset User-agent: imgproxy User-agent: ISSCyberRiskCrawler User-agent: Kangaroo Bot User-agent: Meta-ExternalAgent User-agent: Meta-ExternalFetcher User-agent: OAI-SearchBot User-agent: omgili User-agent: omgilibot User-agent: PanguBot User-agent: Perplexity-User User-agent: PerplexityBot User-agent: PetalBot User-agent: Scrapy User-agent: SemrushBot-OCOB User-agent: SemrushBot-SWA User-agent: Sidetrade indexer bot User-agent: Timpibot User-agent: VelenPublicWebCrawler User-agent: Webzio-Extended User-agent: YouBot Disallow: /
  • Minio - Objektspeicher selbst gehostet

    Linux minio linux restic
    1
    1
    0 Stimmen
    1 Beiträge
    171 Aufrufe
    Niemand hat geantwortet
  • Debian Bookworm 12.10 released

    Linux debian linux bookworm
    3
    0 Stimmen
    3 Beiträge
    309 Aufrufe
    FrankMF
    @MikDD Ich kann das Verhalten von Die bei mir nicht erkennen. Habe ein NAS, welches ich mit einem SystemD Dienst einfach einbinde. [Unit] Description=Mount NFS Share from 192.168.3.19:/NAS After=network-online.target Wants=network-online.target [Mount] What=192.168.3.19:/NAS Where=/mnt/NAS Type=nfs Options=defaults,timeo=900 [Install] WantedBy=multi-user.target Dann habe ich das in meinem Dateibrowser drin, suche meinen Videoordner und starte das Video. Einen kleinen Moment später startet das Video. Die Verzögerung wird die Zeitspanne sein, die benötigt wird einen Cache zu füllen. Wäre ja auch blöd, wenn man erst den ganzen Film runter laden muss. Hier, in meinem Forum, sollte man genug Informationen dazu finden. Wenn es irgendwo hakt oder klappt, stelle bitte eine Frage. Achso, Willkommen im Forum
  • nano - Zeilennummern dauerhaft anzeigen

    Linux linux
    3
    2
    0 Stimmen
    3 Beiträge
    2k Aufrufe
    FrankMF
    @masko Danke für die Ergänzung. Um den Code zu markieren, kannst Du im Texteditor auf </> klicken oder einfach 4 Leerzeichen vor den Code setzen. Dann sieht es besser aus Und Willkommen im Forum!
  • ZFS - Wichtige Befehle

    Linux zfs linux
    3
    0 Stimmen
    3 Beiträge
    887 Aufrufe
    FrankMF
    Heute mal drüber gestolpert, das es auch so was geben kann. root@pve2:~# zpool status pool: pool_NAS state: ONLINE status: Some supported and requested features are not enabled on the pool. The pool can still be used, but some features are unavailable. action: Enable all features using 'zpool upgrade'. Once this is done, the pool may no longer be accessible by software that does not support the features. See zpool-features(7) for details. scan: scrub repaired 0B in 00:20:50 with 0 errors on Sun Apr 13 00:44:51 2025 config: NAME STATE READ WRITE CKSUM pool_NAS ONLINE 0 0 0 mirror-0 ONLINE 0 0 0 ata-WDC_WDS100T1R0A-68A4W0_230520800733 ONLINE 0 0 0 ata-WDC_WDS100T1R0A-68A4W0_230520801376 ONLINE 0 0 0 errors: No known data errors Was machen? Als erstes mal ein Backup angestoßen. Danach root@pve2:~# zpool get all pool_NAS | grep feature pool_NAS feature@async_destroy enabled local pool_NAS feature@empty_bpobj active local pool_NAS feature@lz4_compress active local pool_NAS feature@multi_vdev_crash_dump enabled local pool_NAS feature@spacemap_histogram active local pool_NAS feature@enabled_txg active local pool_NAS feature@hole_birth active local pool_NAS feature@extensible_dataset active local pool_NAS feature@embedded_data active local pool_NAS feature@bookmarks enabled local pool_NAS feature@filesystem_limits enabled local pool_NAS feature@large_blocks enabled local pool_NAS feature@large_dnode enabled local pool_NAS feature@sha512 enabled local pool_NAS feature@skein enabled local pool_NAS feature@edonr enabled local pool_NAS feature@userobj_accounting active local pool_NAS feature@encryption enabled local pool_NAS feature@project_quota active local pool_NAS feature@device_removal enabled local pool_NAS feature@obsolete_counts enabled local pool_NAS feature@zpool_checkpoint enabled local pool_NAS feature@spacemap_v2 active local pool_NAS feature@allocation_classes enabled local pool_NAS feature@resilver_defer enabled local pool_NAS feature@bookmark_v2 enabled local pool_NAS feature@redaction_bookmarks enabled local pool_NAS feature@redacted_datasets enabled local pool_NAS feature@bookmark_written enabled local pool_NAS feature@log_spacemap active local pool_NAS feature@livelist enabled local pool_NAS feature@device_rebuild enabled local pool_NAS feature@zstd_compress enabled local pool_NAS feature@draid enabled local pool_NAS feature@zilsaxattr disabled local pool_NAS feature@head_errlog disabled local pool_NAS feature@blake3 disabled local pool_NAS feature@block_cloning disabled local pool_NAS feature@vdev_zaps_v2 disabled local Das kommt von neuen Funktionen, die zu ZFS hinzugefügt wurden und bei Erstellung des Pools nicht vorhanden waren. Dann upgraden wir mal root@pve2:~# zpool upgrade pool_NAS This system supports ZFS pool feature flags. Enabled the following features on 'pool_NAS': zilsaxattr head_errlog blake3 block_cloning vdev_zaps_v2 Kontrolle root@pve2:~# zpool status pool: pool_NAS state: ONLINE scan: scrub repaired 0B in 00:20:50 with 0 errors on Sun Apr 13 00:44:51 2025 config: NAME STATE READ WRITE CKSUM pool_NAS ONLINE 0 0 0 mirror-0 ONLINE 0 0 0 ata-WDC_WDS100T1R0A-68A4W0_230520800733 ONLINE 0 0 0 ata-WDC_WDS100T1R0A-68A4W0_230520801376 ONLINE 0 0 0 errors: No known data errors Features kontrollieren root@pve2:~# zpool get all pool_NAS | grep feature pool_NAS feature@async_destroy enabled local pool_NAS feature@empty_bpobj active local pool_NAS feature@lz4_compress active local pool_NAS feature@multi_vdev_crash_dump enabled local pool_NAS feature@spacemap_histogram active local pool_NAS feature@enabled_txg active local pool_NAS feature@hole_birth active local pool_NAS feature@extensible_dataset active local pool_NAS feature@embedded_data active local pool_NAS feature@bookmarks enabled local pool_NAS feature@filesystem_limits enabled local pool_NAS feature@large_blocks enabled local pool_NAS feature@large_dnode enabled local pool_NAS feature@sha512 enabled local pool_NAS feature@skein enabled local pool_NAS feature@edonr enabled local pool_NAS feature@userobj_accounting active local pool_NAS feature@encryption enabled local pool_NAS feature@project_quota active local pool_NAS feature@device_removal enabled local pool_NAS feature@obsolete_counts enabled local pool_NAS feature@zpool_checkpoint enabled local pool_NAS feature@spacemap_v2 active local pool_NAS feature@allocation_classes enabled local pool_NAS feature@resilver_defer enabled local pool_NAS feature@bookmark_v2 enabled local pool_NAS feature@redaction_bookmarks enabled local pool_NAS feature@redacted_datasets enabled local pool_NAS feature@bookmark_written enabled local pool_NAS feature@log_spacemap active local pool_NAS feature@livelist enabled local pool_NAS feature@device_rebuild enabled local pool_NAS feature@zstd_compress enabled local pool_NAS feature@draid enabled local pool_NAS feature@zilsaxattr enabled local pool_NAS feature@head_errlog active local pool_NAS feature@blake3 enabled local pool_NAS feature@block_cloning enabled local pool_NAS feature@vdev_zaps_v2 enabled local So, alle neuen Features aktiviert. Jetzt kann der Pool weiterhin seine Arbeit machen.
  • FreeOTP+

    Linux linux freeotp+
    3
    1
    0 Stimmen
    3 Beiträge
    614 Aufrufe
    FrankMF
    Falls mal jemand von FreeOTP+ zum Bitwarden Authenticator wechseln möchte, ich habe da mal was gebaut https://forgejo.linux-nerds.org/frank/freeotpplus-export-to-bitwarden-authenticator