Skip to content

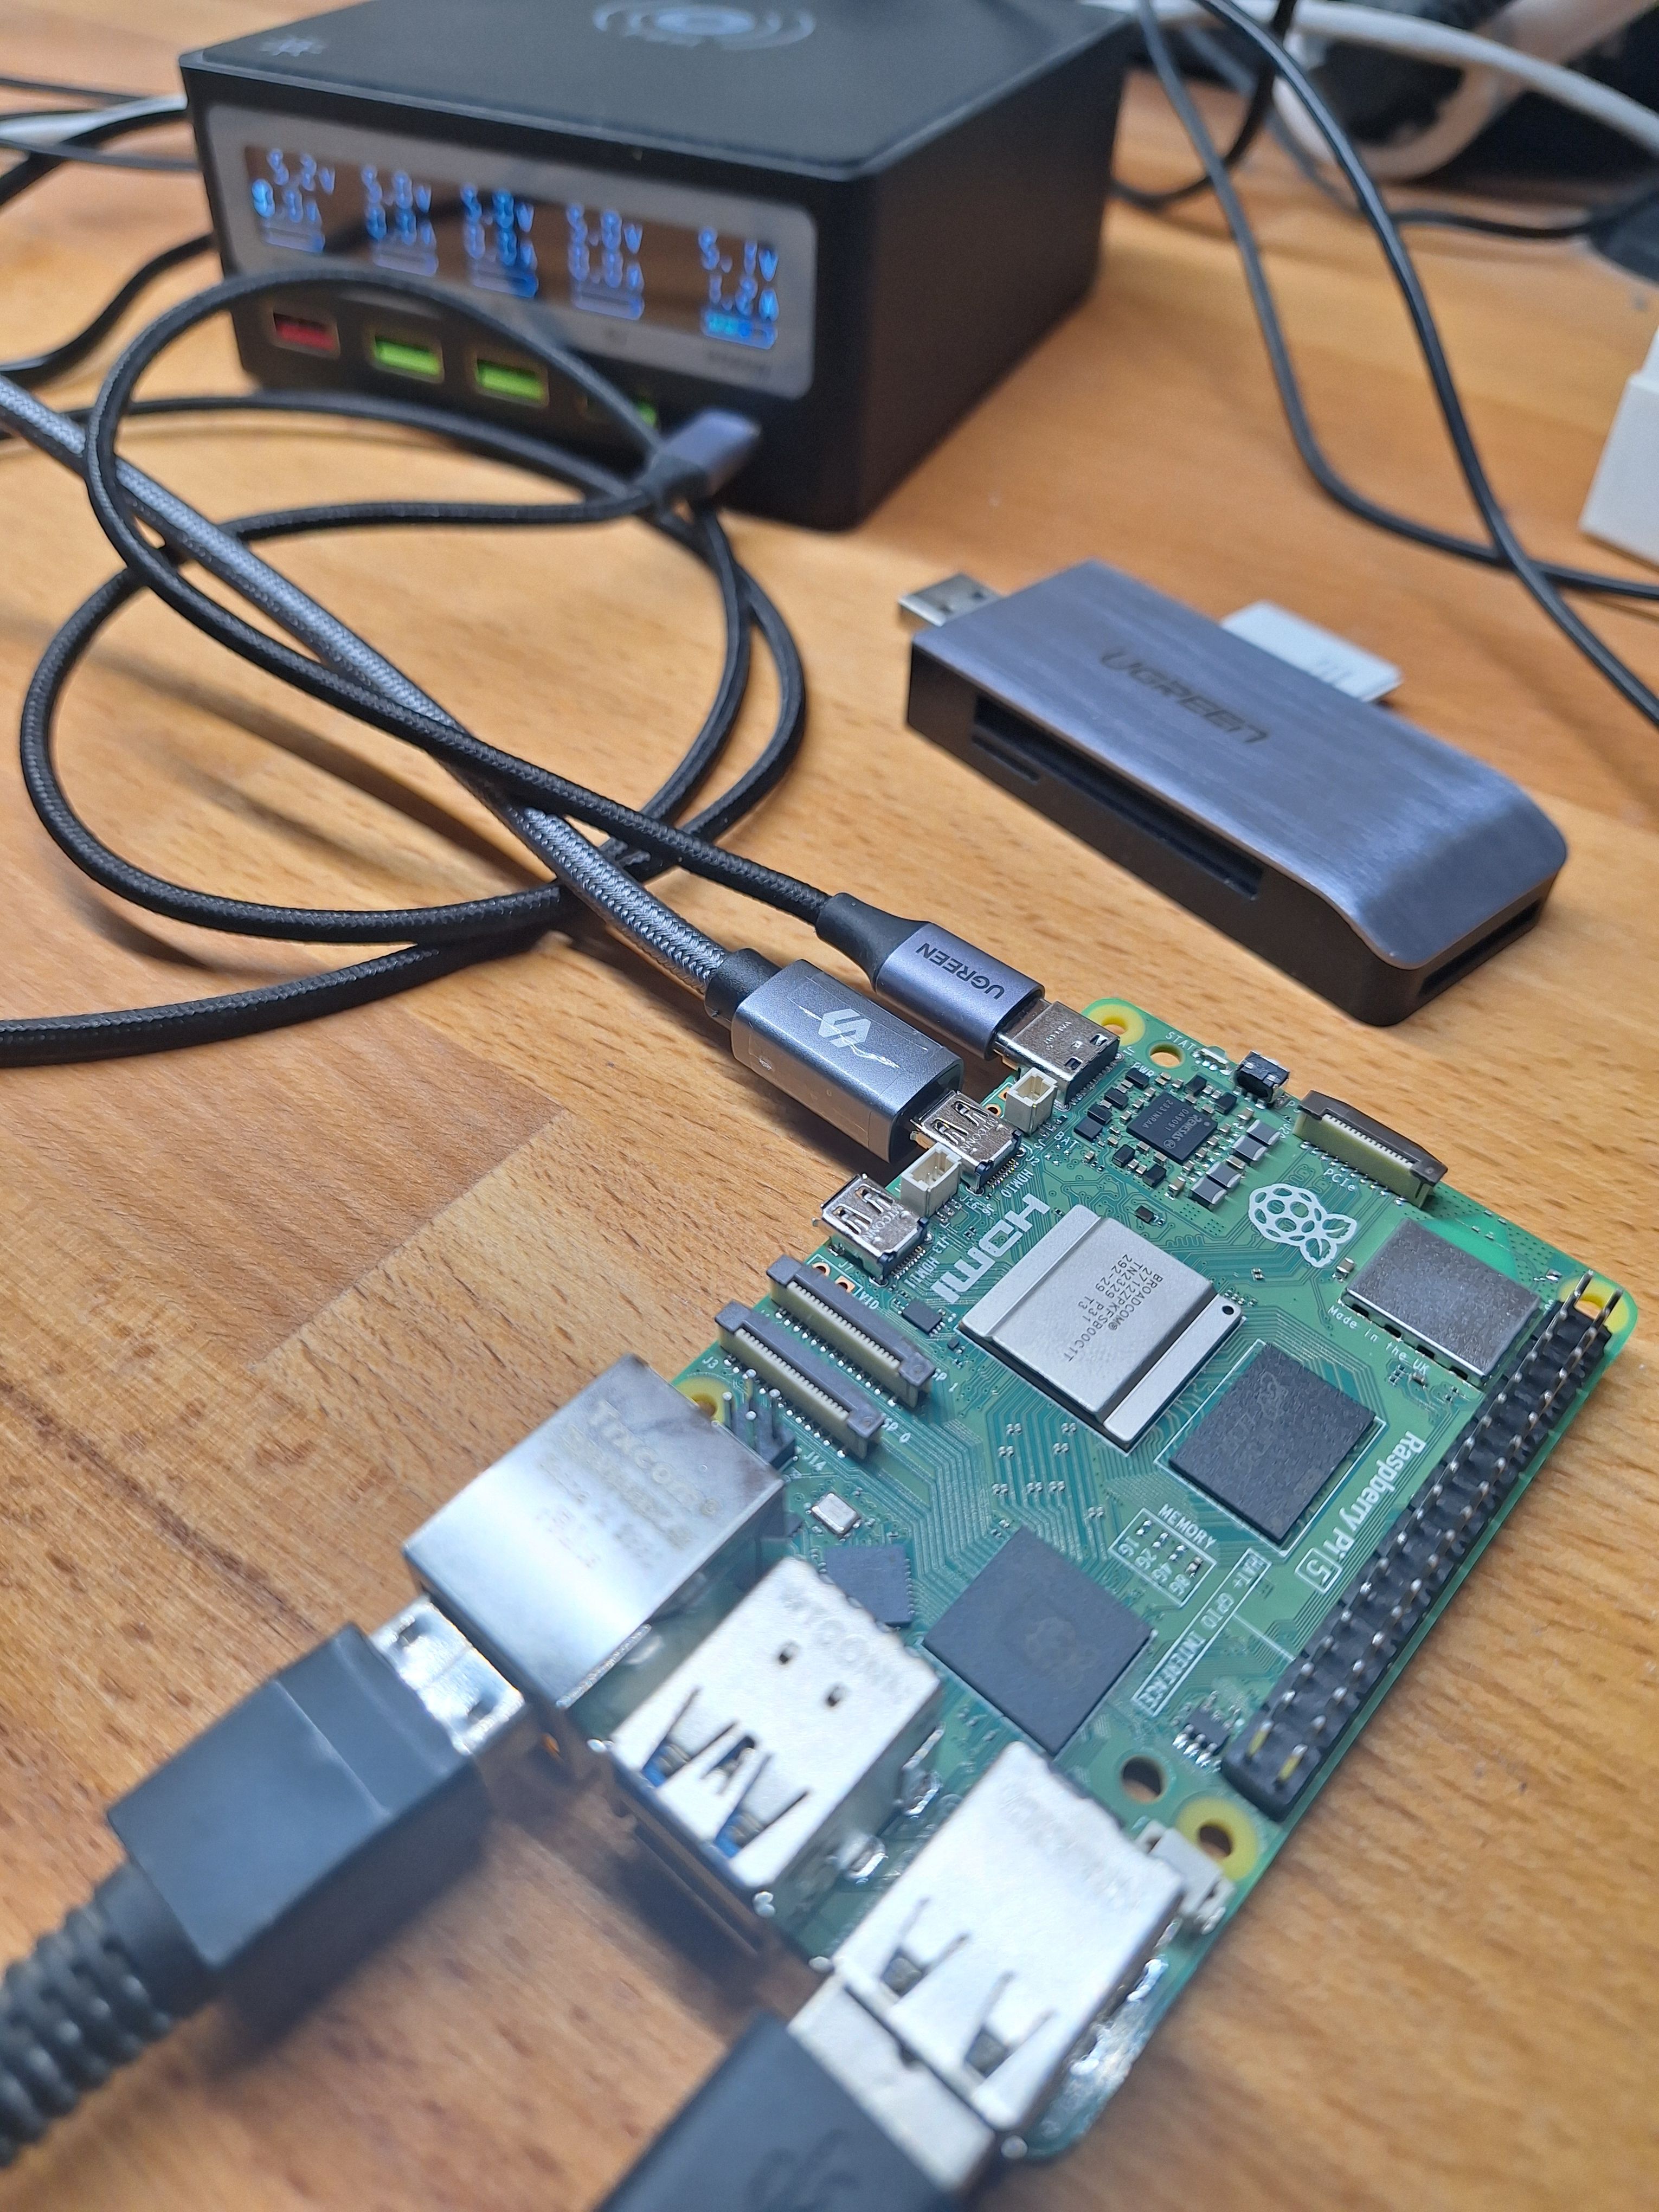
SSH Login ohne Passwort

Angeheftet Linux
4 1 1.5k
  • Wird Zeit das man den Artikel hier mal vernünftig macht, habe deswegen gestern drei Stunden verplempert, weil vermutlich wg. der Hitze, der Groschen nicht fallen wollte 🙂

    Server

    Installation des Dienstes

    apt install openssh-server
    

    In der Datei /etc/ssh/sshd_config wird der SSH-Dienst gesteuert. Die Zeile, die uns interessiert.

    PermitRootLogin without-password
    

    Was bedeutet das jetzt?

    • without-password Der Passwort-Login für Root ist deaktiviert, dann kann man sich nur mittels SSH-Key einloggen, wenn dieser hinterlegt wurde.

    PermitRootLogin
    Specifies whether root can log in using ssh(1). The argument must be “yes”,
    “without-password”, “forced-commands-only”, or “no”. The default is “yes”.

    If this option is set to “without-password”, password authentication is disabled for
    root.

    If this option is set to “forced-commands-only”, root login with public key
    authentication will be allowed, but only if the command option has been specified
    (which may be useful for taking remote backups even if root login is normally not
    allowed). All other authentication methods are disabled for root.

    If this option is set to “no”, root is not allowed to log in.

    Quelle: http://manpages.ubuntu.com/manpages/trusty/en/man5/sshd_config.5.html

    Datei bearbeiten und dann den Dienst einmal neustarten

    service sshd restart
    

    oder

     /etc/init.d/ssh restart
    

    Client

    Wir erzeugen einen Key mit

    RSA (veraltet)

    ssh-keygen -t rsa -b 4096
    

    ED25519

    ssh-keygen -t ed25519
    

    Dann kopieren wir diesen Key auf das Zielsystem. Das geht aber nur, wenn

    PermitRootLogin yes
    

    steht. Also vorher auf dem Server umstellen und den Dienst neu starten!

    Key kopieren

    RSA (veraltet)

    cat .ssh/id_rsa.pub | ssh username@domain.com 'cat >> .ssh/authorized_keys'
    

    ED25519

    cat .ssh/id_ed25519.pub | ssh username@domain.com 'cat >> .ssh/authorized_keys'
    

    Fertig!

    Danach auf dem Server wieder auf

    PermitRootLogin without-password
    

    umstellen. Ganz wichtig!!

  • Wenn das mal nicht geht, ist der Ordner .ssh auf dem Ziel/Quelle nicht vorhanden.

    Dann auf dem Ziel/Quelle

    ssh-keygen -t rsa
    

    ausführen, danach geht es.

  • Ich habe heute den Ursprungsbeitrag mal vernünftig aktualisiert, weil ich gestern drei Stunden bei dem Testen von sshfs verplempert habe. Zu sshfs kommt auch noch ein Beitrag 😉

  • Wie ihr ja wisst, benutze ich das Forum hier auch gerne als Notizbuch 🙂 Also mal wieder was hier notieren. Mein Windows Systemadmin sagte mir heute, das es auch folgendes gibt

    # ssh-keygen -t ed25519
    Generating public/private ed25519 key pair.
    Enter file in which to save the key (/root/.ssh/id_ed25519): /tmp/ed
    Enter passphrase (empty for no passphrase): 
    Enter same passphrase again: 
    Your identification has been saved in /tmp/ed
    Your public key has been saved in /tmp/ed.pub
    The key fingerprint is:
    SHA256:D33HCTW7Dy0p5kQdFTkPudx1PQh0EHFgkBvxy8KwhGM root@frank-ms7c92
    The key's randomart image is:
    +--[ED25519 256]--+
    |         o=O*o=+=|
    |      .  oo o+oB+|
    |     E o  o.o.o+*|
    |    . o +o...oo=o|
    |       .So.o= O .|
    |         o.= o + |
    |          . .   .|
    |                 |
    |                 |
    +----[SHA256]-----+
    

    Der Key liegt nur in /tmp kopieren lohnt also nicht 🙂

    Ob das jetzt die Zukunft ist, kann ich nicht beantworten. Ich wollte es aber hier mal festhalten, weil es wohl mittlerweile auch von vielen Projekten benutzt wird.

  • FrankMF FrankM hat am auf dieses Thema verwiesen
  • 0 Stimmen
    1 Beiträge
    4 Aufrufe
    Niemand hat geantwortet
  • Proxmox - HomeAssistant

    Proxmox proxmox homeassistant linux
    1
    2
    0 Stimmen
    1 Beiträge
    488 Aufrufe
    Niemand hat geantwortet
  • Raspberry Pi5 - First Boot

    RaspberryPi raspberrypi linux debian
    1
    2
    0 Stimmen
    1 Beiträge
    275 Aufrufe
    Niemand hat geantwortet
  • 0 Stimmen
    1 Beiträge
    307 Aufrufe
    Niemand hat geantwortet
  • ZFS - Wichtige Befehle

    Linux zfs linux
    3
    0 Stimmen
    3 Beiträge
    890 Aufrufe
    FrankMF
    Heute mal drüber gestolpert, das es auch so was geben kann. root@pve2:~# zpool status pool: pool_NAS state: ONLINE status: Some supported and requested features are not enabled on the pool. The pool can still be used, but some features are unavailable. action: Enable all features using 'zpool upgrade'. Once this is done, the pool may no longer be accessible by software that does not support the features. See zpool-features(7) for details. scan: scrub repaired 0B in 00:20:50 with 0 errors on Sun Apr 13 00:44:51 2025 config: NAME STATE READ WRITE CKSUM pool_NAS ONLINE 0 0 0 mirror-0 ONLINE 0 0 0 ata-WDC_WDS100T1R0A-68A4W0_230520800733 ONLINE 0 0 0 ata-WDC_WDS100T1R0A-68A4W0_230520801376 ONLINE 0 0 0 errors: No known data errors Was machen? Als erstes mal ein Backup angestoßen. Danach root@pve2:~# zpool get all pool_NAS | grep feature pool_NAS feature@async_destroy enabled local pool_NAS feature@empty_bpobj active local pool_NAS feature@lz4_compress active local pool_NAS feature@multi_vdev_crash_dump enabled local pool_NAS feature@spacemap_histogram active local pool_NAS feature@enabled_txg active local pool_NAS feature@hole_birth active local pool_NAS feature@extensible_dataset active local pool_NAS feature@embedded_data active local pool_NAS feature@bookmarks enabled local pool_NAS feature@filesystem_limits enabled local pool_NAS feature@large_blocks enabled local pool_NAS feature@large_dnode enabled local pool_NAS feature@sha512 enabled local pool_NAS feature@skein enabled local pool_NAS feature@edonr enabled local pool_NAS feature@userobj_accounting active local pool_NAS feature@encryption enabled local pool_NAS feature@project_quota active local pool_NAS feature@device_removal enabled local pool_NAS feature@obsolete_counts enabled local pool_NAS feature@zpool_checkpoint enabled local pool_NAS feature@spacemap_v2 active local pool_NAS feature@allocation_classes enabled local pool_NAS feature@resilver_defer enabled local pool_NAS feature@bookmark_v2 enabled local pool_NAS feature@redaction_bookmarks enabled local pool_NAS feature@redacted_datasets enabled local pool_NAS feature@bookmark_written enabled local pool_NAS feature@log_spacemap active local pool_NAS feature@livelist enabled local pool_NAS feature@device_rebuild enabled local pool_NAS feature@zstd_compress enabled local pool_NAS feature@draid enabled local pool_NAS feature@zilsaxattr disabled local pool_NAS feature@head_errlog disabled local pool_NAS feature@blake3 disabled local pool_NAS feature@block_cloning disabled local pool_NAS feature@vdev_zaps_v2 disabled local Das kommt von neuen Funktionen, die zu ZFS hinzugefügt wurden und bei Erstellung des Pools nicht vorhanden waren. Dann upgraden wir mal root@pve2:~# zpool upgrade pool_NAS This system supports ZFS pool feature flags. Enabled the following features on 'pool_NAS': zilsaxattr head_errlog blake3 block_cloning vdev_zaps_v2 Kontrolle root@pve2:~# zpool status pool: pool_NAS state: ONLINE scan: scrub repaired 0B in 00:20:50 with 0 errors on Sun Apr 13 00:44:51 2025 config: NAME STATE READ WRITE CKSUM pool_NAS ONLINE 0 0 0 mirror-0 ONLINE 0 0 0 ata-WDC_WDS100T1R0A-68A4W0_230520800733 ONLINE 0 0 0 ata-WDC_WDS100T1R0A-68A4W0_230520801376 ONLINE 0 0 0 errors: No known data errors Features kontrollieren root@pve2:~# zpool get all pool_NAS | grep feature pool_NAS feature@async_destroy enabled local pool_NAS feature@empty_bpobj active local pool_NAS feature@lz4_compress active local pool_NAS feature@multi_vdev_crash_dump enabled local pool_NAS feature@spacemap_histogram active local pool_NAS feature@enabled_txg active local pool_NAS feature@hole_birth active local pool_NAS feature@extensible_dataset active local pool_NAS feature@embedded_data active local pool_NAS feature@bookmarks enabled local pool_NAS feature@filesystem_limits enabled local pool_NAS feature@large_blocks enabled local pool_NAS feature@large_dnode enabled local pool_NAS feature@sha512 enabled local pool_NAS feature@skein enabled local pool_NAS feature@edonr enabled local pool_NAS feature@userobj_accounting active local pool_NAS feature@encryption enabled local pool_NAS feature@project_quota active local pool_NAS feature@device_removal enabled local pool_NAS feature@obsolete_counts enabled local pool_NAS feature@zpool_checkpoint enabled local pool_NAS feature@spacemap_v2 active local pool_NAS feature@allocation_classes enabled local pool_NAS feature@resilver_defer enabled local pool_NAS feature@bookmark_v2 enabled local pool_NAS feature@redaction_bookmarks enabled local pool_NAS feature@redacted_datasets enabled local pool_NAS feature@bookmark_written enabled local pool_NAS feature@log_spacemap active local pool_NAS feature@livelist enabled local pool_NAS feature@device_rebuild enabled local pool_NAS feature@zstd_compress enabled local pool_NAS feature@draid enabled local pool_NAS feature@zilsaxattr enabled local pool_NAS feature@head_errlog active local pool_NAS feature@blake3 enabled local pool_NAS feature@block_cloning enabled local pool_NAS feature@vdev_zaps_v2 enabled local So, alle neuen Features aktiviert. Jetzt kann der Pool weiterhin seine Arbeit machen.
  • Debian Bullseye - ZFS installieren und Pool erstellen

    Linux linux zfs proxmox
    1
    1
    0 Stimmen
    1 Beiträge
    2k Aufrufe
    Niemand hat geantwortet
  • Cockpit

    Linux linux
    1
    1
    0 Stimmen
    1 Beiträge
    267 Aufrufe
    Niemand hat geantwortet
  • NAS - Cups & Sane

    Linux linux
    1
    0 Stimmen
    1 Beiträge
    512 Aufrufe
    Niemand hat geantwortet