Python3 - virtuelle Entwicklungsumgebung
-
schrieb am 12. Nov. 2020, 16:00 zuletzt editiert von
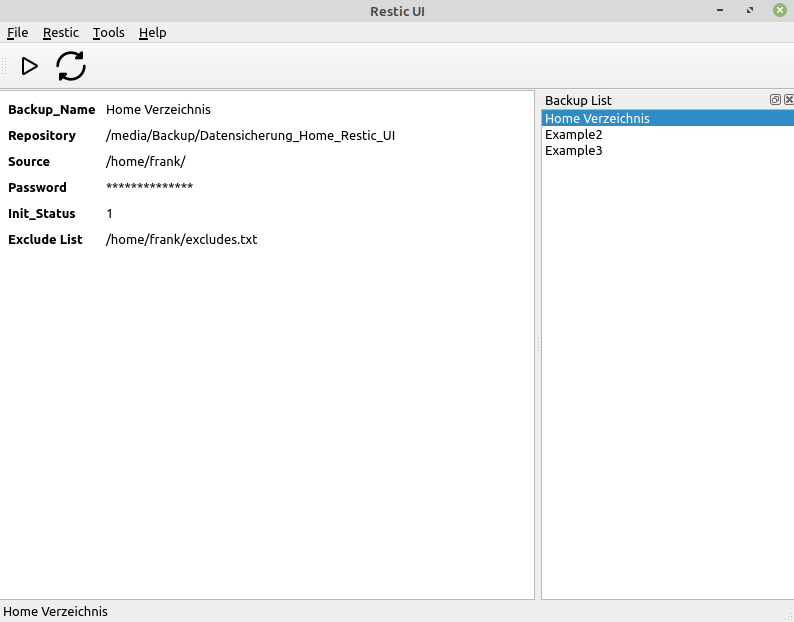
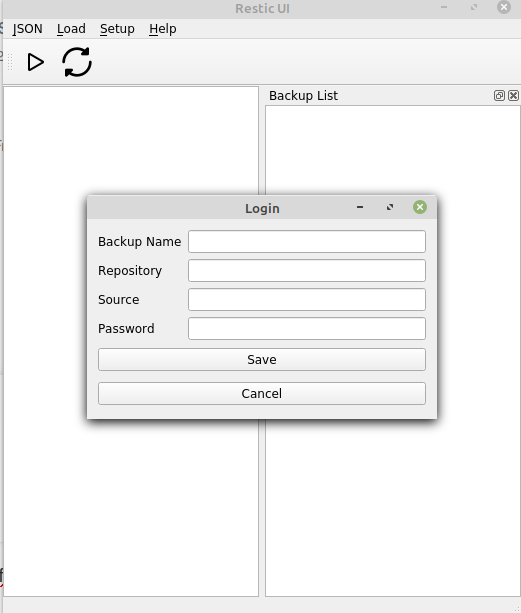
Ich hatte da doch mal wieder ein kleines Problem, was ich mir nicht erklären konnte. Wenn ich als User mein Projekt geöffnet hatte, ging das setStyleSheet der Buttons nicht.
self.button2 = QPushButton("Add Backup", self)
self.button2.clicked.connect(self.close)
self.button2.clicked.connect(add_backup)
Als User Root aber schon
 Da fiel mir ein, das in einem Buch davon die Rede war, das man Projekte in virtuellen Entwicklungsumgebungen erstellt um das alles vom Hauptsystem zu trennen. Ich hoffe mal, das stimmt bis hierher....
Für Python3 braucht man folgende Tools
sudo apt install python3 python3-dev python3-venvpython3-venv war bei mir noch nicht installiert. Also mal nachgeholt.
venv erstellen
Verwenden Sie den Befehl venv, um eine virtuelle Kopie der gesamten Python-Installation zu erstellen. In dieser Anleitung wird eine virtuelle Kopie in einem Ordner namens venv erstellt. Sie können jedoch einen beliebigen Namen für den Ordner angeben.
cd projekt
python3 -m venv venv
Danach hat man im Projektordner einen Ordner namens venv.
venv aktivieren
source venv/bin/activateJetzt können Sie Pakete installieren, ohne dass dies Auswirkungen auf andere Projekte oder Ihre globale Python-Installation hat:
venv deaktivieren
deactivateEine venv Umgebung erkennt man auf der Shell an dem (venv) am Anfang.
(venv) frank@frank-MS-XXXX:~/restic_ui$ python3 restic_ui.pyUnd schwupps, ein Pakete neu installiert und danach waren auch die Buttons bunt

-
F FrankM hat dieses Thema am 6. Mai 2021, 17:31 angepinnt
-
schrieb am 6. Juni 2021, 07:46 zuletzt editiert von
Nach meinem Umzug auf Ubuntu 21.04 ging mein Restic UI nicht mehr in der virtuellen Umgebung. Hier kurz mein Script, wie ich das üblicherweise starte.
cd /home/frank/Restic_UI_Produktiv/restic-ui-public
git stash
git pull
cp /home/frank/backup_list.json /home/frank/Restic_UI_Produktiv/restic-ui-public/
source venv/bin/activate
python3 restic_ui.py
Ich habe eine eigene Backupliste, die ich beim Starten kopieren. Ok, das ging so aber nicht. Ich bekam immer folgendes.
(venv) frank@frank-MS-7C37:~/Restic_UI_Produktiv/restic-ui-public$ python3 restic_ui.py
Traceback (most recent call last):
      File "/home/frank/Restic_UI_Produktiv/restic-ui-public/restic_ui.py", line 24, in <module>
        from PyQt5.QtWidgets import(
    ModuleNotFoundError: No module named 'PyQt5'
(venv) frank@frank-MS-7C37:~/Restic_UI_Produktiv/restic-ui-public$ pip3 install PyQt5
    Traceback (most recent call last):
      File "/home/frank/restic_ui/venv/bin/pip3", line 5, in <module>
        from pip._internal.cli.main import main
    ModuleNotFoundError: No module named 'pip'
Ok, sieht nicht so gut aus. Nachdenken

Was passiert, wenn ich eine virtuelle Umgebung anlege? So genau weiß ich das auch nicht, aber im Projekt wird ein Ordner venv angelegt. Wenn ich mich recht erinnere, habe ich gelesen, das man nun alles mögliche mittels pip installieren kann, dieses passiert aber nur in der virtuellen Umgebung und nicht im echten System. (Hoffe das stimmt)
Jetzt hatte ich den Ordner ja vom alten System und die Daten in venv dürften nicht stimmen, war meine Vermutung. Also ausprobieren. Den Ordner venv mal an einen anderen Ort verschoben, so zur Sicherung. Dann die virtuelle Umgebung neu installiert.
python3 -m venv venv
source venv/bin/activate
Programm gestartet.
(venv) frank@frank-MS-7C37:~/Restic_UI_Produktiv/restic-ui-public$ python3 restic_ui.py
Traceback (most recent call last):
      File "/home/frank/Restic_UI_Produktiv/restic-ui-public/restic_ui.py", line 24, in <module>
        from PyQt5.QtWidgets import(
    ModuleNotFoundError: No module named 'PyQt5'
Ok, er meckert über ein fehlendes Modul, aber diesmal geht das Installieren

(venv) frank@frank-MS-7C37:~/Restic_UI_Produktiv/restic-ui-public$ pip3 install PyQt5
Collecting PyQt5
  Using cached PyQt5-5.15.4-cp36.cp37.cp38.cp39-abi3-manylinux2014_x86_64.whl (8.3 MB)
Collecting PyQt5-Qt5>=5.15
  Using cached PyQt5_Qt5-5.15.2-py3-none-manylinux2014_x86_64.whl (59.9 MB)
Collecting PyQt5-sip<13,>=12.8
  Using cached PyQt5_sip-12.9.0-cp39-cp39-manylinux1_x86_64.whl (328 kB)
Installing collected packages: PyQt5-sip, PyQt5-Qt5, PyQt5
Successfully installed PyQt5-5.15.4 PyQt5-Qt5-5.15.2 PyQt5-sip-12.9.0
Programm gestartet, alles wieder gut

-
schrieb am 9. Juli 2021, 16:30 zuletzt editiert von
Nach Systemwechsel erneut Probleme. Hier noch mal aufgelistet.
Aufpassen, das kein venv Ordner vorhanden ist! Neu anlegen!
python3 -m venv venvDann meckert mein Linux Mint Cinnamon
The virtual environment was not created successfully because ensurepip is not
available.  On Debian/Ubuntu systems, you need to install the python3-venv
package using the following command.

    apt install python3.8-venv

You may need to use sudo with that command.  After installing the python3-venv
package, recreate your virtual environment.

Failing command: ['/home/frank/Restic_UI_Produktiv/restic-ui-public/venv/bin/python3', '-Im', 'ensurepip', '--upgrade', '--default-pip']
Ok, das ist einfach

apt install python3.8-venv
python3 -m venv venv
Danach aktivieren
source venv/bin/activateInstallation von PyQt5
(venv) frank@frank-MS-7C37:~/Restic_UI_Produktiv/restic-ui-public$ pip3 install PyQt5
Collecting PyQt5
  Downloading PyQt5-5.15.4-cp36.cp37.cp38.cp39-abi3-manylinux2014_x86_64.whl (8.3 MB)
     |████████████████████████████████| 8.3 MB 1.7 MB/s
Collecting PyQt5-Qt5>=5.15
  Downloading PyQt5_Qt5-5.15.2-py3-none-manylinux2014_x86_64.whl (59.9 MB)
     |████████████████████████████████| 59.9 MB 18.3 MB/s
Collecting PyQt5-sip<13,>=12.8
  Downloading PyQt5_sip-12.9.0-cp38-cp38-manylinux1_x86_64.whl (332 kB)
     |████████████████████████████████| 332 kB 46.1 MB/s
Installing collected packages: PyQt5-Qt5, PyQt5-sip, PyQt5
Successfully installed PyQt5-5.15.4 PyQt5-Qt5-5.15.2 PyQt5-sip-12.9.0
Danach meckert er über ein fehlendes Modul requests
(venv) frank@frank-MS-7C37:~/Restic_UI_Produktiv/restic-ui-public$ python3 restic_ui.py
Traceback (most recent call last):
  File "restic_ui.py", line 41, in <module>
    from functions import (
  File "/home/frank/Restic_UI_Produktiv/restic-ui-public/functions.py", line 19, in <module>
    import requests as req
ModuleNotFoundError: No module named 'requests'
Installation requests
(venv) frank@frank-MS-7C37:~/Restic_UI_Produktiv/restic-ui-public$ pip3 install requests
Collecting requests
  Downloading requests-2.25.1-py2.py3-none-any.whl (61 kB)
     |████████████████████████████████| 61 kB 802 kB/s
Collecting chardet<5,>=3.0.2
  Downloading chardet-4.0.0-py2.py3-none-any.whl (178 kB)
     |████████████████████████████████| 178 kB 2.7 MB/s
Collecting certifi>=2017.4.17
  Downloading certifi-2021.5.30-py2.py3-none-any.whl (145 kB)
     |████████████████████████████████| 145 kB 14.0 MB/s
Collecting idna<3,>=2.5
  Downloading idna-2.10-py2.py3-none-any.whl (58 kB)
     |████████████████████████████████| 58 kB 9.4 MB/s
Collecting urllib3<1.27,>=1.21.1
  Downloading urllib3-1.26.6-py2.py3-none-any.whl (138 kB)
     |████████████████████████████████| 138 kB 11.5 MB/s
Installing collected packages: chardet, certifi, idna, urllib3, requests
Successfully installed certifi-2021.5.30 chardet-4.0.0 idna-2.10 requests-2.25.1 urllib3-1.26.6
Und schwupps, geht mein Tool wieder


