Restic - Ein Backupkonzept
-
Wie viele, stehe ich auch immer wieder vor dem Problem einige wichtige Daten zu sichern. Mein System sicher ich nicht, nur die Daten unter /home
Aber, es gibt ja auch wichtige Daten, die man nicht zu Hause speichern möchte. Doch in der Cloud? Nö, das ist nicht mein Stil, da lesen mir zu viele mit
 Ok, also muss man die Daten verschlüsselt irgendwo ablegen. Dafür habe ich auch schon so einige Sachen durch. Boxcryptor, Cryptonator und wie sie alle heißen. Doch irgendwas ist immer, was mich daran stört. In meinem Twitter-Account bin ich doch letztens wieder über Restic gestolpert. Da war doch mal was!?
Restic - Backuptool vorgestellt
Armbian - Backupscript mit Restic anlegen
Die Grundlagen sind also schon erarbeitet. Dann schauen wir uns das nochmal an und erarbeiten ein Konzept um gewisse Daten verschlüsselt auf einem Datenspeicher abzulegen. Los geht's....
Restic
Was ist Restic? Mit meinen eigenen Worten, ein Backup-Tool
 Gut, es hat keine grafische Oberfläche, es ist ein reines Kommandozeilen-Tool. Es sichert Daten, und diese AES-256 verschlüsselt. Das sollte reichen um die Daten irgendwo außerhalb der eigenen Wohnung zu lagern. (Denkt an das PW, bei einem schlechten PW braucht man auch gar nicht verschlüsseln!)
Hier die Links zum Projekt:
- Projektseite https://restic.net/
- Dokumentation https://restic.readthedocs.io
- Github https://github.com/restic/restic
GO
Restic ist in GO geschrieben. GO ist eine Programmiersprache die von Mitarbeitern von Google entwickelt wurde. Mit GO kompiliert man ausführbare Dateien. Hier mal das typische Hello World Beispiel.
package main

import "fmt"

func main() {
fmt.Println("Hallo Welt")
}
Der Link zum Projekt GO https://golang.org
Installation GO
Unter meinem Linux Mint Cinnamon 18.3 gibt es leider kein aktuelles Paket. Das Paket was man installieren kann ist für Restic nicht nutzbar

go run build.go
Go 1.6.2 detected, this program requires at least Go 1.8.0
exit status 1
Ok, das bringt so nix. Also das Paket wieder entfernt, dann müssen wir da anders ran gehen. Also müssen wir das Repository vom Entwickler benutzen.
sudo add-apt-repository ppa:longsleep/golang-backportsNach der Eingabe erscheint folgendes:
Sie sind dabei das folgende PPA hinzuzufügen:
Golang 1.8 and 1.9 PPA for Ubuntu 16.04 Xenial
Mehr Informationen: https://launchpad.net/~longsleep/+archive/ubuntu/golang-backports
Zum Fortfahren bitte Eingabetaste drücken oder Strg+C zum Abbrechen
Danach ein
apt-get update
apt-get install golang-go
Nach der Installation eben die Version checken.
go version
go version go1.9.4 linux/amd64
Gut, damit haben wir die Grundvoraussetzung für Restic erst mal auf dem System. Nun können wir uns das aktuelle Restic halt selber bauen.
Wenn man mal mit dem o.g. Probleme hat, kann man sich hier fertige Pakete runterladen.
https://golang.org/dl/Installation Restic
Wir holen uns mal eben das Programm von Github.
git clone https://github.com/restic/resticDanach ins Verzeichnis wechseln
cd resticUnd nun bauen wir
go run build.goNach Beendigung kopieren wir uns das Programm nach /usr/bin damit wir es von überall aufrufen können.
sudo cp restic /usr/binNun bekommen wir beim Aufruf von Restic die Hilfe angezeigt.
restic

restic is a backup program which allows saving multiple revisions of files and
directories in an encrypted repository stored on different backends.

Usage:
restic [command]

Available Commands:
backup Create a new backup of files and/or directories
cat Print internal objects to stdout
check Check the repository for errors
diff Show differences between two snapshots
dump Print a backed-up file to stdout
find Find a file or directory
forget Remove snapshots from the repository
generate Generate manual pages and auto-completion files (bash, zsh)
help Help about any command
init Initialize a new repository
key Manage keys (passwords)
list List objects in the repository
ls List files in a snapshot
migrate Apply migrations
mount Mount the repository
prune Remove unneeded data from the repository
rebuild-index Build a new index file
restore Extract the data from a snapshot
snapshots List all snapshots
tag Modify tags on snapshots
unlock Remove locks other processes created
version Print version information

Flags:
--cacert stringSlice path to load root certificates from (default: use system certificates)
--cache-dir string set the cache directory
--cleanup-cache auto remove old cache directories
-h, --help help for restic
--json set output mode to JSON for commands that support it
--limit-download int limits downloads to a maximum rate in KiB/s. (default: unlimited)
--limit-upload int limits uploads to a maximum rate in KiB/s. (default: unlimited)
--no-cache do not use a local cache
--no-lock do not lock the repo, this allows some operations on read-only repos
-o, --option key=value set extended option (key=value, can be specified multiple times)
-p, --password-file string read the repository password from a file (default: $RESTIC_PASSWORD_FILE)
-q, --quiet do not output comprehensive progress report
-r, --repo string repository to backup to or restore from (default: $RESTIC_REPOSITORY)
--tls-client-cert string path to a file containing PEM encoded TLS client certificate and private key

Use "restic [command] --help" for more information about a command.
Somit können wir nun das Backup-Tool einsetzen.
Backup einrichten
Um ein Backup einzurichten, müssen wir folgenden Befehl eingeben.
restic -r /tmp/repo init
enter password for new repository:
enter password again:
created restic repository c2f4383c89 at /tmp/repo
-r /tmp/repo definiert den Pfad des Backups
init dient zur Initialisierung des Backups. Danach fragt das Programm das Passwort für das Backup ab!Wichtig!
Please note that knowledge of your password is required to access
the repository. Losing your password means that your data is
irrecoverably lost.
Backup anlegen
Um ein Backup anzulegen wird folgendes eingegeben
restic -r /tmp/repo backup /home/frank/Bilder
enter password for repository:
password is correct
scan [/home/frank/Bilder]
scanned 4 directories, 64 files in 0:00
[0:00] 100.00%  91.252 MiB / 91.252 MiB  68 / 68 items  0 errors  ETA 0:00
duration: 0:00
snapshot c38a4ceb saved
-r /tmp/repo ist der Pfad zum Backup - Zielverzeichnis
backup - legt ein Backup von Files /Ordner an
/home/frank/Bilder ist das Quellverzeichnis welches gesichert werden soll.Vor Anlegen des Backups, wird das Passwort abgefragt, wenn das richtig ist geht's los. Es kommen einige Ausgaben was passiert und am Ende die Zeile
snapshot c38a4ceb saveddie uns anzeigt, das das Backup (Snapshot) unter dem Namen c38a4ceb angelegt wurde.
Backup's auflisten
Ein Backup kann viele Snapshot's enthalten. Um mit diesen arbeiten zu können, müssen wir wissen wie der Name lautet. Um diese aufzulisten, gibt es einen Befehl
restic -r /tmp/repo snapshots
enter password for repository:
password is correct
ID        Date                 Host           Tags        Directory
----------------------------------------------------------------------
c38a4ceb  2018-02-18 16:47:08  frank-XX-XXXX              /home/frank/Bilder
----------------------------------------------------------------------
1 snapshots
Hier wird der nun bekannte Befehl restic -r /tmp/repo um den Befehl snapshots erweitert. Dieser gibt dann, nachdem wir das korrekte Passwort eingegeben haben, alle Snapshots aus. Im Beispiel gibt es nur einen Snapshot.
Snapshot wieder herstellen
Um einen Snapshot wieder herzustellen brauchen wir den Namen (ID) des Snapshots und folgenden Befehl.
restic -r /tmp/repo restore -t /tmp/restore c38a4ceb-r /tmp/repo ist der Pfad zum Backup - Zielverzeichnis
restore Befehl zum Auspacken des Snapshots
-t /tmp/restore Das Zielverzeichnis (Target)
c38a4ceb Der Name(ID) des SnapshotsRestic Hilfe
Man kann sich zu den einzelnen Befehlen auch eine ausführlichere Hilfe anzeigen lassen.
restic restore --help

The "restore" command extracts the data from a snapshot from the repository to
a directory.

The special snapshot "latest" can be used to restore the latest snapshot in the
repository.

Usage:
  restic restore [flags] snapshotID

Flags:
  -e, --exclude pattern   exclude a pattern (can be specified multiple times)
  -h, --help              help for restore
  -H, --host string       only consider snapshots for this host when the snapshot ID is "latest"
  -i, --include pattern   include a pattern, exclude everything else (can be specified multiple times)
      --path path         only consider snapshots which include this (absolute) path for snapshot ID "latest"
      --tag taglist       only consider snapshots which include this taglist for snapshot ID "latest" (default [])
  -t, --target string     directory to extract data to

Global Flags:
      --cacert stringSlice       path to load root certificates from (default: use system certificates)
      --cache-dir string         set the cache directory
      --cleanup-cache            auto remove old cache directories
      --json                     set output mode to JSON for commands that support it
      --limit-download int       limits downloads to a maximum rate in KiB/s. (default: unlimited)
      --limit-upload int         limits uploads to a maximum rate in KiB/s. (default: unlimited)
      --no-cache                 do not use a local cache
      --no-lock                  do not lock the repo, this allows some operations on read-only repos
  -o, --option key=value         set extended option (key=value, can be specified multiple times)
  -p, --password-file string     read the repository password from a file (default: $RESTIC_PASSWORD_FILE)
  -q, --quiet                    do not output comprehensive progress report
  -r, --repo string              repository to backup to or restore from (default: $RESTIC_REPOSITORY)
      --tls-client-cert string   path to a file containing PEM encoded TLS client certificate and private key
Dort findet man auch den Schalter -t
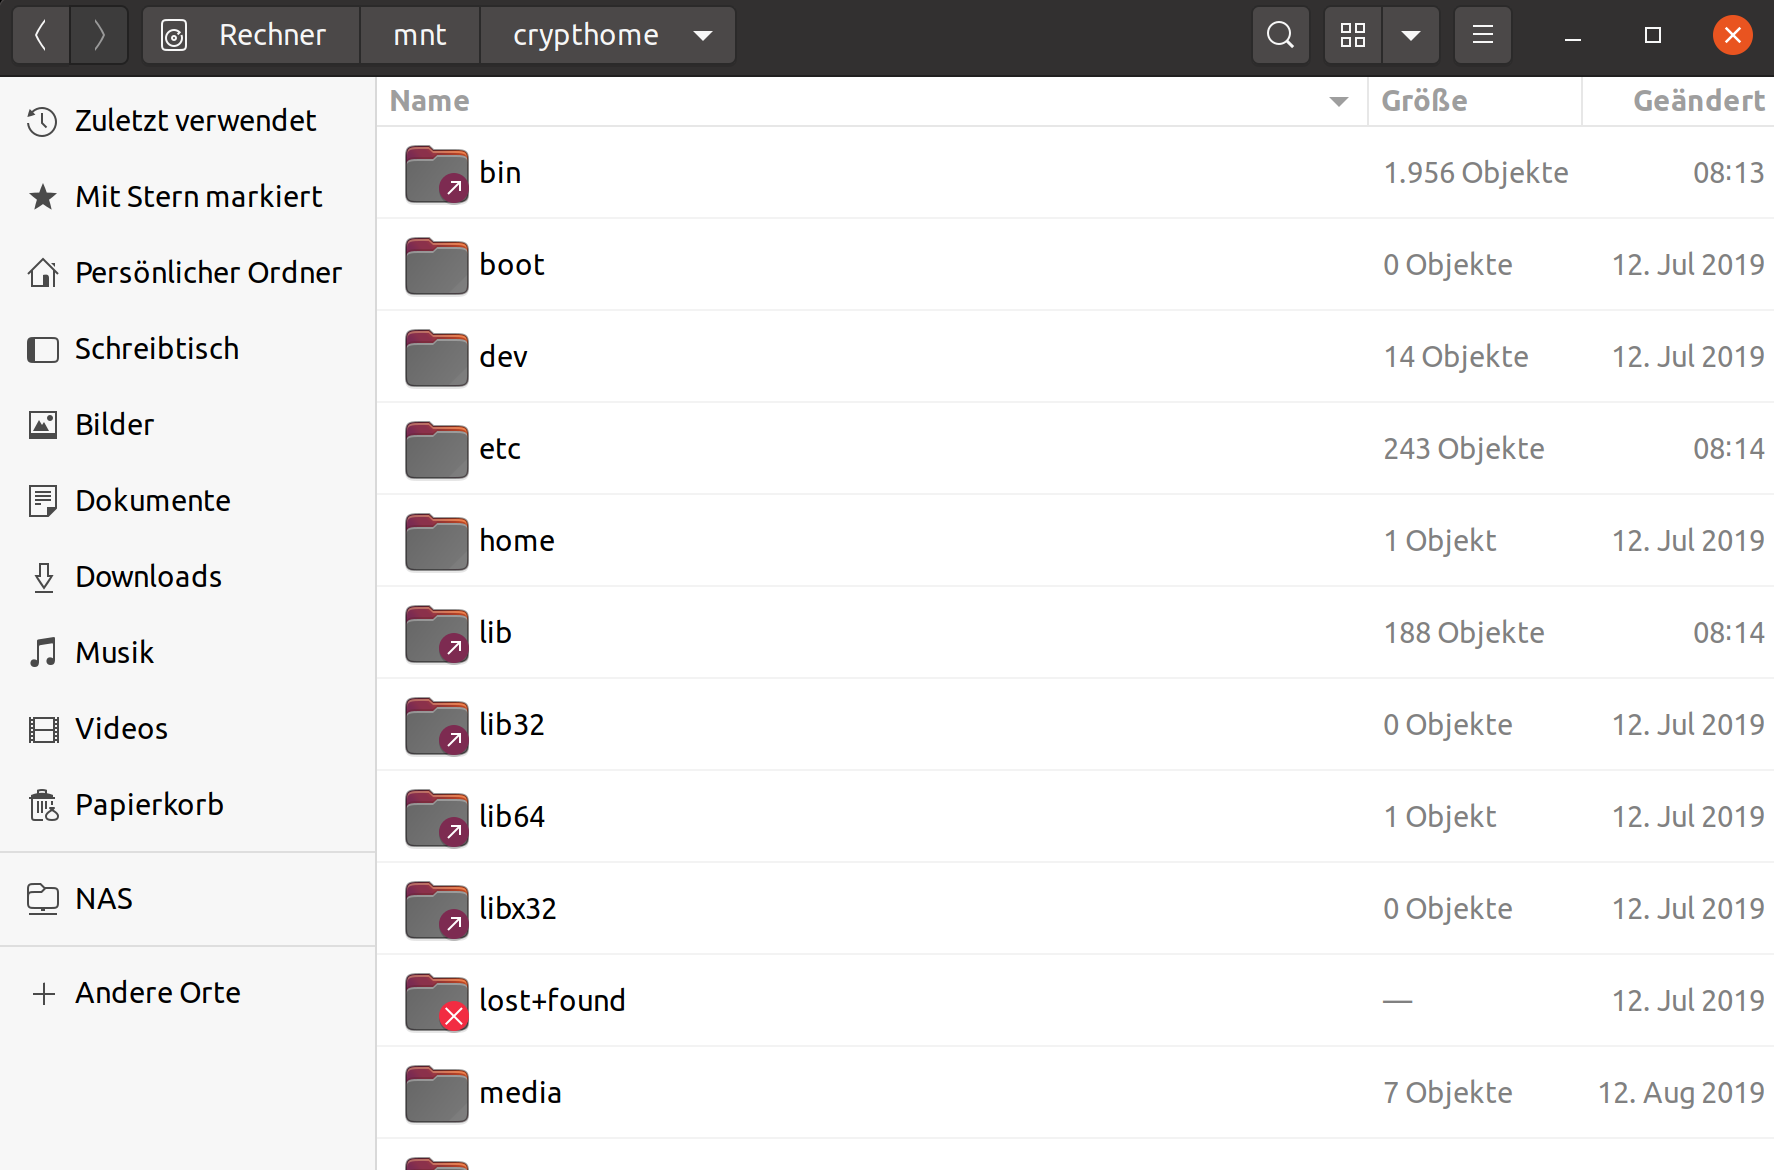
Snapshot mounten
Man kann ein Snapshot auch eben mal schnell mounten.
mkdir /mnt/restic
restic -r /tmp/backup mount /mnt/restic
enter password for repository:
Now serving /tmp/backup at /mnt/restic
Don't forget to umount after quitting!
Im nächsten Teil werden wir einen bestimmten Ordner automatisch sichern und das Ganze automatisieren, so das wir uns nicht mehr drum kümmern müssen.
https://forum.frank-mankel.org/topic/27/restic-ein-backupkonzept-automatisieren
-
 F FrankM hat dieses Thema am angepinnt