Skip to content

FreeOTP+ Datenumzug nach Bitwarden Authenticator

Python3
  • Da ich viele Linux News lese, bin ich irgendwann auch mal über den Bitwarden Authenticator gestolpert.

    Kurze Erläuterung, ich nutze als Passwortspeicher einen selbst gehosteten Vaultwarden Server. Diesen kann man über die Bitwarden Apps erreichen.

    Da man heutzutage ja auch immer einen 2FA nutzen sollte, setze ich dafür schon lange auf die Android App FreeOTP+. Ich spiele aber schon länger mit dem Gedanken, diese App zu ersetzen.

    Innerhalb von FreeOTP+ ist man in der Lage die Daten in zwei Formaten zu exportieren.

    • JSON
    • TXT

    Ich habe mich für das TXT Format entschieden. Ein Beispiel.

    otpauth://totp/Radforum%20D%C3%BCsseldorf%3Afrankm%40radforum-duesseldorf.de?secret=<SECRET>&algorithm=SHA1&digits=6&period=30
    

    Das müssen wir jetzt in ein vernünftiges Format umwandeln, was wir mit Bitwarden Authenticator importieren können. Beispiel

    {
      "encrypted": false,
      "items": [
        {
          "favorite": false,
          "id": "52A4DFB0-F19E-4C9D-82A1-BBEE95BBEF81",
          "login": {
            "totp": "otpauth://totp/Amazon:alice@bitwarden.com?secret=IIO5SCP3766LMSAB5HJCQPNDCCNAZ532&issuer=Amazon&algorithm=SHA1&digits=6&period=30",
            "username": "alice@bitwarden.com"
          },
          "name": "Amazon",
          "type": 1
        },
    

    Doku Bitwarden -> https://bitwarden.com/de-de/help/authenticator-import-export/

    Damit haben wir dann ja die Grundlagen, um mal eben mit Python und der freundlichen Unterstützung von ChatGPT einen Converter zu bauen.

    Ein paar Tests und so weiter und nach ca. 2 Stunden war alles fertig.

    Die CLI Anwendung benutzt man dann wie folgt.

    python converter.py -i import.txt -o output.json
    

    Das File output.json dann innerhalb der Bitwarden Authenticator App importieren - fertig. Leider werden die Favicons beim Import nicht erstellt. Ich habe bis jetzt keinen Fehler in meinen importierten Daten festgestellt, hat alles so weit geklappt.

    Schnell noch ein Gitlab Repo dazu erstellt, damit andere nicht wieder von vorne anfangen müssen 🙂

  • Python - Interessante Packages

    Python3
    1
    0 Stimmen
    1 Beiträge
    98 Aufrufe
    Niemand hat geantwortet
  • Flask Projekt auf einem anderen Rechner installieren

    Python3
    1
    0 Stimmen
    1 Beiträge
    140 Aufrufe
    Niemand hat geantwortet
  • Vorstellung Restic UI Flask

    Restic UI Flask
    1
    0 Stimmen
    1 Beiträge
    204 Aufrufe
    Niemand hat geantwortet
  • Portfolio - mein kleines Flask Projekt

    Python3
    5
    0 Stimmen
    5 Beiträge
    193 Aufrufe
    FrankMF

    Hab ChatGPT nochmal nach der Installation auf einem Production Server befragt.

    ChatGPT

    Certainly! Here's a short example of the steps you can follow to deploy a Flask application on a production server using Nginx and Gunicorn:

    Prepare your server:

    Set up a server (e.g., using a cloud provider like AWS, DigitalOcean, or a dedicated server) and ensure it has a clean, up-to-date installation of a Linux distribution (e.g., Ubuntu or CentOS).

    Install required software:

    Install necessary software packages on your server. You'll need Python, pip (Python package manager), Nginx, and Gunicorn. You can use your distribution's package manager (e.g., apt for Ubuntu or yum for CentOS) to install these dependencies.

    Deploy your Flask application:

    Copy your Flask application code and any required dependencies to your server.

    Set up a virtual environment (optional but recommended):

    Create a virtual environment for your Flask application to isolate its dependencies. You can use venv or virtualenv for this purpose.

    Install Flask and any required Python packages within your virtual environment:

    pip install flask

    Test your Flask application:

    Ensure your Flask application runs correctly within your server's virtual environment.

    Configure Gunicorn:

    Create a Gunicorn configuration file (e.g., gunicorn_config.py) to specify the settings for running your Flask application. Here's a simple example: workers = 4 # Number of Gunicorn worker processes bind = '0.0.0.0:8000' # The address and port Gunicorn should listen on

    Start Gunicorn:

    Start Gunicorn with your Flask application: gunicorn -c gunicorn_config.py your_app:app

    Configure Nginx:

    Create an Nginx server block (often located in /etc/nginx/sites-available) to define how Nginx should handle incoming requests. Here's a simplified example: server { listen 80; server_name your_domain.com www.your_domain.com; location / { proxy_pass http://127.0.0.1:8000; # Pass requests to Gunicorn proxy_set_header Host $host; proxy_set_header X-Real-IP $remote_addr; } }

    Enable the Nginx server block and restart Nginx:

    sudo ln -s /etc/nginx/sites-available/your_config /etc/nginx/sites-enabled/ sudo nginx -t # Test Nginx configuration sudo systemctl restart nginx

    Configure your DNS:

    Point your domain name to your server's IP address.

    Secure your server (optional but recommended):

    Set up SSL/TLS certificates for your domain to enable HTTPS. You can use Let's Encrypt for free SSL certificates.

    Monitor your application:

    Set up monitoring tools and logs to keep track of your application's performance and troubleshoot any issues.

    These are the basic steps to deploy a Flask application on a production server with Nginx and Gunicorn. Please note that this is a simplified example, and there are many additional considerations, such as database configuration, security, and optimization, depending on your specific application and requirements. It's also important to keep your server and software up to date and follow security best practices to ensure the stability and security of your production environment.

    Das werde ich doch mal ausprobieren 😎

  • NiceGUI

    Linux
    2
    0 Stimmen
    2 Beiträge
    330 Aufrufe
    FrankMF

    Ich habe mir das jetzt einige Tage gegeben und habe mich dagegen entschieden. Werde weiterhin PyWebIO benutzen. Hauptgrund ist die wesentlich bessere Dokumentation -> https://pywebio.readthedocs.io/en/latest/index.html

    Da kann ich mir auch mit meinem Python Kenntnisstand die Informationen holen, die ich brauche um es einzusetzen.

  • Example Class

    Angeheftet Python3
    3
    0 Stimmen
    3 Beiträge
    146 Aufrufe
    FrankMF

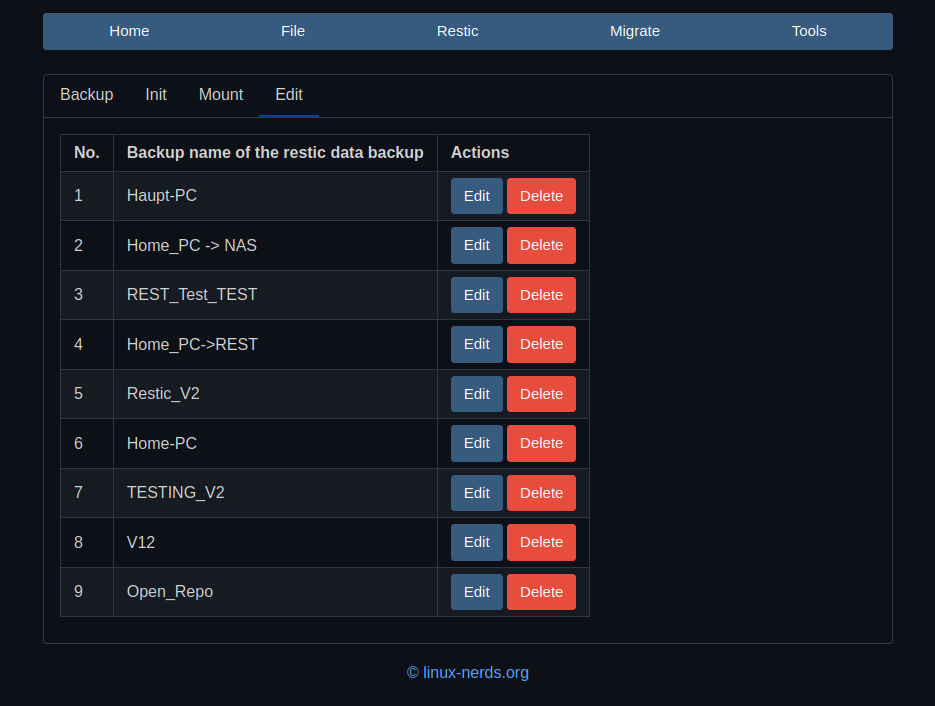
    In meinem PywebIO Projekt tauchte heute ein alter Bekannter auf. Wenn ich einen Eintrag (innerhalb der Liste) löschte, war das etwas durcheinander 🤔

    Ja, den Fehler kenne ich schon was länger und stolper immer mal wieder drüber. Heute z.B.

    Also mal grübeln 🤓

    Das mache ich, wenn ich einen Eintrag lösche

    case 'Yes': # delete entrie BackupList.delete((line - 1)) # save json BackupList.save_json() # Load data from filesystem BackupList.load_json() # Reload Tab Backup backup()

    Ich mache folgendes

    lösche den Eintrag speicher die Liste lade die Liste baue den Tab wieder auf

    Das führt aber dazu, das meine Liste die als Objekt im Speicher steht nicht aktuell ist. Im Gegenteil, da ist dann etwas Unordnung. Ich brauchte also die Möglichkeit mein Objekt backups irgendwie zurückzusetzen.

    Mal gegoogelt und die Dinge sind manchmal wirklich total easy 🙂

    # clear dict backups.clear()

    Das leert das Objekt und im nächsten Schritt kann ich es wieder befüllen.

    Lösung case 'Yes': # delete entrie BackupList.delete((line - 1)) # save json BackupList.save_json() # clear dict backups.clear() # Load data from filesystem BackupList.load_json() # Reload Tab Backup backup()

    Problem erledigt. Damit ich das noch finde, wenn mein Kopf das nicht mehr hergibt, notiere ich das hier.

  • PyWebIO - put_buttons

    PyWebIO
    2
    0 Stimmen
    2 Beiträge
    177 Aufrufe
    FrankMF

    Und noch eine kleine Übung, wie man den Buttton abhängig von einem Value enabled/disabled

    # we build header and tdata for table tab_mount = [] for count, value in enumerate(backups): if count == 0: tab_mount.append(['No.', 'Backup name of the restic data backup', 'Actions']) if backups[value].init == "0": tab_mount.append([count + 1, backups[count].name, put_buttons([ dict(label='Mount', value='Mount', color='primary', disabled=True), dict(label='UMount', value='UMount', color='primary', disabled=True), dict(label='Restore', value='Restore', color='primary', disabled=True), ] , onclick=partial(actions, count + 1)) ]) else: tab_mount.append([count + 1, backups[count].name, put_buttons([ dict(label='Mount', value='Mount', color='primary'), dict(label='UMount', value='UMount', color='primary'), dict(label='Restore', value='Restore', color='primary'), ], onclick=partial(actions, count + 1)) ])
  • Restic UI - REST Server Unterstützung

    Restic UI
    2
    0 Stimmen
    2 Beiträge
    237 Aufrufe
    FrankMF

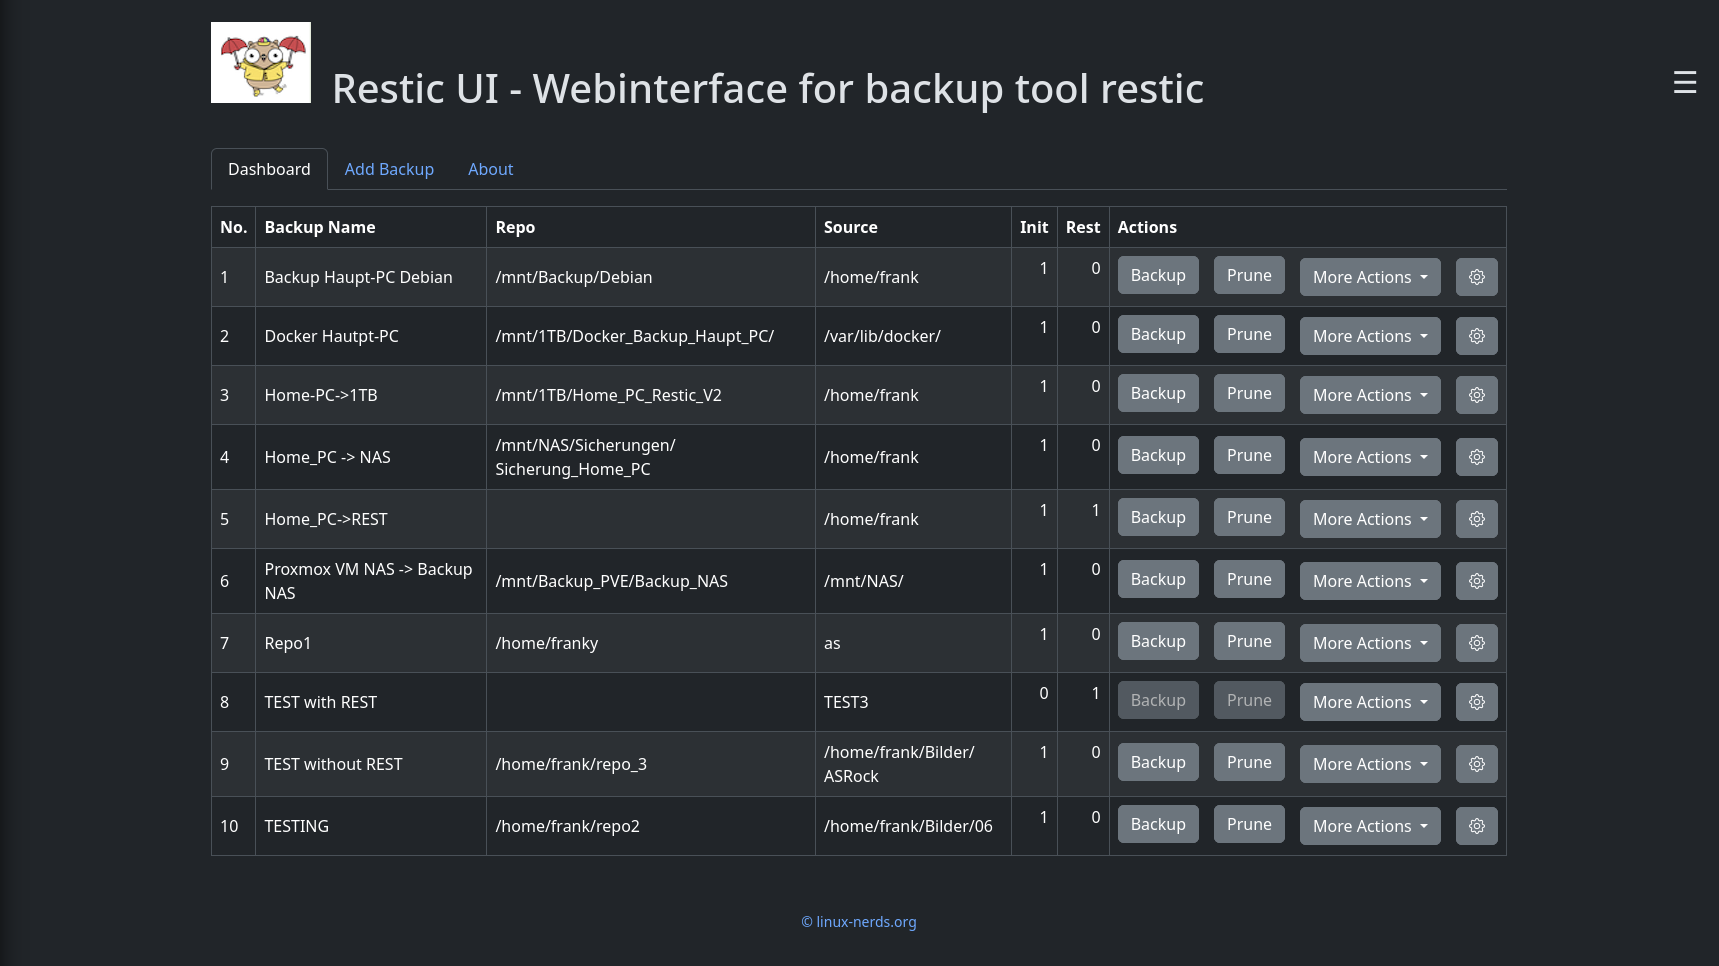
    Die REST Unterstützung ist komplett 🤓

    Link Preview Image Not Found

    favicon

    (gitlab.com)

    Ich denke, ein wenig Dokumentation wäre noch gut ☺