ROCKPro WLan Modul

-
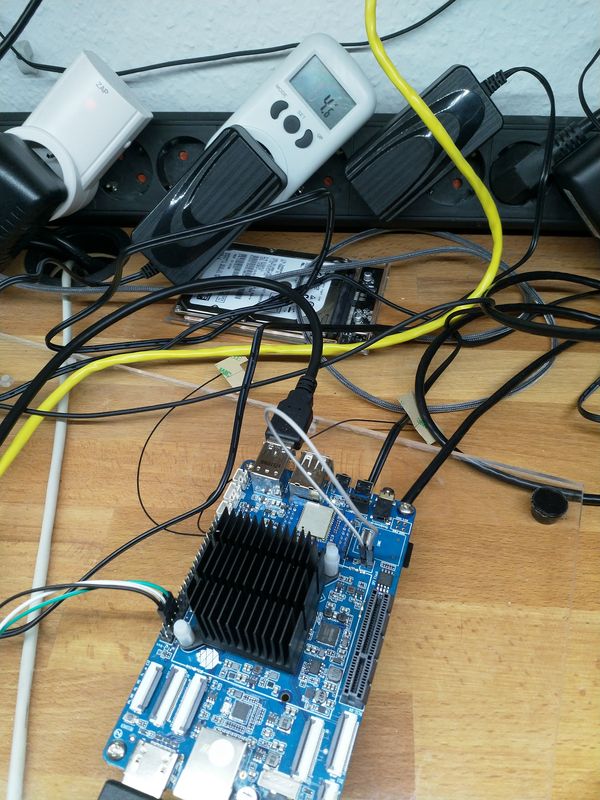
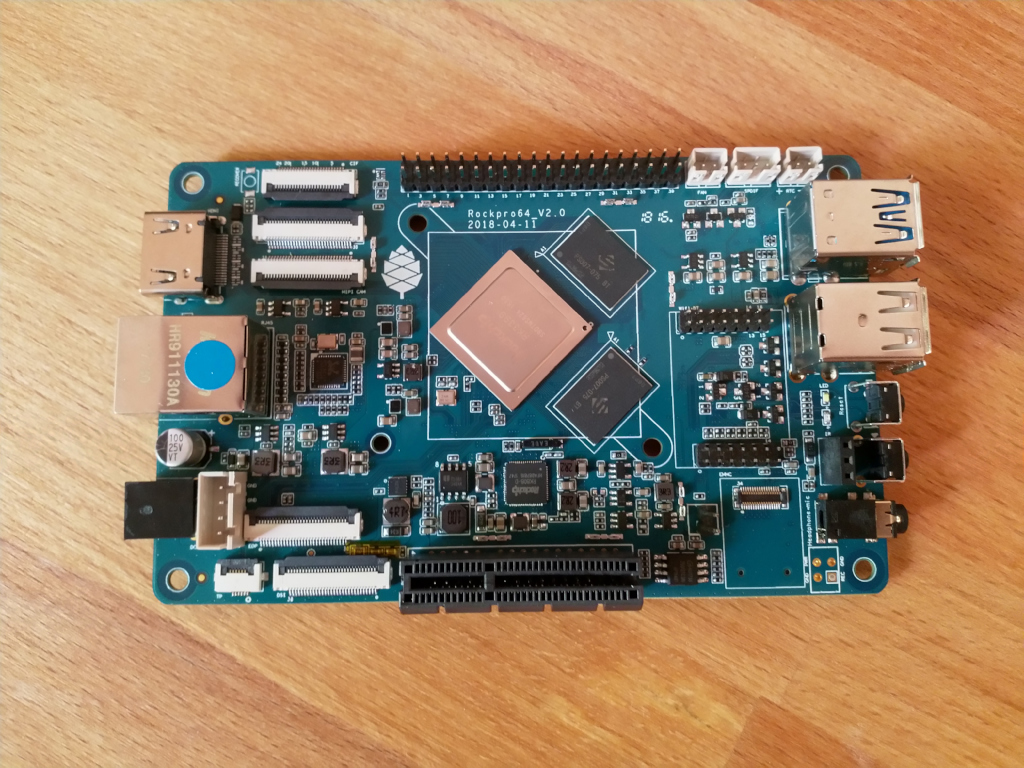
Hardware
Das Modul was Pine64 verkauft. Dieses Modul wird auf den entsprechenden Steckplatz montiert.
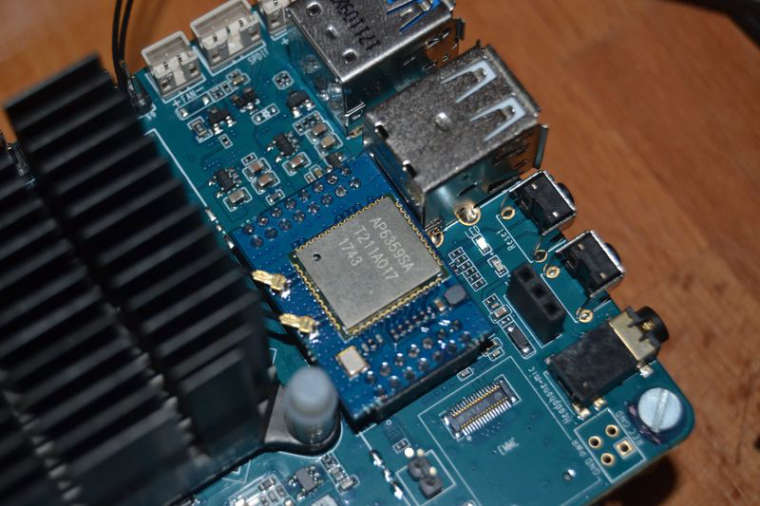
Vorteil, wer kein WLan benötigt braucht das nicht mitbezahlen.
Das Modul wird über sdio angesteuert, das hat Kamil mit Version 0.7.8 abgeschaltet um die PCIe Funktionalität zu erhalten, weil dort ein Bug drin ist, den er vor seinem Urlaub nicht mehr gefunden hat.
Das heißt, um das WLan Modul überhaupt zum Leben zu erwecken muss man ein Image vor 0.7.8 nutzen. Ich habe es mal mit 0.7.7 probiert.
Software
Hätten wir das Problem, die Software ist nicht drin. Aber JeffD aus dem Forum hatte da eine Idee
") Man klaue sich den Treiber aus der Android Version, da soll es funktionieren (nicht selber getestet).
Man klaue sich den Treiber aus der Android Version, da soll es funktionieren (nicht selber getestet).Also die 50 GB große Android Datei runter geladen, ausgepackt und durchsucht. Dort findet man dann die Datei
BCM4359C0.hcdDiese kopiert man nach /etc/firmware
root@rockpro64:/home/rock64# ls -la /etc/firmware
total 184
drwxr-xr-x  2 root root  4096 Jul 27 21:11  .
drwxr-xr-x 82 root root  4096 Jul 28 05:29  ..
-rw-r--r--  1 root root 38644 Jul 15 15:52  4343A0.hcd
-rw-r--r--  1 root root 57291 Jul 15 15:52  BCM4335C0.hcd
-rw-r--r--  1 root root 38644 Jul 15 15:52 'BCM4343A0 26M.hcd'
-rwxr--r--  1 root root 37286 Jul 27 21:11  BCM4359C0.hcd
Danach hat man irgendwelche Ausgaben, die gar nicht so schlecht aussehen. Aber, da meine treuen Leser ja wissen, das ich kein Freund von Bluetooth und WLan auf der Konsole bin (ich hasse das
") ) , habe ich jetzt nach einer langen Nacht aufgegeben. Dieses Netplan auf Ubuntu regt mich auch nur noch auf!
) , habe ich jetzt nach einer langen Nacht aufgegeben. Dieses Netplan auf Ubuntu regt mich auch nur noch auf!Also wird dem Nerd mit unterdurchschnittlichem Linuxwissen, nicht anderes übrig bleiben, als auf Kamil's nächstes Image zu warten, das dann hoffentlich PCIe & WLan unterstützt!
Die Befürchtung, das es auf v2.0 nicht richtig läuft, kann ich vorsichtig verneinen. Die Ausgaben auf v2.0 sind gleich, ob es dann auch richtig funktioniert wird man später sehen. https://forum.frank-mankel.org/topic/176/rockpro64-kein-wlan-modul-möglich
Hier ein paar Ausgaben, ob die sinnvoll sind kann ich nicht beurteilen.
rfkill list all
root@rockpro64:/home/rock64# rfkill list all
0: bt_default: Bluetooth
	Soft blocked: no
	Hard blocked: no
1: phy0: Wireless LAN
	Soft blocked: no
	Hard blocked: no
2: brcmfmac-wifi: Wireless LAN
	Soft blocked: no
	Hard blocked: no
lshw -class network
root@rockpro64:/home/rock64# sudo lshw -class network
  *-network:0 DISABLED
       description: Wireless interface
       physical id: 7
       logical name: wlan0
       serial: ac:83:f3:e6:1f:b2
       capabilities: ethernet physical wireless
       configuration: broadcast=yes driver=wl driverversion=0 multicast=yes wireless=IEEE 802.11
  *-network:1
       description: Ethernet interface
       physical id: 8
       logical name: eth0
       serial: 1e:0e:99:52:8e:40
       size: 1Gbit/s
       capacity: 1Gbit/s
       capabilities: ethernet physical tp aui bnc mii fibre 10bt 10bt-fd 100bt 100bt-fd 1000bt-fd autonegotiation
       configuration: autonegotiation=on broadcast=yes driver=st_gmac driverversion=March_2013 duplex=full ip=192.168.3.17 link=yes multicast=yes port=MII speed=1Gbit/s
iw dev
root@rockpro64:/etc# iw dev
phy#0
	Interface wlan0
		ifindex 3
		wdev 0x1
		addr ac:83:f3:e6:1f:b2
		type managed
ip a
root@rockpro64:/home/rock64# ip a
1: lo: <LOOPBACK,UP,LOWER_UP> mtu 65536 qdisc noqueue state UNKNOWN group default qlen 1
    link/loopback 00:00:00:00:00:00 brd 00:00:00:00:00:00
    inet 127.0.0.1/8 scope host lo
       valid_lft forever preferred_lft forever
    inet6 ::1/128 scope host
       valid_lft forever preferred_lft forever
2: eth0: <BROADCAST,MULTICAST,UP,LOWER_UP> mtu 1500 qdisc fq_codel state UNKNOWN group default qlen 1000
    link/ether 1e:0e:99:52:8e:40 brd ff:ff:ff:ff:ff:ff
    inet 192.168.3.18/24 brd 192.168.3.255 scope global eth0
       valid_lft forever preferred_lft forever
    inet 192.168.3.205/24 brd 192.168.3.255 scope global secondary eth0
       valid_lft forever preferred_lft forever
    inet6 fe80::1c0e:99ff:fe52:8e40/64 scope link
       valid_lft forever preferred_lft forever
3: wlan0: <BROADCAST,MULTICAST> mtu 1500 qdisc noop state DOWN group default qlen 1000
    link/ether ac:83:f3:e6:1f:b2 brd ff:ff:ff:ff:ff:ff
iwlist
rock64@rockpro64:~$ iw list
Wiphy phy0
	max # scan SSIDs: 10
	max scan IEs length: 2048 bytes
	max # sched scan SSIDs: 0
	max # match sets: 0
	max # scan plans: 1
	max scan plan interval: -1
	max scan plan iterations: 0
	Retry short limit: 7
	Retry long limit: 4
	Coverage class: 0 (up to 0m)
	Device supports T-DLS.
	Supported Ciphers:
		* WEP40 (00-0f-ac:1)
		* WEP104 (00-0f-ac:5)
		* TKIP (00-0f-ac:2)
		* CCMP-128 (00-0f-ac:4)
		* CMAC (00-0f-ac:6)
	Available Antennas: TX 0 RX 0
	Supported interface modes:
		 * IBSS
		 * managed
		 * AP
		 * P2P-client
		 * P2P-GO
		 * P2P-device
	Band 1:
		Bitrates (non-HT):
			* 1.0 Mbps
			* 2.0 Mbps (short preamble supported)
			* 5.5 Mbps (short preamble supported)
			* 11.0 Mbps (short preamble supported)
			* 6.0 Mbps
			* 9.0 Mbps
			* 12.0 Mbps
			* 18.0 Mbps
			* 24.0 Mbps
			* 36.0 Mbps
			* 48.0 Mbps
			* 54.0 Mbps
		Frequencies:
			* 2412 MHz [1] (20.0 dBm)
			* 2417 MHz [2] (20.0 dBm)
			* 2422 MHz [3] (20.0 dBm)
			* 2427 MHz [4] (20.0 dBm)
			* 2432 MHz [5] (20.0 dBm)
			* 2437 MHz [6] (20.0 dBm)
			* 2442 MHz [7] (20.0 dBm)
			* 2447 MHz [8] (20.0 dBm)
			* 2452 MHz [9] (20.0 dBm)
			* 2457 MHz [10] (20.0 dBm)
			* 2462 MHz [11] (20.0 dBm)
			* 2467 MHz [12] (20.0 dBm)
			* 2472 MHz [13] (20.0 dBm)
			* 2484 MHz [14] (20.0 dBm)
Supported commands:
		 * new_interface
		 * set_interface
		 * new_key
		 * start_ap
		 * set_bss
		 * join_ibss
		 * set_pmksa
		 * del_pmksa
		 * flush_pmksa
		 * remain_on_channel
		 * frame
		 * frame_wait_cancel
		 * set_wiphy_netns
		 * set_channel
		 * tdls_mgmt
		 * tdls_oper
		 * start_p2p_device
		 * connect
		 * disconnect
	Supported TX frame types:
		 * IBSS: 0x00 0x10 0x20 0x30 0x40 0x50 0x60 0x70 0x80 0x90 0xa0 0xb0 0xc0 0xd0 0xe0 0xf0
		 * managed: 0x00 0x10 0x20 0x30 0x40 0x50 0x60 0x70 0x80 0x90 0xa0 0xb0 0xc0 0xd0 0xe0 0xf0
		 * AP: 0x00 0x10 0x20 0x30 0x40 0x50 0x60 0x70 0x80 0x90 0xa0 0xb0 0xc0 0xd0 0xe0 0xf0
		 * AP/VLAN: 0x00 0x10 0x20 0x30 0x40 0x50 0x60 0x70 0x80 0x90 0xa0 0xb0 0xc0 0xd0 0xe0 0xf0
		 * P2P-client: 0x00 0x10 0x20 0x30 0x40 0x50 0x60 0x70 0x80 0x90 0xa0 0xb0 0xc0 0xd0 0xe0 0xf0
		 * P2P-GO: 0x00 0x10 0x20 0x30 0x40 0x50 0x60 0x70 0x80 0x90 0xa0 0xb0 0xc0 0xd0 0xe0 0xf0
		 * P2P-device: 0x00 0x10 0x20 0x30 0x40 0x50 0x60 0x70 0x80 0x90 0xa0 0xb0 0xc0 0xd0 0xe0 0xf0
	Supported RX frame types:
		 * IBSS: 0xd0
		 * managed: 0x40 0xd0
		 * AP: 0x00 0x20 0x40 0xa0 0xb0 0xc0 0xd0
		 * AP/VLAN: 0x00 0x20 0x40 0xa0 0xb0 0xc0 0xd0
		 * P2P-client: 0x40 0xd0
		 * P2P-GO: 0x00 0x20 0x40 0xa0 0xb0 0xc0 0xd0
		 * P2P-device: 0x40 0xd0
	WoWLAN support:
		 * wake up on anything (device continues operating normally)
		 * wake up on pattern match, up to 8 patterns of 1-255 bytes,
		   maximum packet offset 255 bytes
	software interface modes (can always be added):
	valid interface combinations:
		 * #{ AP } <= 2, #{ managed } <= 2, #{ P2P-client, P2P-GO } <= 2, #{ P2P-device } <= 1, #{ IBSS } <= 1,
		   total <= 4, #channels <= 2
	Device supports scan flush.