Hallo @berthold, du bist mein einziger Star Ok, darum geht es mir ja nicht, wie Du weißt mache ich das hauptsächlich für mich und meine Backups klappen damit sehr gut. Ist also produktiv einsetzbar.
Wie Du gemerkt hast, gibt es Zeiten da mache ich ganz viel und dann wieder Zeiten da passiert nix. Das ist bei mir normal, ich muss da "Bock" drauf haben. Habe ich viel Stress auf der Arbeit, passiert Abends eher sehr wenig..
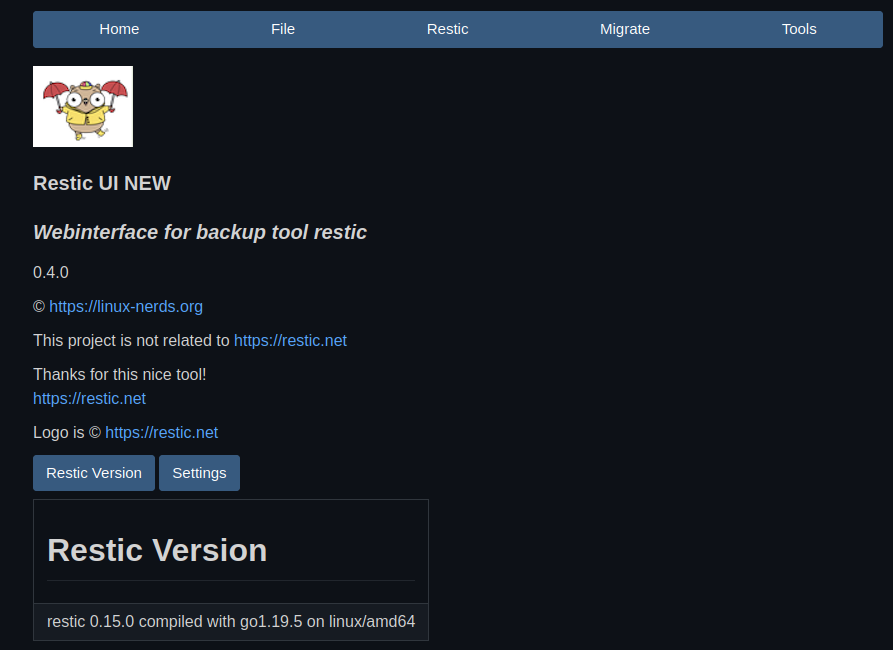
Ich hoffe das ich mittlerweile alle Fehler gefunden habe, die Grundfunktionen sind alle funktional. Mittlerweile kann man die JSON Datei mit den Daten der Backups auf Wunsch auch verschlüsseln
Ich habe noch eine ganze Reihe an Notizen, was ich gerne noch machen möchte. Wichtig ist mir aber im Moment, das ich alle Fehler finde und das so wie es jetzt ist, einwandfrei läuft.
Darum, wenn es jemand nutzt, bitte gebt Feedback. Egal ob positiv oder negativ. Ich freue mich persönlich natürlich mehr über positives Feedback