Restic - Migrate
Restic
1
Beiträge
1
Kommentatoren
274
Aufrufe
-
Man kann ein altes Repo mit Version 1 in ein Repo mit Version 2 migrieren. Ein erster Versuch von mir.
Schauen wir uns die Hilfe an.
[frank-ms7c92 ~]# restic migrate -h

The "migrate" command checks which migrations can be applied for a repository
and prints a list with available migration names. If one or more migration
names are specified, these migrations are applied.

EXIT STATUS
===========

Exit status is 0 if the command was successful, and non-zero if there was any error.

Usage:
  restic migrate [flags] [migration name] [...]

Flags:
  -f, --force   apply a migration a second time
  -h, --help    help for migrate

Global Flags:
      --cacert file                file to load root certificates from (default: use system certificates)
      --cache-dir directory        set the cache directory. (default: use system default cache directory)
      --cleanup-cache              auto remove old cache directories
      --compression mode           compression mode (only available for repository format version 2), one of (auto|off|max) (default auto)
      --insecure-tls               skip TLS certificate verification when connecting to the repository (insecure)
      --json                       set output mode to JSON for commands that support it
      --key-hint key               key ID of key to try decrypting first (default: $RESTIC_KEY_HINT)
      --limit-download int         limits downloads to a maximum rate in KiB/s. (default: unlimited)
      --limit-upload int           limits uploads to a maximum rate in KiB/s. (default: unlimited)
      --no-cache                   do not use a local cache
      --no-lock                    do not lock the repository, this allows some operations on read-only repositories
  -o, --option key=value           set extended option (key=value, can be specified multiple times)
      --pack-size uint             set target pack size in MiB, created pack files may be larger (default: $RESTIC_PACK_SIZE)
      --password-command command   shell command to obtain the repository password from (default: $RESTIC_PASSWORD_COMMAND)
  -p, --password-file file         file to read the repository password from (default: $RESTIC_PASSWORD_FILE)
  -q, --quiet                      do not output comprehensive progress report
  -r, --repo repository            repository to backup to or restore from (default: $RESTIC_REPOSITORY)
      --repository-file file       file to read the repository location from (default: $RESTIC_REPOSITORY_FILE)
      --tls-client-cert file       path to a file containing PEM encoded TLS client certificate and private key
  -v, --verbose n                  be verbose (specify multiple times or a level using --verbose=n, max level/times is 3)
Dort findet man alles, was man wissen muss
")
Als erstes macht Restic einen Test um zu klären, ob man migrieren kann.
[frank-ms7c92 ~]# restic migrate -r /mnt/Backup/Datensicherung_Home_Restic_UI/
enter password for repository:
repository 50a2a753 opened (repository version 1) successfully, password is correct
available migrations:
  upgrade_repo_v2       upgrade a repository to version 2
Nun zeigt er uns die Migrationsmöglichkeit an, hier
upgrade_repo_v2Der Migrationsvorgang
[frank-ms7c92 ~]# restic migrate upgrade_repo_v2 -r /mnt/Backup/Datensicherung_Home_Restic_UI/
enter password for repository:
repository 50a2a753 opened (repository version 1) successfully, password is correct
checking repository integrity...
using temporary cache in /tmp/restic-check-cache-3584864968
enter password for repository:
repository 50a2a753 opened (repository version 1) successfully, password is correct
created new cache in /tmp/restic-check-cache-3584864968
load indexes
check all packs
check snapshots, trees and blobs
[0:05] 100.00%  13 / 13 snapshots
no errors were found
applying migration upgrade_repo_v2...
migration upgrade_repo_v2: success
Der Migrations Prozeß war erfolgreich.
migration upgrade_repo_v2: successDanach hatte ich ein Problem, weil ich das alles mal wieder als Root gemacht hatte und nun die Dateiberechtigungen falsch waren. Kurz geändert, dann kann es weiter gehen
")
[frank-ms7c92 ~]# ls -lha /mnt/Backup/Datensicherung_Home_Restic_UI/
insgesamt 32K
drwx------   7 frankm frankm 4,0K 25. Aug 22:10 .
drwxr-xr-x   8 frankm frankm 4,0K 24. Jul 10:37 ..
-r--------   1 root   root    155 25. Aug 22:10 config
drwx------ 258 frankm frankm 4,0K 10. Jul 2021  data
drwx------   2 frankm frankm 4,0K 25. Aug 21:02 index
drwx------   2 frankm frankm 4,0K 10. Jul 2021  keys
drwx------   2 frankm frankm 4,0K 25. Aug 22:10 locks
drwx------   2 frankm frankm 4,0K 25. Aug 21:02 snapshots
[frank-ms7c92 ~]# chown -R frankm:frankm /mnt/Backup/Datensicherung_Home_Restic_UI/
[frank-ms7c92 ~]# ls -lha /mnt/Backup/Datensicherung_Home_Restic_UI/
insgesamt 32K
drwx------   7 frankm frankm 4,0K 25. Aug 22:10 .
drwxr-xr-x   8 frankm frankm 4,0K 24. Jul 10:37 ..
-r--------   1 frankm frankm  155 25. Aug 22:10 config
drwx------ 258 frankm frankm 4,0K 10. Jul 2021  data
drwx------   2 frankm frankm 4,0K 25. Aug 21:02 index
drwx------   2 frankm frankm 4,0K 10. Jul 2021  keys
drwx------   2 frankm frankm 4,0K 25. Aug 22:10 locks
drwx------   2 frankm frankm 4,0K 25. Aug 21:02 snapshots
In der Doku hatte ich gelesen, das es jetzt noch einen Schritt benötigt.
After the migration is complete, run prune to compress the repository metadata.
Danach benutzt das Repo die Version 2. Es ist aber nocht nicht alles komprimiert.
File contents stored in the repository will not be rewritten, data from new backups will be compressed. Over time more and more of the repository will be compressed. To speed up this process and compress all not yet compressed data, you can run prune --repack-uncompressed
Vorher

Nachher
Uuups, jetzt ist mir der Plattenplatz ausgegangen. Ok, machen wir morgen weiter.
[frank-ms7c92 ~]# restic prune --repack-uncompressed -r /mnt/Backup/Datensicherung_Home_Restic_UI/
enter password for repository:
wrong password or no key found. Try again
enter password for repository:
repository 50a2a753 opened (repository version 2) successfully, password is correct
loading indexes...
loading all snapshots...
finding data that is still in use for 12 snapshots
[0:06] 100.00%  12 / 12 snapshots
searching used packs...
collecting packs for deletion and repacking
[0:00] 100.00%  48761 / 48761 packs processed

to repack:        639695 blobs / 232.525 GiB
this removes:      17295 blobs / 2.420 GiB
to delete:             0 blobs / 0 B
total prune:       17295 blobs / 2.420 GiB
remaining:        834691 blobs / 230.262 GiB
unused size after prune: 0 B (0.00% of remaining size)

repacking packs
[20:01] 35.12%  17121 / 48748 packs repacked
Fatal: write /mnt/Backup/Datensicherung_Home_Restic_UI/data/f5/f5aa7d219ded5c271bf36ef67676f9af9d7817cf24d3245807734e6e6ca61e73-tmp-2111188238: no space left on device
Ok, der Vorgang ist jetzt abgeschlossen. Kalkuliert bitte für den Vorgang den Platz der aktuell verbraucht wird obendrauf. Unter Umständen wird das schwierig.
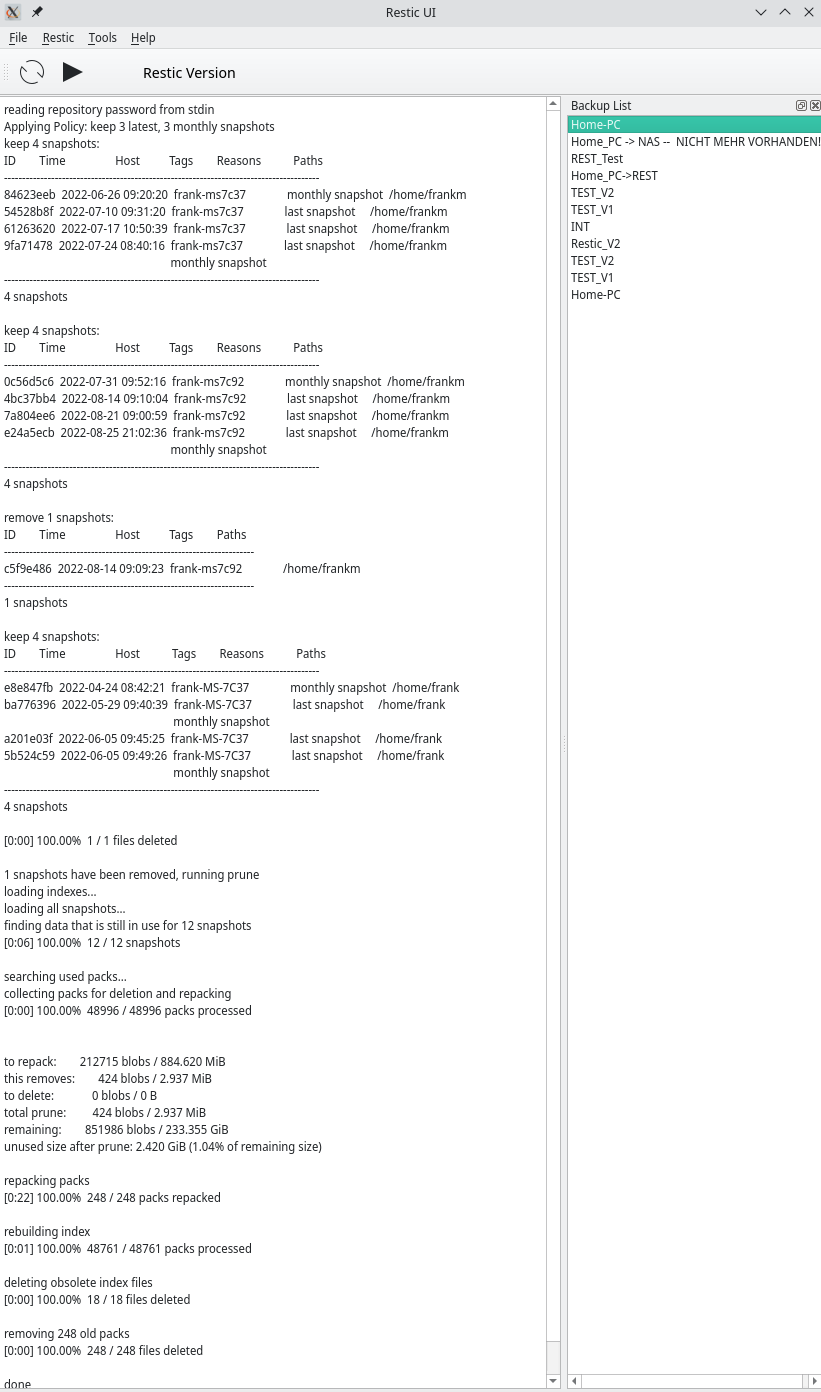
[frank-ms7c92 Backup]# restic prune --repack-uncompressed -r /mnt/Backup/Datensicherung_Home_Restic_UI/
enter password for repository:
repository 50a2a753 opened (repository version 2) successfully, password is correct
loading indexes...
loading all snapshots...
finding data that is still in use for 12 snapshots
[0:06] 100.00%  12 / 12 snapshots
searching used packs...
collecting packs for deletion and repacking
[0:00] 100.00%  48761 / 48761 packs processed

to repack:        639695 blobs / 232.525 GiB
this removes:      17295 blobs / 2.420 GiB
to delete:             0 blobs / 73.281 GiB
total prune:       17295 blobs / 75.701 GiB
remaining:        834691 blobs / 230.262 GiB
unused size after prune: 0 B (0.00% of remaining size)

deleting unreferenced packs
[0:01] 100.00%  4447 / 4447 files deleted
repacking packs
[1:56:48] 100.00%  48748 / 48748 packs repacked
rebuilding index
[0:01] 100.00%  12707 / 12707 packs processed
deleting obsolete index files
[0:00] 100.00%  6 / 6 files deleted
removing 48748 old packs
[0:02] 100.00%  48748 / 48748 files deleted
done
Ich kann hier leider nicht aufzeigen, ob ich etwas gespart habe. Dafür hätte ich vorher mal eine Bestandsaufnahme machen müssen. Vergessen

Die neuen Funktionen arbeiten aber soweit korrekt, soweit ich das aktuell beurteilen kann. Werde mich mit dem Thema aber noch etwas ausführlicher beschäftigen, auch weil ich die neuen Funktionen in mein Resti UI einbauen werde.
-
-
-
-
-
-
-
-
Restic - Ein Backupkonzept
Angeheftet Restic