Skip to content

ROCKPro64 - USB-OTG funktioniert!

ROCKPro64
1 1 575
  • Mit Kernel 4.4.154-1109-rockchip-ayufan funktioniert jetzt USB-OTG, schreibt Kamil 😉 Ok, dann testen wir das mal.

    Das schreibt Kamil dazu

    (12:14:29) ayufan: use this script: https://github.com/ayufan-rock64/linux-package/blob/master/root-rockpro64/usr/local/sbin/rockpro64_enable_otg.sh
    (12:14:45) ayufan: configure ip on usb0: ifconfig usb0 169.169.222.222
    (12:14:55) ayufan: and run iperf, you should likely see about 200-300MB/s

    Gut, mal eine SD-Karte vorbereitet. Das Script unter /usr/local/sbin angelegt und ausgeführt.

    Der usb0 Schnittstelle die IP 192.168.3.155 zugewiesen. So richtig habe ich da nicht durchgeblickt, aber am Ende konnte ich eine Verbindung aufbauen. Auf dem ROCKPro64

    iperf3 -s
    

    eingegeben. Auf dem Haupt-PC

    iperf3 -c 192.168.3.155
    

    eingegeben. Folgendes Ergebnis habe ich bekommen.

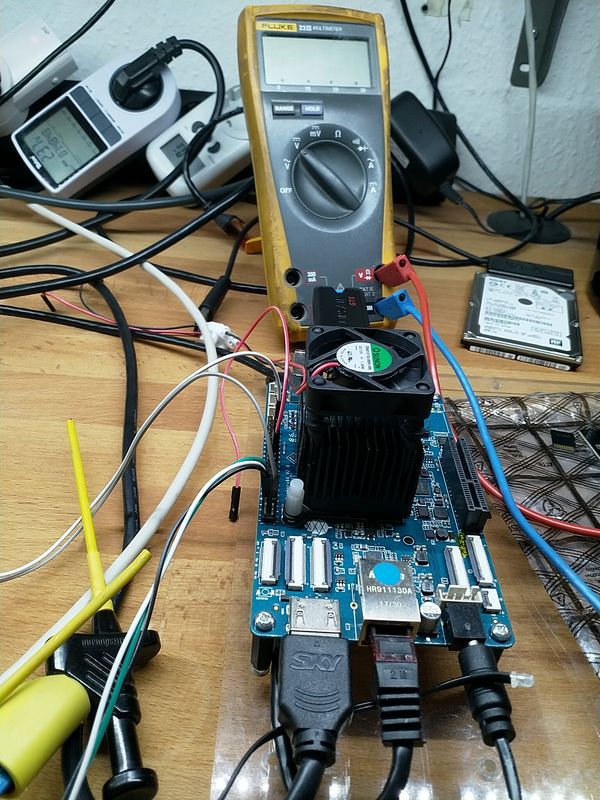
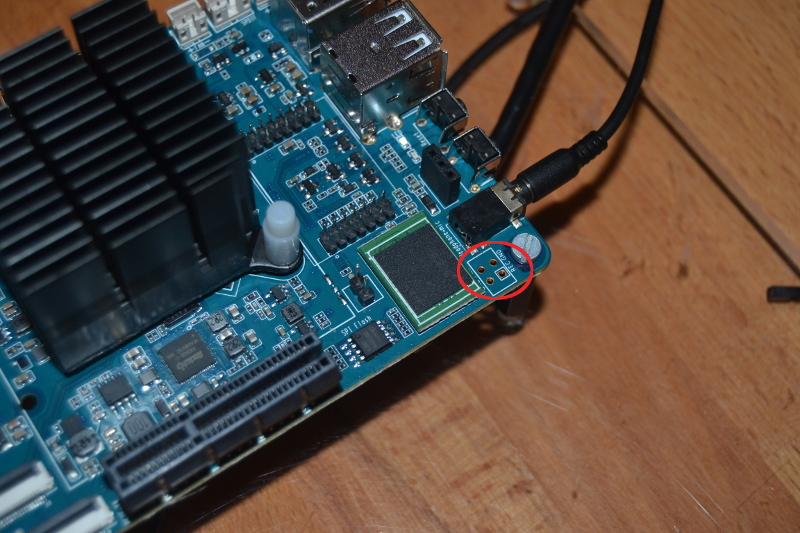
    frank@frank-MS-7A34:~$ iperf3 -c 192.168.3.155
    Connecting to host 192.168.3.155, port 5201
    [  4] local 192.168.3.156 port 33528 connected to 192.168.3.155 port 5201
    [ ID] Interval           Transfer     Bandwidth       Retr  Cwnd
    [  4]   0.00-1.00   sec  59.8 MBytes   502 Mbits/sec    0    143 KBytes       
    [  4]   1.00-2.00   sec  72.4 MBytes   607 Mbits/sec    0    150 KBytes       
    [  4]   2.00-3.00   sec  62.8 MBytes   527 Mbits/sec    0    239 KBytes       
    [  4]   3.00-4.00   sec  78.3 MBytes   657 Mbits/sec    3    341 KBytes       
    [  4]   4.00-5.00   sec  89.1 MBytes   747 Mbits/sec    0    433 KBytes       
    [  4]   5.00-6.00   sec  71.4 MBytes   599 Mbits/sec  213    156 KBytes       
    [  4]   6.00-7.00   sec  74.6 MBytes   626 Mbits/sec  299    126 KBytes       
    [  4]   7.00-8.00   sec  72.4 MBytes   607 Mbits/sec   75    148 KBytes       
    [  4]   8.00-9.00   sec  93.3 MBytes   783 Mbits/sec  120    158 KBytes       
    [  4]   9.00-10.00  sec  87.5 MBytes   734 Mbits/sec   41    189 KBytes       
    - - - - - - - - - - - - - - - - - - - - - - - - -
    [ ID] Interval           Transfer     Bandwidth       Retr
    [  4]   0.00-10.00  sec   761 MBytes   639 Mbits/sec  751             sender
    [  4]   0.00-10.00  sec   761 MBytes   638 Mbits/sec                  receiver
    
    iperf Done.
    

    Angeschlossen hatte ich am USB-C Anschluss des ROCKPro64 und an einer USB3-Schnittstelle meines Haupt-PCs. Die USB3-Schnittstelle ist an einem SD-Karten Gerät dran. Es könnte das Ergebnis ein wenig verfälschen, mein Kabel war aber nicht länger 🙂 Soll ja auch nur zeigen das es klappt.

    Was ihr jetzt damit anfangt, weiß ich nicht, ich habe da nicht so direkt eine Idee zu. Viel Spaß beim Testen!

  • RockPro64 - Mainline Kernel 6.8.0-rc3

    ROCKPro64 rockpro64 linux mainline
    2
    0 Stimmen
    2 Beiträge
    480 Aufrufe
    FrankMF
    https://github.com/ayufan-rock64/linux-mainline-kernel/releases/tag/6.8.0-1190-ayufan
  • OpenWrt

    Images rockpro64
    1
    0 Stimmen
    1 Beiträge
    220 Aufrufe
    Niemand hat geantwortet
  • ROCKPro64 - Kamils neuer 0.10.x Release

    ROCKPro64 linux rockpro64
    1
    1
    0 Stimmen
    1 Beiträge
    260 Aufrufe
    Niemand hat geantwortet
  • ROCKPro64 - WLan-Antennen

    Hardware rockpro64
    1
    0 Stimmen
    1 Beiträge
    306 Aufrufe
    Niemand hat geantwortet
  • Wireguard

    Verschoben Wireguard linux rockpro64 wireguard
    4
    0 Stimmen
    4 Beiträge
    965 Aufrufe
    FrankMF
    Etwas schnellerer Weg den Tunnel aufzubauen, Voraussetzung wireguard modul installiert Keys erzeugt Danach dann einfach ip link add wg0 type wireguard wg setconf wg0 /etc/wireguard/wg0.conf Datei /etc/wireguard/wg0.conf [Interface] PrivateKey = <Private Key> ListenPort = 60563 [Peer] PublicKey = <Public Key Ziel> Endpoint = <IPv4 Adresse Zielrechner>:58380 AllowedIPs = 10.10.0.1/32 Die Rechte der Dateien von wireguard müssen eingeschränkt werden. sudo chmod 0600 /etc/wireguard/wg0.conf Das ganze per rc.local beim Booten laden. Datei /root/wireguard_start.sh ############################################################################################### # Autor: Frank Mankel # Startup-Script # Wireguard # Kontakt: frank.mankel@gmail.com # ############################################################################################### ip link add wg0 type wireguard ip address add dev wg0 10.10.0.1/8 wg setconf wg0 /etc/wireguard/wg0.conf ip link set up dev wg0 Danach Datei ausführbar machen chmod +x /root/wireguard_start.sh In rc.local /root/wireguard_start.sh eintragen - Fertig!
  • Armbian für den ROCKPro64

    Angeheftet Armbian armbian rockpro64
    1
    1
    0 Stimmen
    1 Beiträge
    577 Aufrufe
    Niemand hat geantwortet
  • H.265/x265 dekodiert und wiedergegeben (4K Video)

    ROCKPro64 rockpro64
    1
    0 Stimmen
    1 Beiträge
    460 Aufrufe
    Niemand hat geantwortet
  • Recover Button

    Hardware hardware rockpro64
    2
    2
    0 Stimmen
    2 Beiträge
    898 Aufrufe
    FrankMF
    Ich hab das mal ausprobiert. Den Recover Button so lange drücken, bis folgendes erscheint. In: serial@ff1a0000 Out: serial@ff1a0000 Err: serial@ff1a0000 Model: Pine64 RockPro64 rockchip_dnl_mode = 1 mode rockchip_dnl_mode = 2 mode rockchip_dnl_mode = 3 mode rockchip_dnl_mode = 4 mode entering maskrom mode... RKFlashTool clonen root@thinkpad:/home/frank/test# git clone https://github.com/rockchip-linux/rkflashtool Klone nach 'rkflashtool' ... remote: Counting objects: 663, done. remote: Total 663 (delta 0), reused 0 (delta 0), pack-reused 663 Empfange Objekte: 100% (663/663), 114.94 KiB | 0 bytes/s, Fertig. Löse Unterschiede auf: 100% (367/367), Fertig. In das Verzeichnis wechseln root@thinkpad:/home/frank/test# cd rkflashtool/ Inhalt root@thinkpad:/home/frank/test/rkflashtool# ls doc Makefile rkcrc.h rkflashtool.h rkparametersblock examples README rkflashall rkmisc rkunpack.c fixversion.sh release.sh rkflashloader rkpad rkunsign flashuboot rkcrc.c rkflashtool.c rkparameters version.h RKFlashtool bauen root@thinkpad:/home/frank/test/rkflashtool# make gcc -O2 -W -Wall -I/usr/include/libusb-1.0 rkflashtool.c -o rkflashtool -lusb-1.0 gcc -O2 -W -Wall -I/usr/include/libusb-1.0 rkcrc.c -o rkcrc -lusb-1.0 gcc -O2 -W -Wall -I/usr/include/libusb-1.0 rkunpack.c -o rkunpack -lusb-1.0 Ich habe ein USB-A to USB-A Kabel vom USB-C Port des ROCKPro64 zu meinem Notebook hergestellt. root@thinkpad:/home/frank/test/rkflashtool# sudo ./rkflashtool v rkflashtool: info: rkflashtool v5.2 rkflashtool: info: Detected RK3399... rkflashtool: info: interface claimed rkflashtool: info: MASK ROM MODE rkflashtool: info: chip version: -..- Ok, Verbindung steht. Eine Übersicht der Befehle root@thinkpad:/home/frank/test/rkflashtool# sudo ./rkflashtool rkflashtool: info: rkflashtool v5.2 rkflashtool: fatal: usage: rkflashtool b [flag] reboot device rkflashtool l <file load DDR init (MASK ROM MODE) rkflashtool L <file load USB loader (MASK ROM MODE) rkflashtool v read chip version rkflashtool n read NAND flash info rkflashtool i offset nsectors >outfile read IDBlocks rkflashtool j offset nsectors <infile write IDBlocks rkflashtool m offset nbytes >outfile read SDRAM rkflashtool M offset nbytes <infile write SDRAM rkflashtool B krnl_addr parm_addr exec SDRAM rkflashtool r partname >outfile read flash partition rkflashtool w partname <infile write flash partition rkflashtool r offset nsectors >outfile read flash rkflashtool w offset nsectors <infile write flash rkflashtool p >file fetch parameters rkflashtool P <file write parameters rkflashtool e partname erase flash (fill with 0xff) rkflashtool e offset nsectors erase flash (fill with 0xff)