ROCKPro64 - Armbian - Schnelltest 5.75 Debian Stretch
Armbian
1
Beiträge
1
Kommentatoren
448
Aufrufe
-
Nachdem jetzt wieder was Zeit vergangen ist, mach ich mal einen Schnelltest der Armbian Version 5.75 mit Debian Stretch.
SD-Karte geflasht, gestartet und nix ging. Moment, da fällt mir ein, meine Version auf dem NAS ist was älter. PCIe NVMe SSD entfernt und es startet. Aber mal von vorne...Hardware
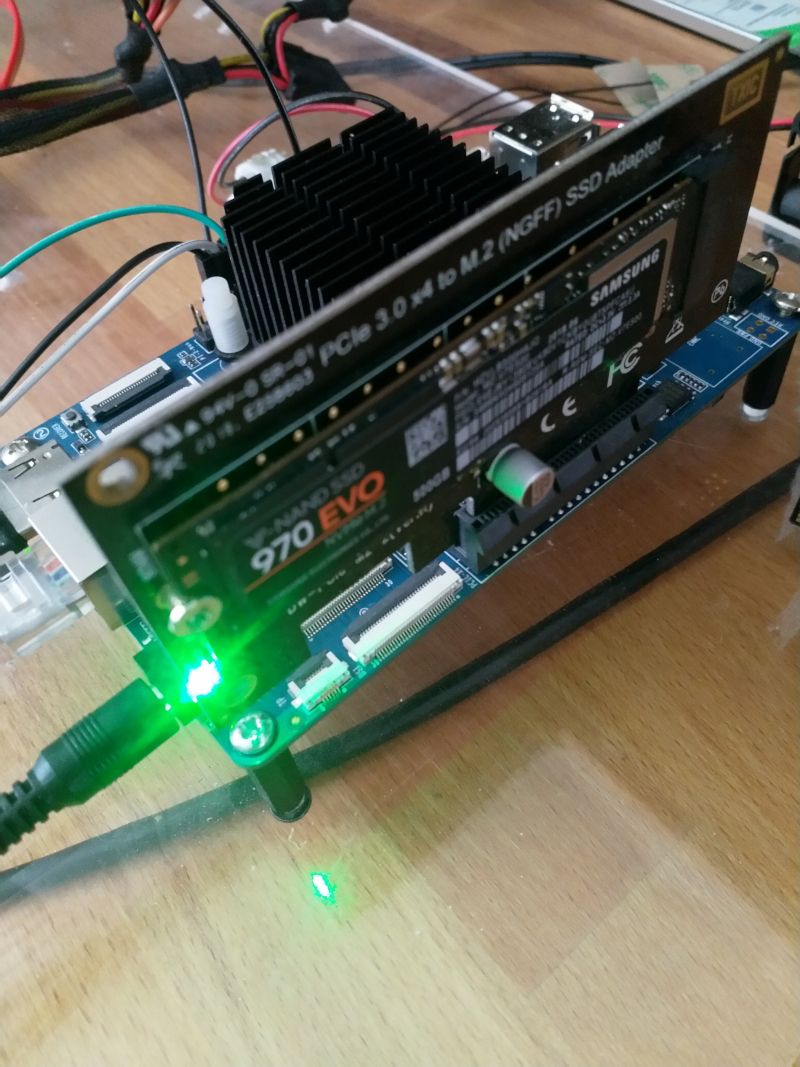
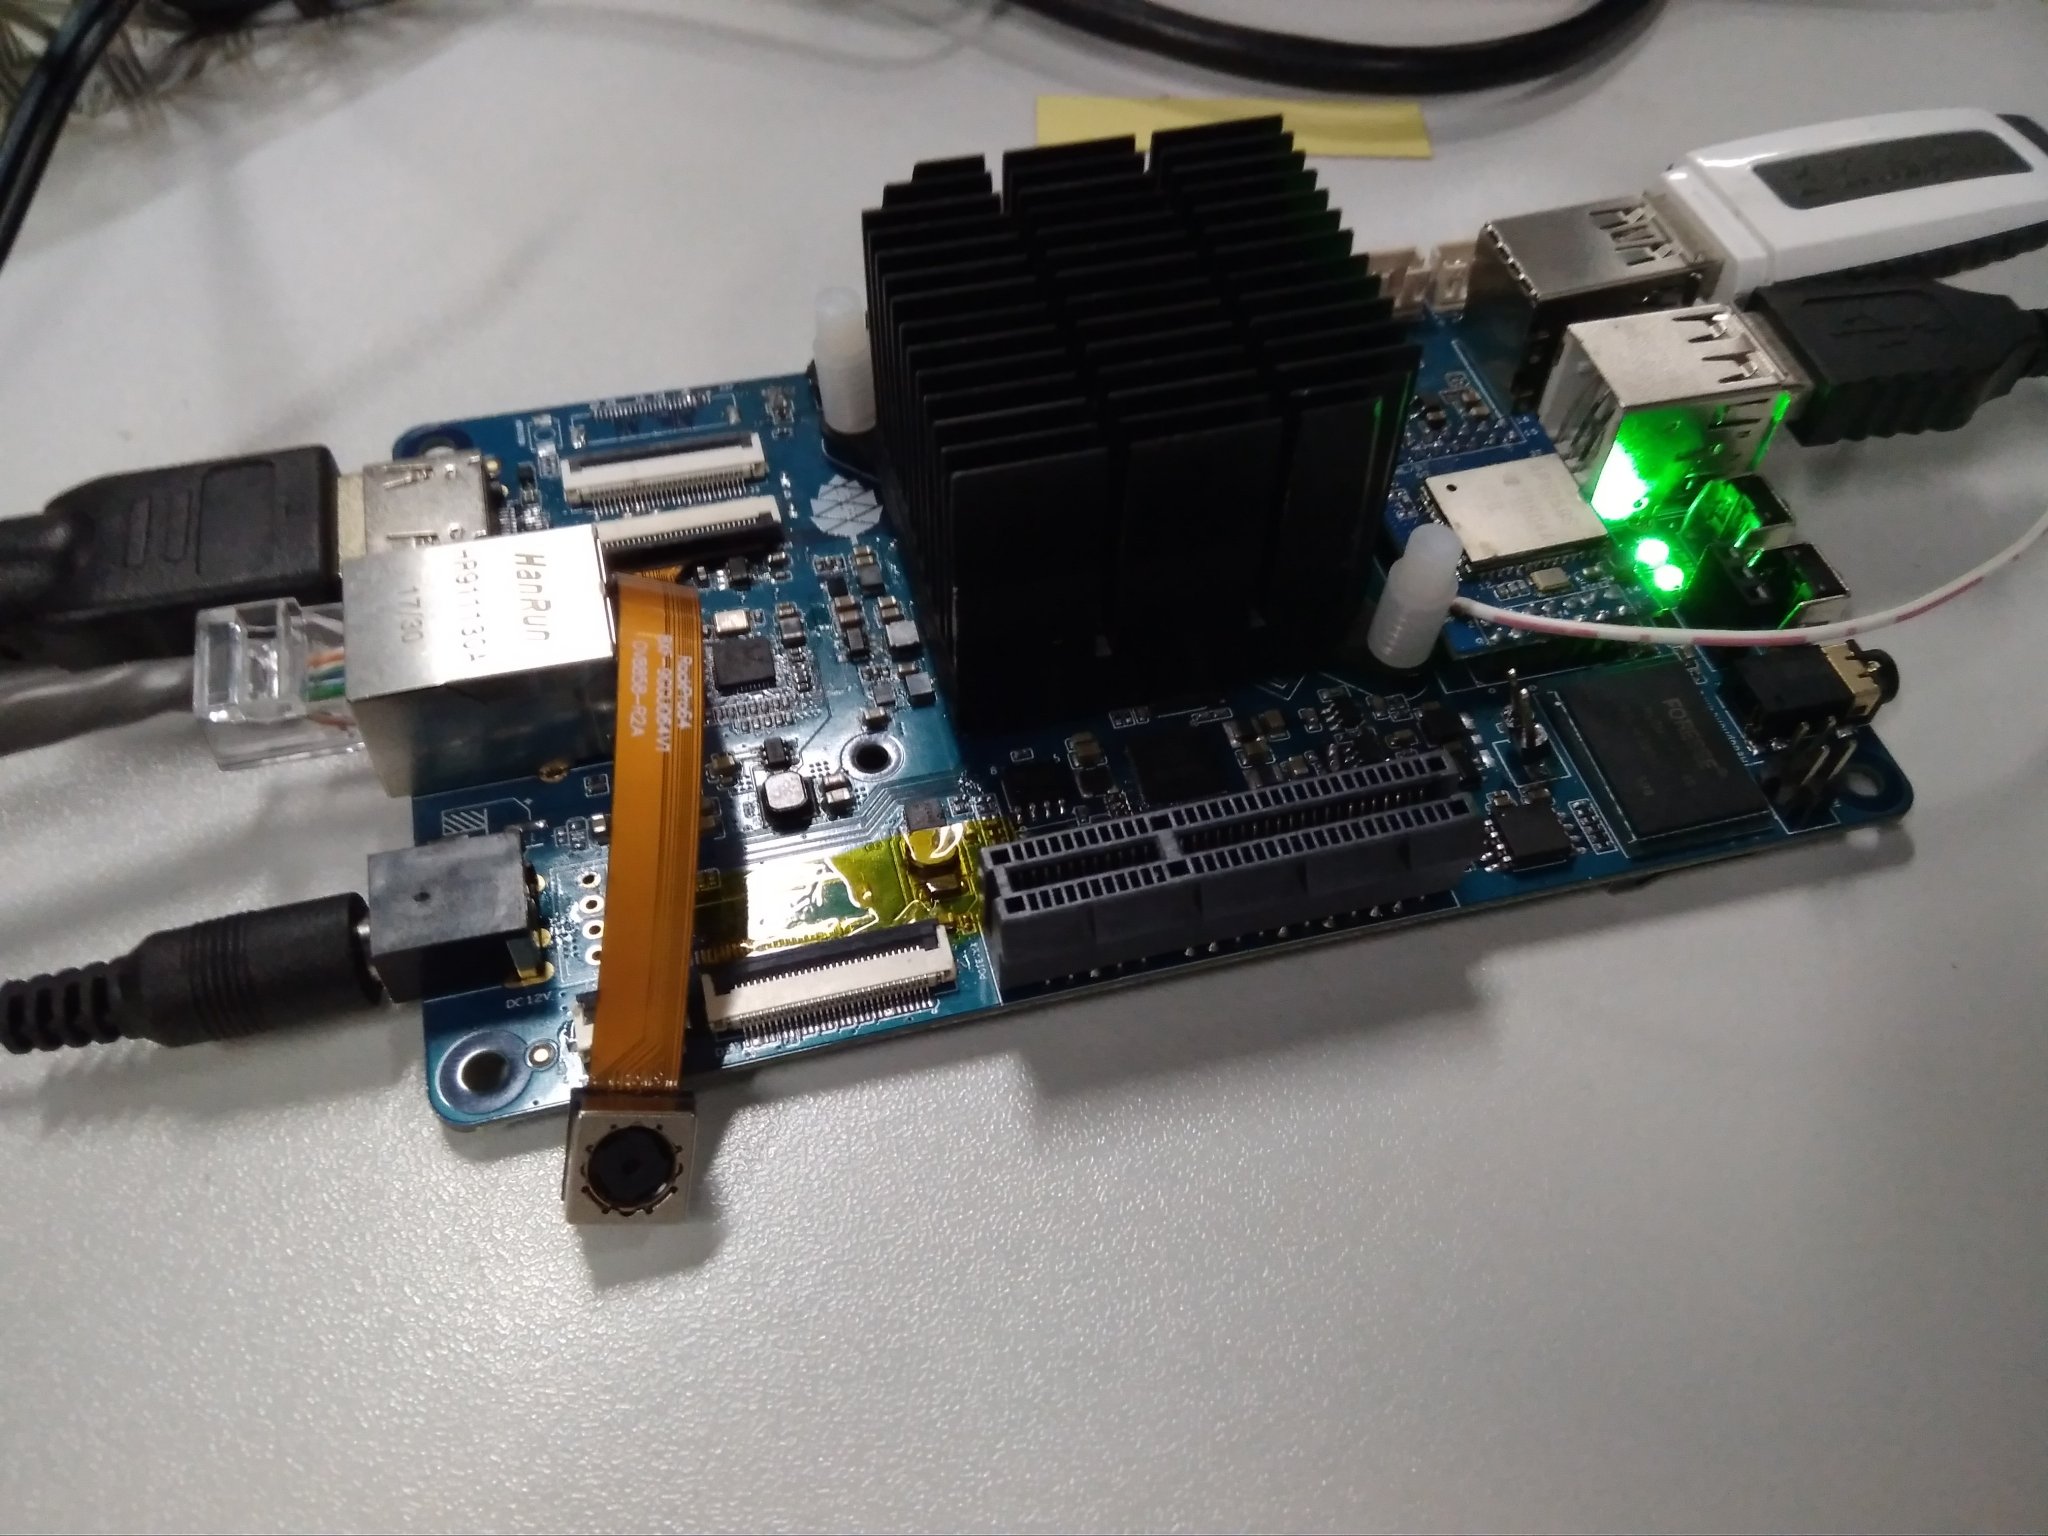
- ROCKPro64 v2.1 mit 2GB RAM
- WiFi-Modul
- PCIe NVMe SSD
Software
Armbian_5.75_Rockpro64_Debian_stretch_default_4.4.174.imgTest
Beim ersten Start mit WiFi-Modul und PCIe-Karte findet er kein bootbares Image!? Bitte den Hinweis oben beachten, evt. war meine Version zu alt. Aber da es jetzt gestartet war, konnten wir es einfach mal auf die Nightly Build Version bringen.
armbian-configDann "System" danach "Nightly" auswählen. Dann holt er sich alle aktualisierten Pakete.
rebootDanach sind wir auf dem aktuellen Stand.
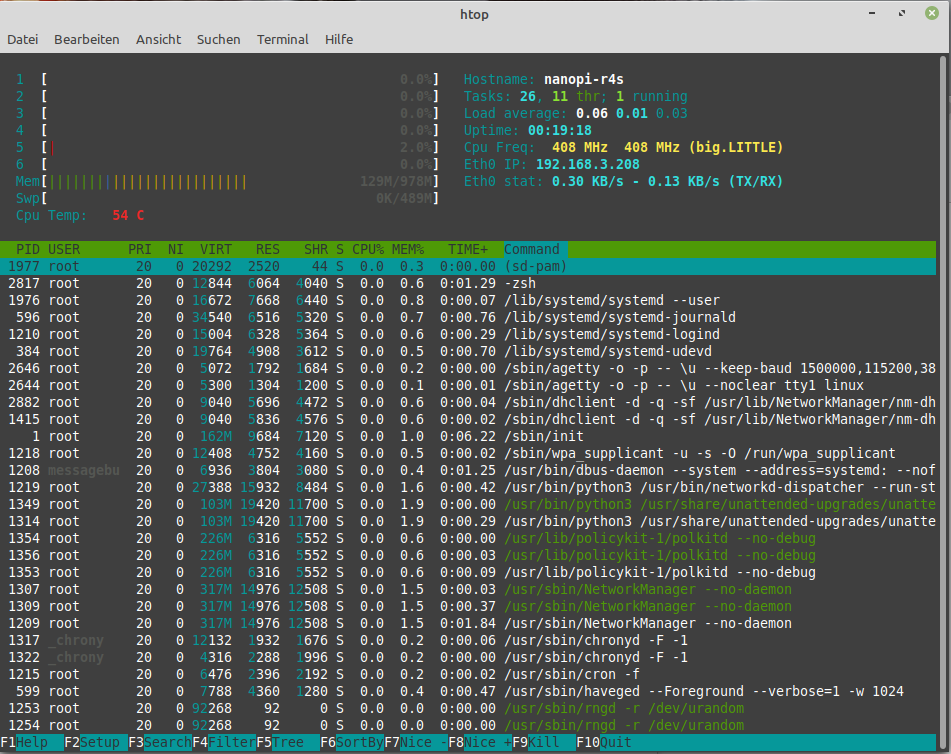
frank@frank-MS-7A34:~$ ssh root@192.168.178.32
root@192.168.178.32's password:
 ____            _    ____               __   _  _
|  _ \ ___   ___| | _|  _ \ _ __ ___    / /_ | || |
| |_) / _ \ / __| |/ / |_) | '__/ _ \  | '_ \| || |_
|  _ < (_) | (__|   <|  __/| | | (_) | | (_) |__   _|
|_| \_\___/ \___|_|\_\_|   |_|  \___/   \___/   |_|


Welcome to ARMBIAN 5.77.190404 nightly Debian GNU/Linux 9 (stretch) 4.4.178-rockchip64
System load:   0.00 0.00 0.00  	Up time:       36 min
Memory usage:  4 % of 1991MB 	IP:            192.168.178.32
CPU temp:      40°C
Usage of /:    5% of 30G

Last login: Wed Apr 10 16:00:34 2019 from 192.168.178.24
4.4.178 ist im 4.4er Zweig der aktuellste Kernel. https://www.kernel.org/
Erwähnen möchte ich noch, das ich nach der Aktualisierung natürlich die PCIe NVMe SSD wieder eingesteckt habe. Die Kiste bootet sauber, so weit ich das beurteilen kann.
Man sieht das das WiFi-Modul vorhanden ist. wlan0 war mit
ip azu sehen. Ein gutes Zeichen
")
Dann mal schnell eine Konfigurationsdatei erstellt. /etc/wpa_supplicant/wpa_supplicant.conf
ctrl_interface=/var/run/wpa_supplicant
ctrl_interface_group=frank
# Die Gruppe muss natuerlich angepasst werden
eapol_version=1
# 0: Der Treiber des Interfaces kümmert sich um das Scannen von Netzen und die AP-Auswahl.
#    Dieser Modus sollte benutzt werden, wenn man eine Verschlüsselung auf ein Kabelnetzwerk legt.
# 1: wpa_supplicant kümmert sich um das Scannen von Netzen und die AP-Auswahl.
# 2: Fast wie 0, es wird aber mit Hilfe von Sicherheitsrichtlinien und der SSID zu APs verbunden (BSSID wird nicht unterstützt)
#
# Normalerweise funktioniert entweder Modus 1 oder Modus 2.
ap_scan=1

network={
        ssid="SSID"
        scan_ssid=1
        proto=RSN
        key_mgmt=WPA-PSK
        pairwise=CCMP
        group=CCMP
        psk="password"
}
Hinweis
Das bitte anpassen!
ctrl_interface_group=frankUnd daran denken, das gehört so nicht in einen Liveserver! Die Konfig-Datei muss dann in /root usw. Da gehe ich hier aber nicht drauf ein. Wir wollen ja nur Testen
")
interfaces
In /etc/network/interfaces noch folgendes ergänzen.
iface wlan0 inet dhcp
  wpa-conf /etc/wpa_supplicant/wpa_supplicant.conf
auto wlan0
Wir starten das wlan0 und holen uns per DHCP die benötigten Daten.
rebootDanach sehen wir folgendes.
frank@frank-MS-7A34:~$ ssh root@192.168.178.32
root@192.168.178.32's password:
 ____            _    ____               __   _  _
|  _ \ ___   ___| | _|  _ \ _ __ ___    / /_ | || |
| |_) / _ \ / __| |/ / |_) | '__/ _ \  | '_ \| || |_
|  _ < (_) | (__|   <|  __/| | | (_) | | (_) |__   _|
|_| \_\___/ \___|_|\_\_|   |_|  \___/   \___/   |_|


Welcome to ARMBIAN 5.77.190404 nightly Debian GNU/Linux 9 (stretch) 4.4.178-rockchip64
System load:   0.00 0.00 0.00  	Up time:       48 min
Memory usage:  4 % of 1991MB 	IP:            192.168.3.9 192.168.178.32
CPU temp:      40°C
Usage of /:    5% of 30G

[ General system configuration (beta): armbian-config ]

Last login: Wed Apr 10 16:33:10 2019 from 192.168.178.24
Zwei IP-Adressen Yeah!
root@rockpro64:~# ip a
1: lo: <LOOPBACK,UP,LOWER_UP> mtu 65536 qdisc noqueue state UNKNOWN group default qlen 1
    link/loopback 00:00:00:00:00:00 brd 00:00:00:00:00:00
    inet 127.0.0.1/8 scope host lo
       valid_lft forever preferred_lft forever
    inet6 ::1/128 scope host
       valid_lft forever preferred_lft forever
2: eth0: <BROADCAST,MULTICAST,UP,LOWER_UP> mtu 1500 qdisc pfifo_fast state UP group default qlen 1000
    link/ether 62:03:b0:d6:dc:b3 brd ff:ff:ff:ff:ff:ff
    inet 192.168.3.9/24 brd 192.168.3.255 scope global dynamic eth0
       valid_lft 3543sec preferred_lft 3543sec
    inet6 fe80::a50d:c98d:4a55:7943/64 scope link
       valid_lft forever preferred_lft forever
3: wlan0: <BROADCAST,MULTICAST,UP,LOWER_UP> mtu 1500 qdisc pfifo_fast state UP group default qlen 1000
    link/ether ac:83:f3:e6:1f:b2 brd ff:ff:ff:ff:ff:ff
    inet 192.168.178.32/24 brd 192.168.178.255 scope global wlan0
       valid_lft forever preferred_lft forever
Danach mein WiFi-Test, LAN-Kabel entfernen und
ssh root@192.168.178.32Und es funktioniert einwandfrei. Was noch??
fdisk -l

.......(gekürzt).......
Disk /dev/nvme0n1: 232.9 GiB, 250059350016 bytes, 488397168 sectors
Units: sectors of 1 * 512 = 512 bytes
Sector size (logical/physical): 512 bytes / 512 bytes
I/O size (minimum/optimal): 512 bytes / 512 bytes
Ok, die SSD ist da, WiFi-Modul funktioniert! Wer lieber Armbian mag, hat jetzt eine funktionierende Version.
Viel Spaß beim Server bauen!