Skip to content

Armbian für den ROCKPro64

Angeheftet Armbian
1 1 577
  • Armbian - Linux for ARM development boards

    Die Projektbeschreibung sagt eigentlich genug aus, das man weiß worum es geht. Armbian bietet für viele Entwicklerboards Linuxversionen an. Für unseren ROCKPro64 gibt es aktuell zwei Versionen.

    • Armbian Bionic - desktop legacy kernel 4.4.y
    • Armbian Stretch - legacy kernel 4.4.y

    Eine Desktop Version (bionc) basierend auf Ubuntu Bionic und eine Serverversion (stretch) basierend auf Debian Stretch.
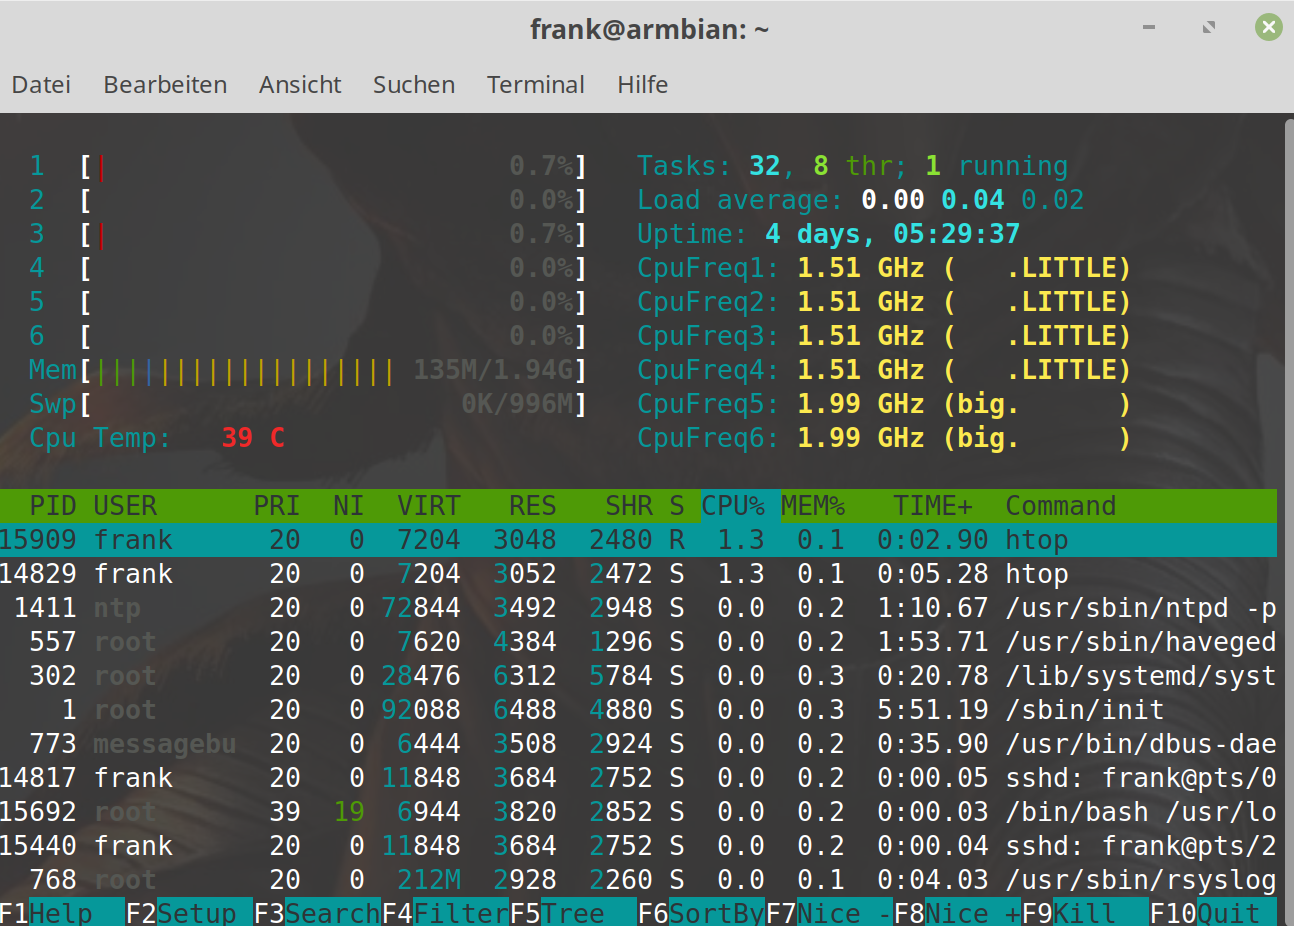
    Beide benutzen einen Legacy Kernel 4.4.y

    Das sieht aktuell auf einem meiner ROCKPros so aus.

     ____            _    ____               __   _  _   
    |  _ \ ___   ___| | _|  _ \ _ __ ___    / /_ | || |  
    | |_) / _ \ / __| |/ / |_) | '__/ _ \  | '_ \| || |_ 
    |  _ < (_) | (__|   <|  __/| | | (_) | | (_) |__   _|
    |_| \_\___/ \___|_|\_\_|   |_|  \___/   \___/   |_|  
                                                         
    
    Welcome to ARMBIAN 5.67.181217 nightly Debian GNU/Linux 9 (stretch) 4.4.167-rockchip64   
    System load:   0.00 0.00 0.00  	Up time:       1:38 hour		
    Memory usage:  2 % of 3876MB 	IP:            192.168.5.4
    CPU temp:      38°C           	
    Usage of /:    2% of 117G   	
    
    Last login: Mon Dec 24 14:00:24 2018 from 192.168.3.213
    
    frank@armbian_v2_0:~$ 
    

    Ich setze auf diesem Board die "Nightly" Version ein, das ist der Entwicklerzweig von Armbian. Aktuell bevorzuge ich dieses Linux vor den Images vom Kamil, weil dort die USB3-Schnittstelle funktioniert. Außerdem ist die Taktfrequenz bei Armbian 2GHz/1,5GHz zu 1,8GHz/1,4GHz in Kamil's Images. Ich wünsche mir vom Weihnachtsmann, das das Armbian-Team auch noch einen schönen Mainline veröffentlicht 🙂

    htop.png

    Links

    Projektseite -> https://www.armbian.com/
    Downloads -> https://www.armbian.com/rockpro64/
    Forum -> https://forum.armbian.com
    Dokumentation -> https://docs.armbian.com
    github -> https://github.com/armbian

  • Mainline 6.0.x

    Images rockpro64
    6
    0 Stimmen
    6 Beiträge
    428 Aufrufe
    FrankMF
    Und RC7 released https://github.com/ayufan-rock64/linux-mainline-kernel/releases/tag/6.7.0-rc7-1185-ayufan
  • ROCKPro64: NAS mit PCI-e SATA-III Aufrüsten

    ROCKPro64 rockpro64
    13
    0 Stimmen
    13 Beiträge
    1k Aufrufe
    N
    @frankm Alles Klar! Wie schon erwähnt, für meine Zwecke rechts! Die Jahre über hat gute Dienste geleistet (PCI-e und HDD) und wird hoffentlich auch noch ein paar Jahre bis zum nächsten Umbau tun! Vielen Dank!
  • OpenWrt

    Images rockpro64
    1
    0 Stimmen
    1 Beiträge
    220 Aufrufe
    Niemand hat geantwortet
  • Wireguard

    Verschoben Wireguard linux rockpro64 wireguard
    4
    0 Stimmen
    4 Beiträge
    965 Aufrufe
    FrankMF
    Etwas schnellerer Weg den Tunnel aufzubauen, Voraussetzung wireguard modul installiert Keys erzeugt Danach dann einfach ip link add wg0 type wireguard wg setconf wg0 /etc/wireguard/wg0.conf Datei /etc/wireguard/wg0.conf [Interface] PrivateKey = <Private Key> ListenPort = 60563 [Peer] PublicKey = <Public Key Ziel> Endpoint = <IPv4 Adresse Zielrechner>:58380 AllowedIPs = 10.10.0.1/32 Die Rechte der Dateien von wireguard müssen eingeschränkt werden. sudo chmod 0600 /etc/wireguard/wg0.conf Das ganze per rc.local beim Booten laden. Datei /root/wireguard_start.sh ############################################################################################### # Autor: Frank Mankel # Startup-Script # Wireguard # Kontakt: frank.mankel@gmail.com # ############################################################################################### ip link add wg0 type wireguard ip address add dev wg0 10.10.0.1/8 wg setconf wg0 /etc/wireguard/wg0.conf ip link set up dev wg0 Danach Datei ausführbar machen chmod +x /root/wireguard_start.sh In rc.local /root/wireguard_start.sh eintragen - Fertig!
  • Kamil's 4.20.x

    ROCKPro64 rockpro64
    1
    0 Stimmen
    1 Beiträge
    670 Aufrufe
    Niemand hat geantwortet
  • ROCKPro64 - Armbian Desktop Variante

    Verschoben Armbian armbian rockpro64
    1
    1
    0 Stimmen
    1 Beiträge
    542 Aufrufe
    Niemand hat geantwortet
  • Bionic-LXDE

    ROCKPro64 rockpro64
    1
    1
    0 Stimmen
    1 Beiträge
    528 Aufrufe
    Niemand hat geantwortet
  • ROCKPro64 - Der Bootvorgang

    Verschoben Hardware hardware rockpro64
    3
    0 Stimmen
    3 Beiträge
    2k Aufrufe
    FrankMF
    Um einen neuen Kernel booten zu können, brauche ich diese 4 Dateien unter /boot config-4.19.0-rc4-1065-ayufan-g72e04c7b3e06 initrd.img-4.19.0-rc4-1065-ayufan-g72e04c7b3e06 System.map-4.19.0-rc4-1065-ayufan-g72e04c7b3e06 vmlinuz-4.19.0-rc4-1065-ayufan-g72e04c7b3e06 Und den Ordner /boot/dtbs/4.19.0-rc4-1065-ayufan-g72e04c7b3e06 mit folgendem Inhalt rock64@rockpro64v2_0:/boot/dtbs/4.19.0-rc4-1065-ayufan-g72e04c7b3e06$ ls -la total 104 drwxr-xr-x 26 root root 4096 Sep 30 09:54 . drwxr-xr-x 6 root root 4096 Sep 30 09:55 .. drwxr-xr-x 2 root root 4096 Sep 30 09:54 al drwxr-xr-x 2 root root 4096 Sep 30 09:54 allwinner drwxr-xr-x 2 root root 4096 Sep 30 09:54 altera drwxr-xr-x 2 root root 4096 Sep 30 09:54 amd drwxr-xr-x 2 root root 4096 Sep 30 09:54 amlogic drwxr-xr-x 2 root root 4096 Sep 30 09:54 apm drwxr-xr-x 2 root root 4096 Sep 30 09:54 arm drwxr-xr-x 4 root root 4096 Sep 30 09:54 broadcom drwxr-xr-x 2 root root 4096 Sep 30 09:54 cavium drwxr-xr-x 2 root root 4096 Sep 30 09:54 exynos drwxr-xr-x 2 root root 4096 Sep 30 09:54 freescale drwxr-xr-x 2 root root 4096 Sep 30 09:54 hisilicon drwxr-xr-x 2 root root 4096 Sep 30 09:54 lg drwxr-xr-x 2 root root 4096 Sep 30 09:54 marvell drwxr-xr-x 2 root root 4096 Sep 30 09:54 mediatek drwxr-xr-x 2 root root 4096 Sep 30 09:54 nvidia drwxr-xr-x 2 root root 4096 Sep 30 09:54 qcom drwxr-xr-x 2 root root 4096 Sep 30 09:54 renesas drwxr-xr-x 2 root root 4096 Sep 30 09:54 rockchip drwxr-xr-x 2 root root 4096 Sep 30 09:54 socionext drwxr-xr-x 2 root root 4096 Sep 30 09:54 sprd drwxr-xr-x 2 root root 4096 Sep 30 09:54 synaptics drwxr-xr-x 2 root root 4096 Sep 30 09:54 xilinx drwxr-xr-x 2 root root 4096 Sep 30 09:54 zte Unter /boot/extlinux liegt dann die Datei extlinux.conf Die sieht bei mir dann so aus timeout 10 menu title select kernel label kernel-4.19.0-rc4-1065-ayufan-g72e04c7b3e06 kernel /boot/vmlinuz-4.19.0-rc4-1065-ayufan-g72e04c7b3e06 initrd /boot/initrd.img-4.19.0-rc4-1065-ayufan-g72e04c7b3e06 devicetreedir /boot/dtbs/4.19.0-rc4-1065-ayufan-g72e04c7b3e06 append rw panic=10 init=/sbin/init coherent_pool=1M ethaddr=${ethaddr} eth1addr=${eth1addr} serial=${serial#} cgroup_enable=cpuset cgroup_memory=1 cgroup_enable=memory swapaccount=1 root=LABEL=TEST rootwait rootfstype=ext4 label kernel-4.19.0-rc4-1065-ayufan-g72e04c7b3e06-memtest kernel /boot/vmlinuz-4.19.0-rc4-1065-ayufan-g72e04c7b3e06 initrd /boot/initrd.img-4.19.0-rc4-1065-ayufan-g72e04c7b3e06 devicetreedir /boot/dtbs/4.19.0-rc4-1065-ayufan-g72e04c7b3e06 append rw panic=10 init=/sbin/init coherent_pool=1M ethaddr=${ethaddr} eth1addr=${eth1addr} serial=${serial#} cgroup_enable=cpuset cgroup_memory=1 cgroup_enable=memory swapaccount=1 root=LABEL=TEST rootwait rootfstype=ext4 memtest Darunter kommen dann evt. die alten Kernel die installiert waren, das habe ich hier im Beispiel weg gelassen.