Skip to content

Restic v0.13.0 released

Restic
1 1 161
  • Gestern kam die v0.1.13.0 raus. Das Update gestaltet sich mit der eingebauten Update-Funktion als kinderleicht. Dazu macht man als Root auf der Konsole folgendes.

    root@frank-MS-7C37:~# restic self-update
    writing restic to /usr/bin/restic
    find latest release of restic at GitHub
    latest version is 0.13.0
    download SHA256SUMS
    download SHA256SUMS.asc
    GPG signature verification succeeded
    download restic_0.13.0_linux_amd64.bz2
    downloaded restic_0.13.0_linux_amd64.bz2
    saved 18472960 bytes in /usr/bin/restic
    successfully updated restic to version 0.13.0
    root@frank-MS-7C37:~# restic version
    restic 0.13.0 compiled with go1.18 on linux/amd64
    root@frank-MS-7C37:~# 
    

    Außer ganz vielen Beseitigungen von Fehlern sind auch ein paar Dinge dazu gekommen, eines davon ist diese Option bei der Funktion backup

      -n, --dry-run                do not upload or write any data, just show what would be done
    

    Das kann einem die Möglichkeit geben, z.B. die exclude Filter zu testen, ohne eine Änderung am Repo durchzuführen.

    Aus dem Changelog

    Enhancement #1542: Add --dry-run/-n option to backup command

    Testing exclude filters and other configuration options was error prone as wrong filters could cause files to be uploaded unintentionally. It was also not possible to estimate beforehand how much data would be uploaded.

    The backup command now has a --dry-run/-n option, which performs all the normal steps of a backup without actually writing anything to the repository.

    Passing -vv will log information about files that would be added, allowing for verification of source and exclusion options before running the real backup.

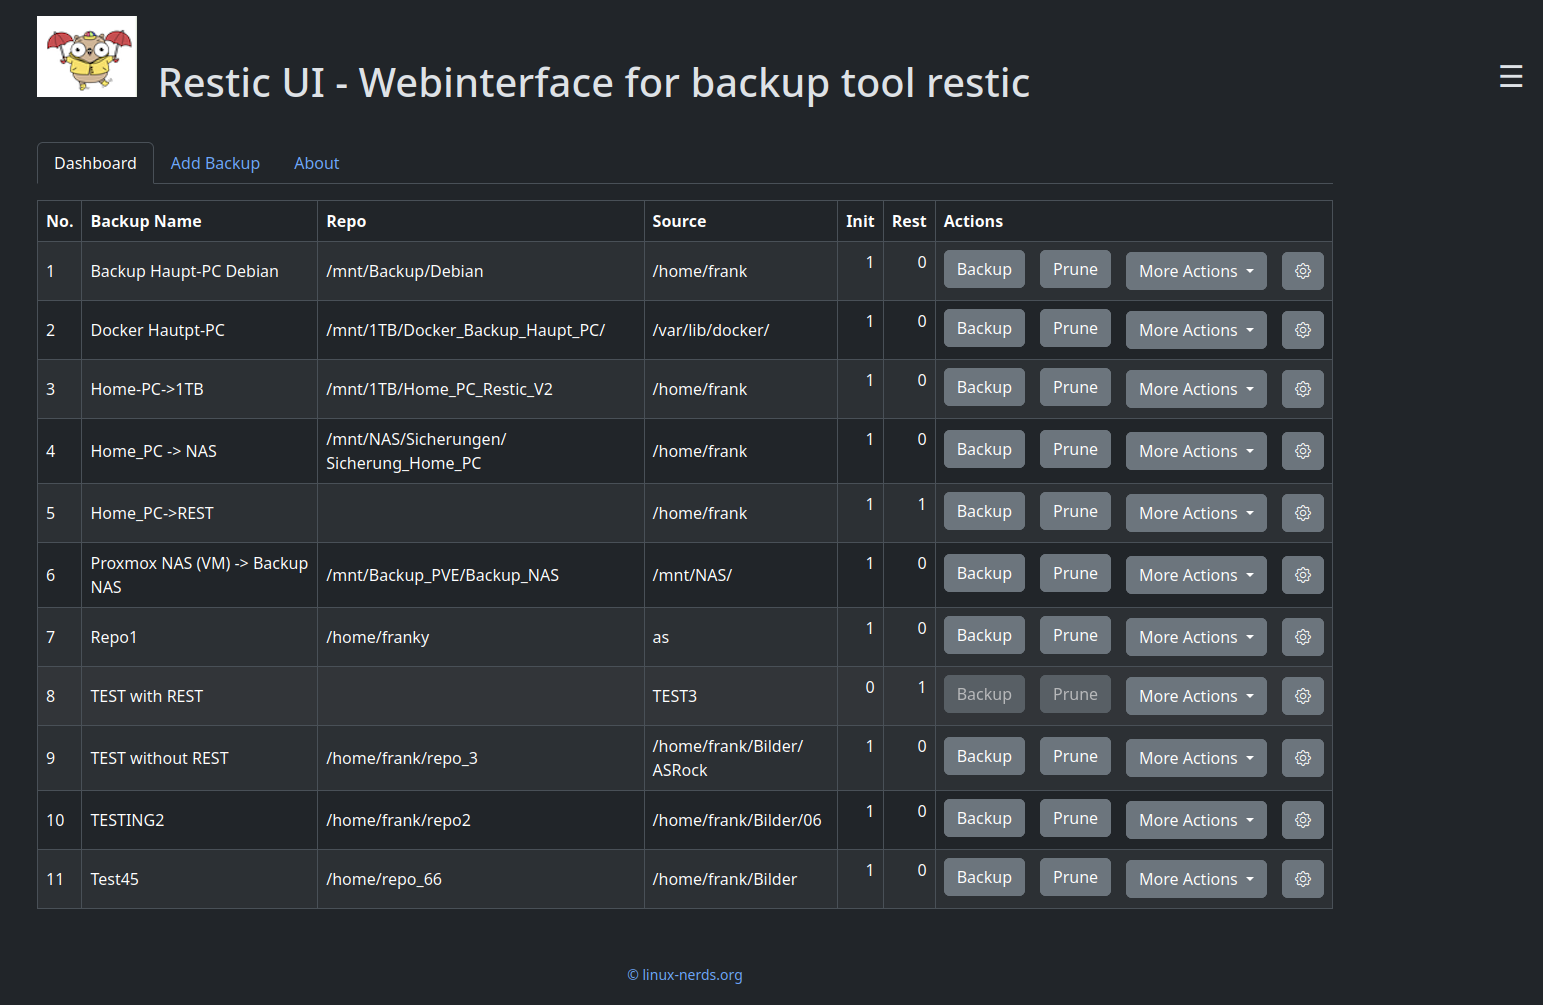
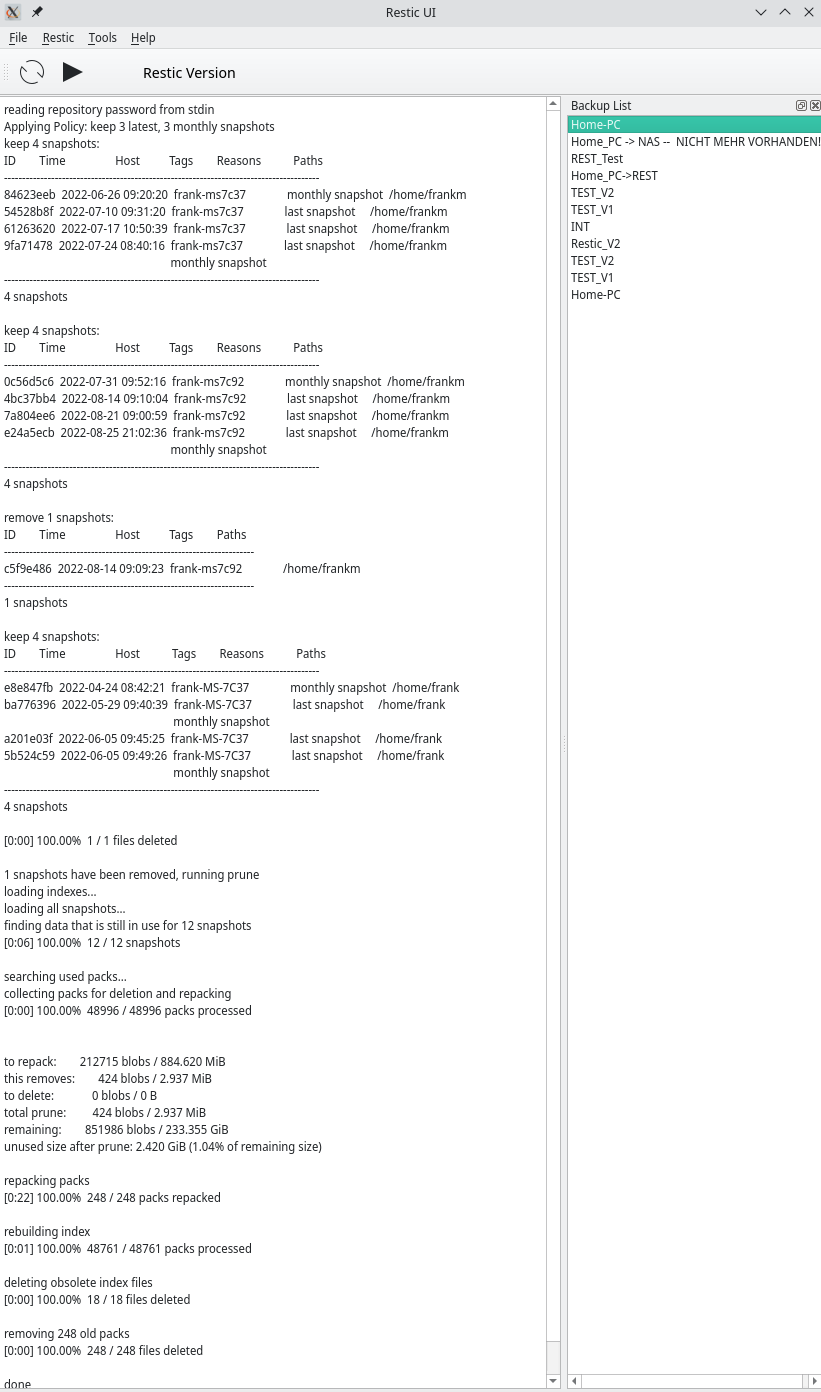
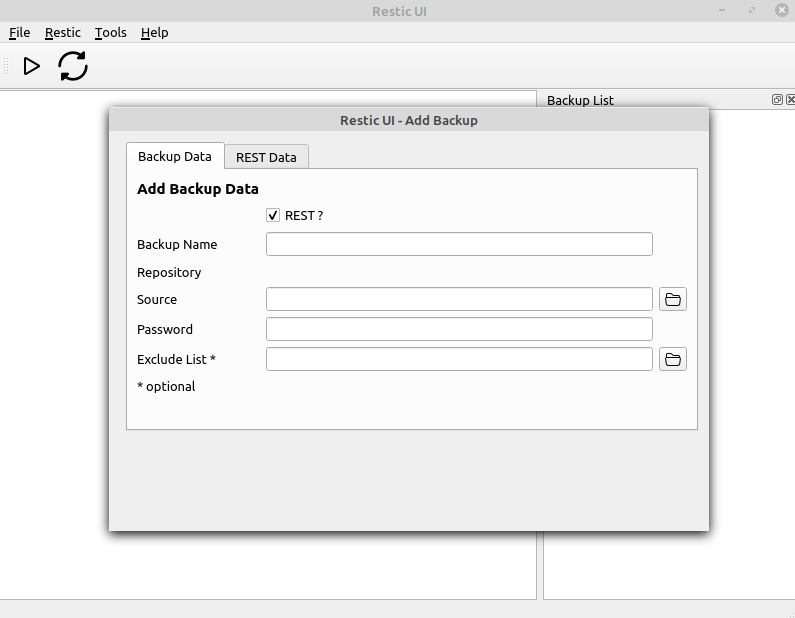
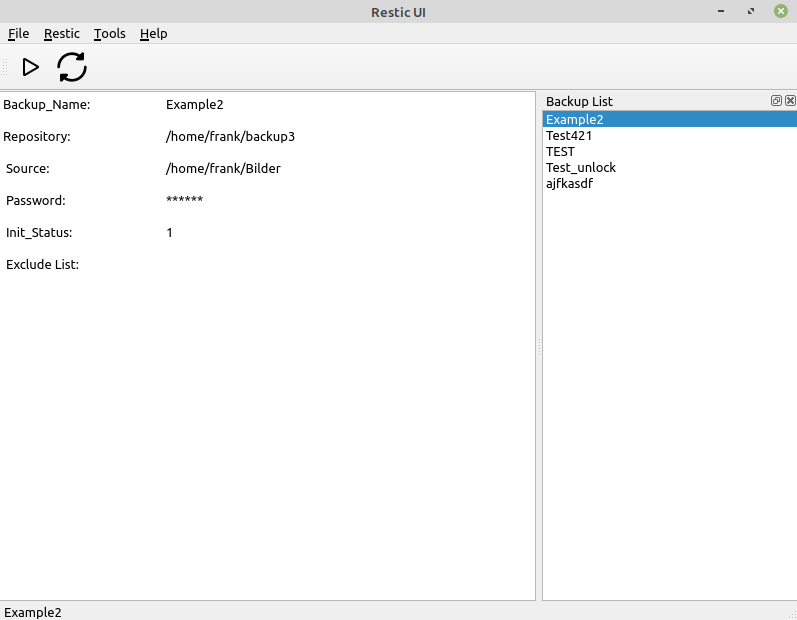
    Da ich Sonntags sowieso immer meine Backups mit meinem Restic UI mache, konnte ich auch mal kurz testen, ob noch alles funktioniert 😉 Das ist aber bei diesem Tool normal, da alle neuen Versionen backwards compatibility sein müssen.

    73a90483-7216-4633-b01d-03e83b690467-grafik.png

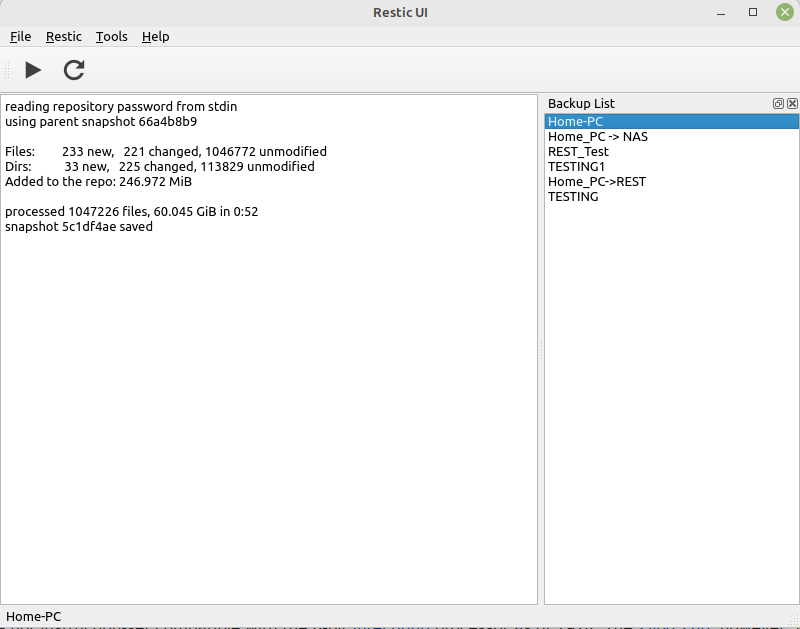
    Quelle: https://github.com/restic/restic/releases/tag/v0.13.0

  • Forgejo Installation mit Restic nach Hetzner S3 sichern

    Verschoben Forgejo restic linux forgejo
    2
    2
    0 Stimmen
    2 Beiträge
    361 Aufrufe
    FrankMF
    Ich habe ja im obigen Beispiel, den gesamten Ordner von der Postgres Installation gesichert. backup_pfad_postgres="/home/pguser/db-data" Ich habe dann mal ein wenig in der Dokumentation gelesen und das hier gefunden. https://www.postgresql.org/docs/current/app-pgdump.html Einfach den Ordner zu sichern, ist ja bei jeder Datenbank ein gewisses Risiko. Die Konsistenz der Daten ist nicht gesichert. Darum gibt es bei den Datenbanken auch immer Tools, mit denen man die Daten sichern kann. In der Doku steht folgendes. pg_dump — extract a PostgreSQL database into a script file or other archive file Aber wichtiger ist das hier. pg_dump is a utility for backing up a PostgreSQL database. It makes consistent backups even if the database is being used concurrently. pg_dump does not block other users accessing the database (readers or writers). Das macht also konsistente Backups. Wichtig noch zu wissen ist folgendes. pg_dump only dumps a single database. To back up an entire cluster, or to back up global objects that are common to all databases in a cluster (such as roles and tablespaces), use pg_dumpall. Ok, das scheint gut geeignet zu sein, um die Datenbank zu sichern. Aber, wie? Auf meinen Eingangsbeitrag kam es zu folgendem Dialog auf Mastodon. https://nrw.social/deck/@nebucatnetzer@social.linux.pizza/114132208440509237 Das war der Anstoß sich mit dem Thema zu beschäftigen. Und ich hatte dann folgende Lösung. podman exec -it postgres pg_dump -U postgres -f /var/lib/postgresql/data/dump.txt Ok, was mache ich hier? Wir führen einen Befehl vom Host aus gesehen, im Container aus. podman exec -it postgres Der Teil führt den folgenden Befehl im Container aus. pg_dump -U postgres -f /var/lib/postgresql/data/dump.txt pg_dump - Das Tool fürs Backup -U postgres - Der Befehl wird als User postgres ausgeführt -f /var/lib/postgresql/data/dump.txt - Das Dump File wird im Data Ordner abgelegt, den haben wir ja persistent auf dem Host. Somit kann ich das jetzt einfach in mein Backup Script einbauen und brauchen nicht mehr den ganzen Ordner zu kopieren, sondern nur noch das Dump File. Ich werde diese Änderungen in das obige Script einbauen.
  • Restic feiert 10. Geburtstag

    Restic restic linux
    1
    1
    0 Stimmen
    1 Beiträge
    187 Aufrufe
    Niemand hat geantwortet
  • Restic - Migrate

    Restic restic restic-ui
    1
    2
    0 Stimmen
    1 Beiträge
    280 Aufrufe
    Niemand hat geantwortet
  • Restic UI - Vorstellung Part 2

    Restic UI restic-ui
    1
    0 Stimmen
    1 Beiträge
    181 Aufrufe
    Niemand hat geantwortet
  • Restic UI - Released

    Restic UI restic-ui
    1
    0 Stimmen
    1 Beiträge
    185 Aufrufe
    Niemand hat geantwortet
  • Restic UI - User documentation

    Restic UI restic-ui python3 pyqt5
    1
    7
    0 Stimmen
    1 Beiträge
    307 Aufrufe
    Niemand hat geantwortet
  • Restic UI - Documentation

    Restic UI restic-ui python3 pyqt5
    1
    1
    0 Stimmen
    1 Beiträge
    374 Aufrufe
    Niemand hat geantwortet
  • Rest-Server

    Verschoben Restic rest-server linux restic
    8
    0 Stimmen
    8 Beiträge
    811 Aufrufe
    FrankMF
    Dann mal eben ausprobiert. Auf meinem Server war die Version 0.9.7 selber, mit go, gebaut. Dann mache ich das auch mit der v0.10.0 so. Aber bevor ich anfange, wird die v0.9.7 gesichert. mv /usr/local/bin/rest-server /usr/local/bin/rest-server_0_9_7 So erspare ich mir im Problemfall das selber bauen. Ok, dann die neue Version bauen. git clone https://github.com/restic/rest-server.git cd rest-server go run build.go Danach befindet sich im Verzeichnis die Binärdatei rest-server Die kopieren wir jetzt cp rest-server /usr/local/bin Danach kurzer Test # rest-server --version rest-server 0.10.0 (v0.10.0-6-g037fe06) compiled with go1.11.6 on linux/amd64 Gut Version passt Dann ein Backup gestartet. Das sichert einen Teil meines Home-Verzeichnis Files: 153 new, 100 changed, 177857 unmodified Dirs: 0 new, 1 changed, 0 unmodified Added to the repo: 81.881 MiB processed 178110 files, 80.571 GiB in 0:28 snapshot 607e0027 saved Applying Policy: keep the last 3 snapshots, 3 monthly snapshots keep 5 snapshots: ID Time Host Tags Reasons Paths --------------------------------------------------------------------------------------- fa97890e 2020-07-25 21:02:05 frank-XXX monthly snapshot /home/frank 5b073bbb 2020-08-30 10:17:27 frank-XXX monthly snapshot /home/frank f7cf37ef 2020-09-06 15:13:03 frank-XXX last snapshot /home/frank 0157462c 2020-09-13 13:32:12 frank-XXX last snapshot /home/frank 607e0027 2020-09-14 08:09:34 frank-XXX last snapshot /home/frank monthly snapshot --------------------------------------------------------------------------------------- 5 snapshots remove 1 snapshots: ID Time Host Tags Paths --------------------------------------------------------------------- 3010b7cc 2020-09-06 11:39:27 frank-XXX /home/frank --------------------------------------------------------------------- 1 snapshots 1 snapshots have been removed, running prune counting files in repo building new index for repo [1:34] 100.00% 17351 / 17351 packs So weit funktioniert das genau wie vorher. Im Changelog stand ja was von Subfoldern. Das betrifft mich nicht, weil ich für jeden User genau ein Verzeichnis habe. So mit alles Gut Dann warte ich mal morgen ab, ob die täglichen Backups der Server rund laufen.