Joomla! 4.0 Beta 1
Joomla!
2
Beiträge
1
Kommentatoren
546
Aufrufe
-
schrieb am 1. Juni 2020, 07:15 zuletzt editiert von FrankM 6. Jan. 2020, 09:16
Wie der ein oder ander bestimmt mitbekommen hat, ist die Beta 4 von Joomla! veröffentlicht worden. Dann wollen wir das mal auf meinem Test ROCKPro64 installieren.
Was brauchen wir für die Webseite?
- php
- nginx
- mariadb
Installation php
apt install php7.3-common php7.3-mysql php7.3-opcache php7.3-readline php7.3-xml php7.3-xsl php7.3-zip
apt install php7.3-cli php7.3-curl php7.3-gd php7.3-geoip php7.3-intl php7.3-json php7.3-mbstring php7.3-gd
apt install php-fpm
Test
php -v
PHP 7.3.11-1~deb10u1 (cli) (built: Oct 26 2019 14:14:18) ( NTS )
Copyright (c) 1997-2018 The PHP Group
Zend Engine v3.3.11, Copyright (c) 1998-2018 Zend Technologies
    with Zend OPcache v7.3.11-1~deb10u1, Copyright (c) 1999-2018, by Zend Technologies
Fertig!
Installation nginx
apt install nginxTest
nginx -v
nginx version: nginx/1.14.2
Die Konfiguration der Webseite erfolgt in /etc/nginx/sites-enabled/default
##
# You should look at the following URL's in order to grasp a solid understanding
# of Nginx configuration files in order to fully unleash the power of Nginx.
# https://www.nginx.com/resources/wiki/start/
# https://www.nginx.com/resources/wiki/start/topics/tutorials/config_pitfalls/
# https://wiki.debian.org/Nginx/DirectoryStructure
#
# In most cases, administrators will remove this file from sites-enabled/ and
# leave it as reference inside of sites-available where it will continue to be
# updated by the nginx packaging team.
#
# This file will automatically load configuration files provided by other
# applications, such as Drupal or Wordpress. These applications will be made
# available underneath a path with that package name, such as /drupal8.
#
# Please see /usr/share/doc/nginx-doc/examples/ for more detailed examples.
##

# Default server configuration
#
server {
        listen 80 default_server;
        listen [::]:80 default_server;

        # SSL configuration
        #
        # listen 443 ssl default_server;
        # listen [::]:443 ssl default_server;
        #
        # Note: You should disable gzip for SSL traffic.
        # See: https://bugs.debian.org/773332
        #
        # Read up on ssl_ciphers to ensure a secure configuration.
        # See: https://bugs.debian.org/765782
        #
        # Self signed certs generated by the ssl-cert package
        # Don't use them in a production server!
        #
        # include snippets/snakeoil.conf;

        root /var/www/html;

        # Add index.php to the list if you are using PHP
        index index.php index.html index.htm index.nginx-debian.html;

        server_name _;

        location / {
                # First attempt to serve request as file, then
                # as directory, then fall back to displaying a 404.
                try_files $uri $uri/ =404;
        }

        ## Begin - PHP
            location ~ \.php$ {
        fastcgi_pass unix:/var/run/php/php7.3-fpm.sock;
        fastcgi_split_path_info ^(.+\.php)(/.+)$;
        fastcgi_index index.php;
        include fastcgi_params;
        fastcgi_param SCRIPT_FILENAME $document_root/$fastcgi_script_name;
        }
        ## End - PHP

        # deny access to .htaccess files, if Apache's document root
        # concurs with nginx's one
        #
        #location ~ /\.ht {
        #       deny all;
        #}
}


# Virtual Host configuration for example.com
#
# You can move that to a different file under sites-available/ and symlink that
# to sites-enabled/ to enable it.
#
#server {
#       listen 80;
#       listen [::]:80;
#
#       server_name example.com;
#
#       root /var/www/example.com;
#       index index.html;
#
#       location / {
#               try_files $uri $uri/ =404;
#       }
#}
Die Daten von Joomla!4 liegen in /var/www/html
Fertig!
Installation MariaDB
apt install mariadb-server
mysql_secure_installation
Eine DB anlegen
mysql -u root -p
CREATE DATABASE joomla4;
grant all privileges on joomla4.* to user@localhost identified by 'password';
FLUSH PRIVILEGES;
Fertig!
Daten von Joomla4 holen und entpacken
Vorher laden wir nochmal alles neu.
service nginx restartRelease Joomla 4.0 Beta 1 · joomla/joomla-cms
Home of the Joomla! Content Management System. Contribute to joomla/joomla-cms development by creating an account on GitHub.

GitHub (github.com)
Ins Verzeichnis /var/www/html wechseln.
wget https://github.com/joomla/joomla-cms/releases/download/4.0.0-beta/Joomla_4.0.0-beta1-Beta-Full_Package.tar.bz2Entpacken
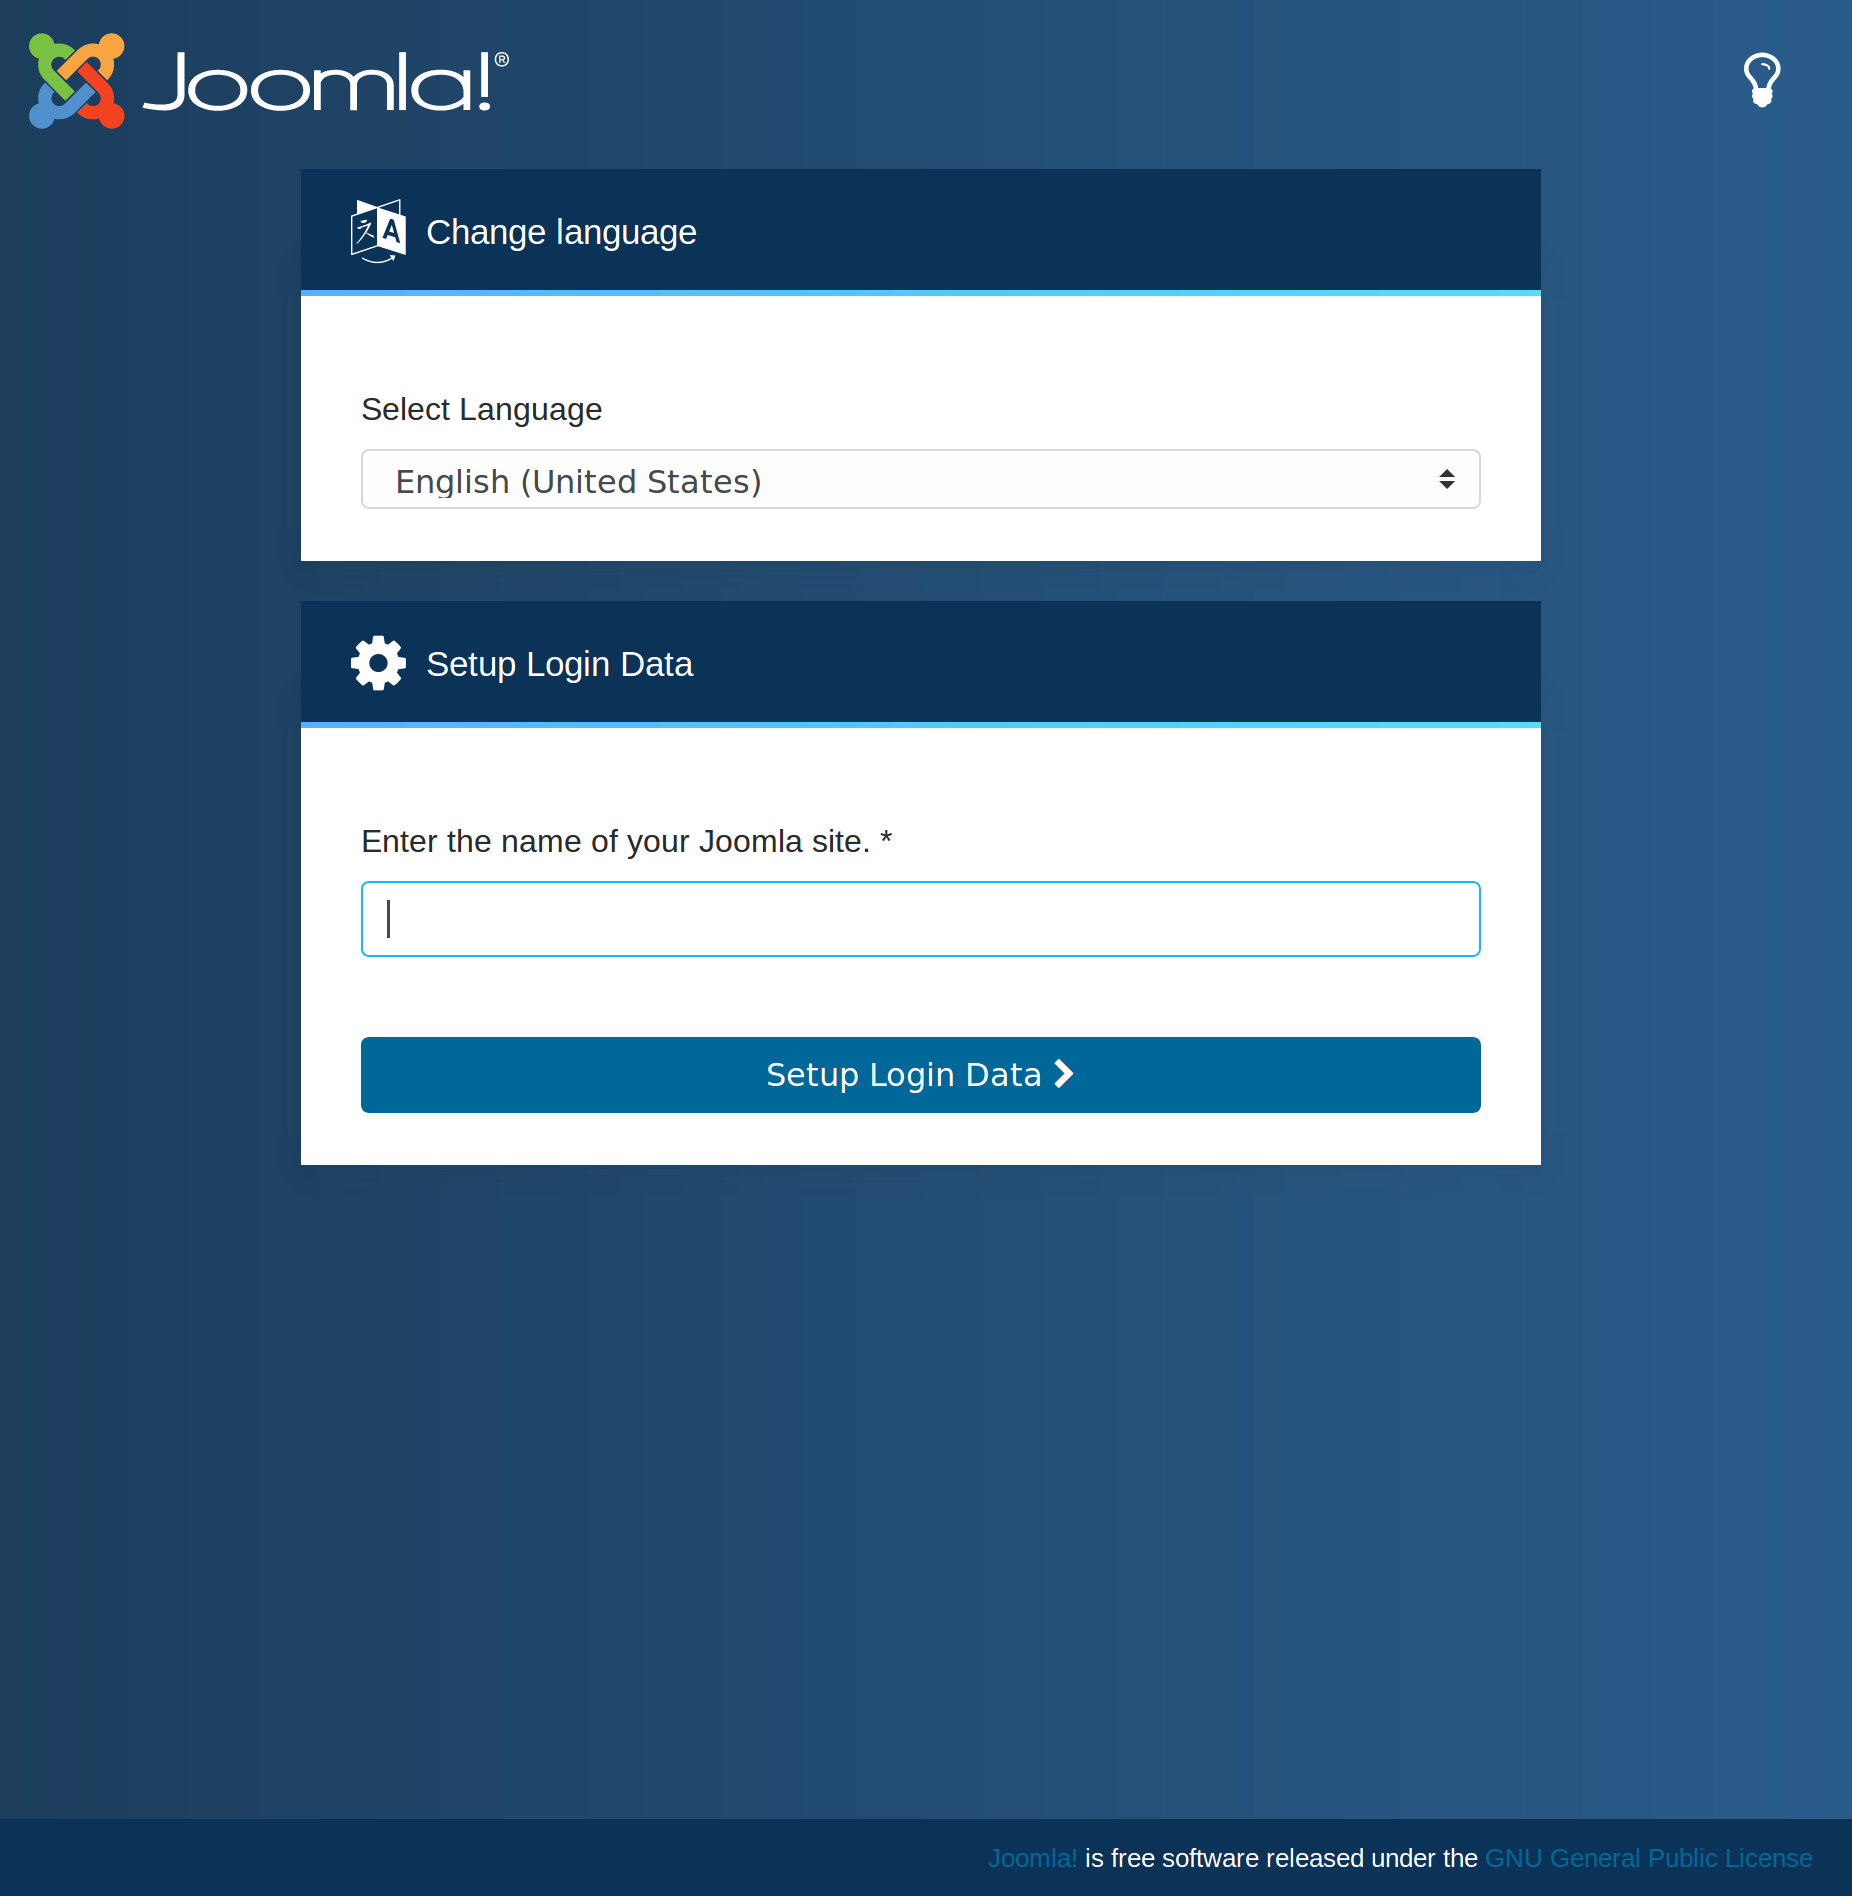
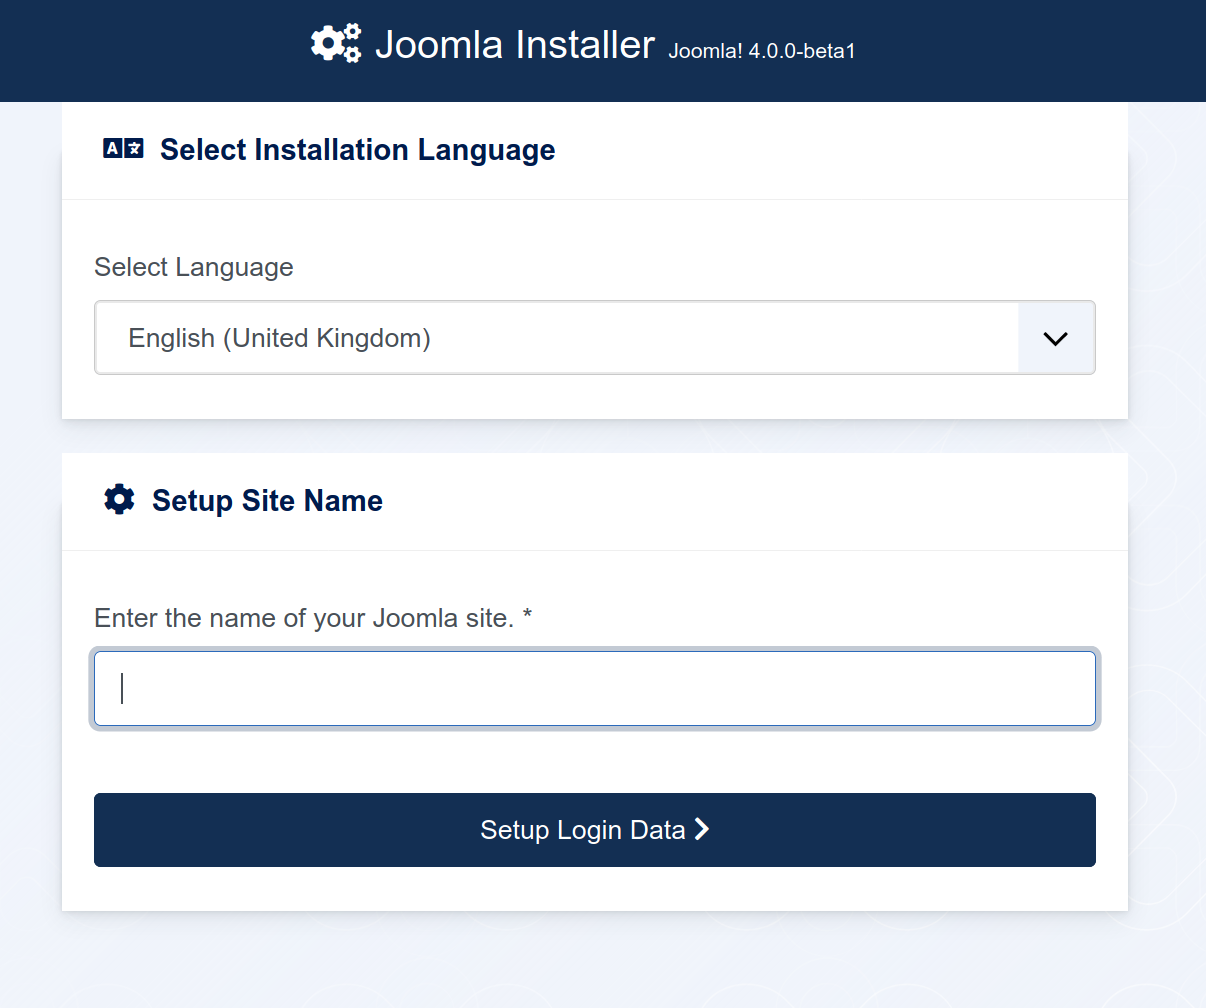
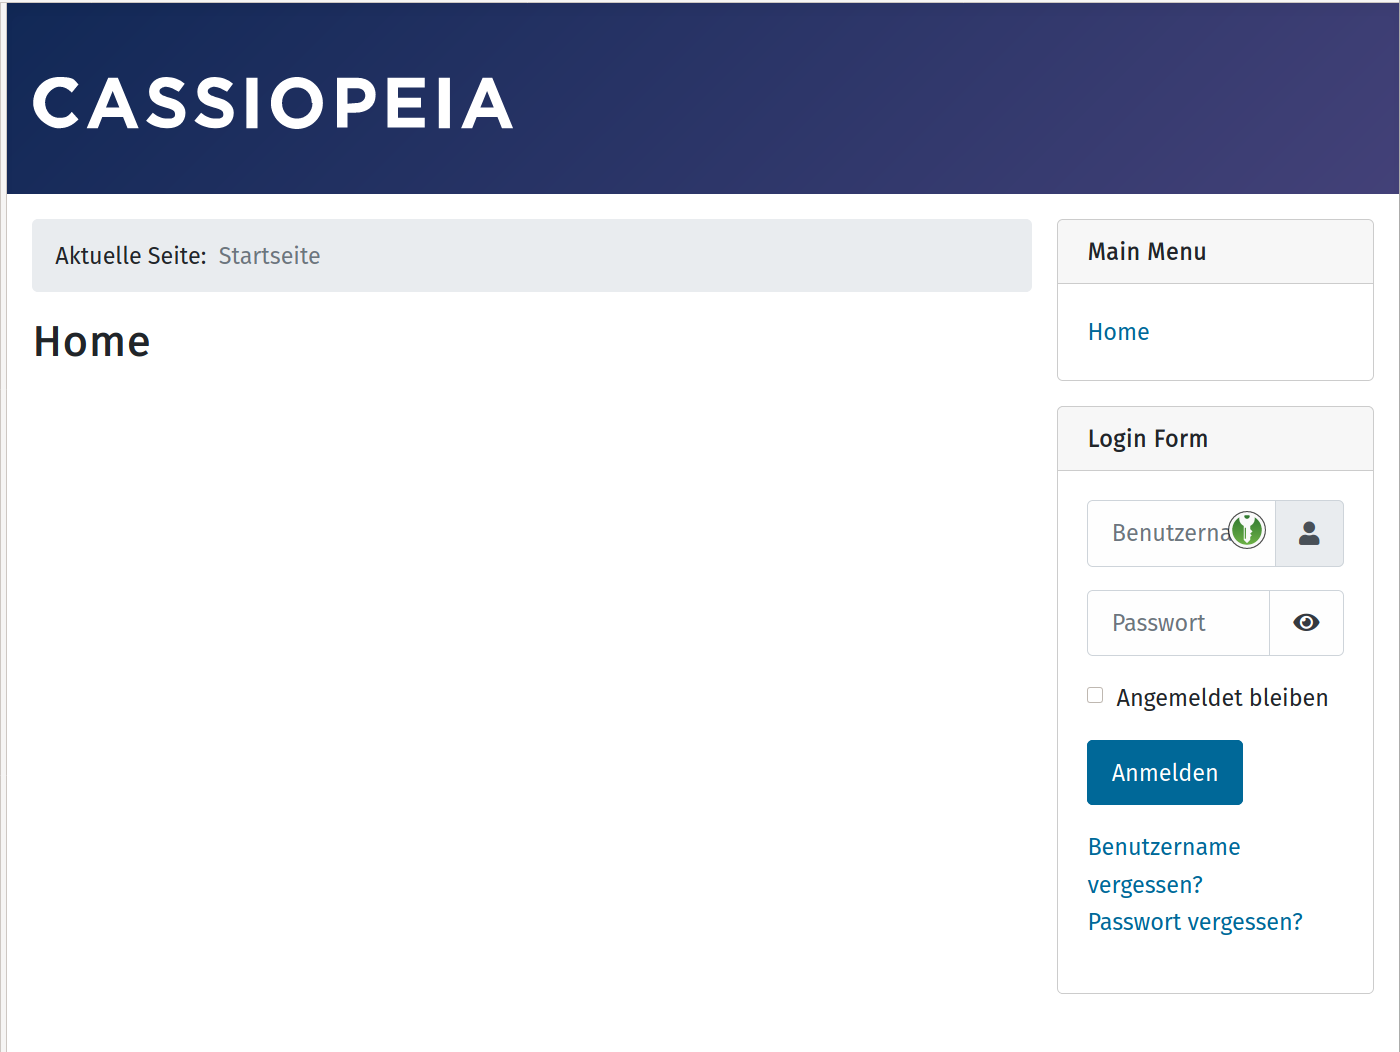
tar -xjf Joomla_4.0.0-beta1-Beta-Full_Package.tar.bz2Danach sollte man dann beim Aufruf, in meinem Fall http://192.168.3.11 folgendes sehen.
-
schrieb am 1. Juni 2020, 07:53 zuletzt editiert von
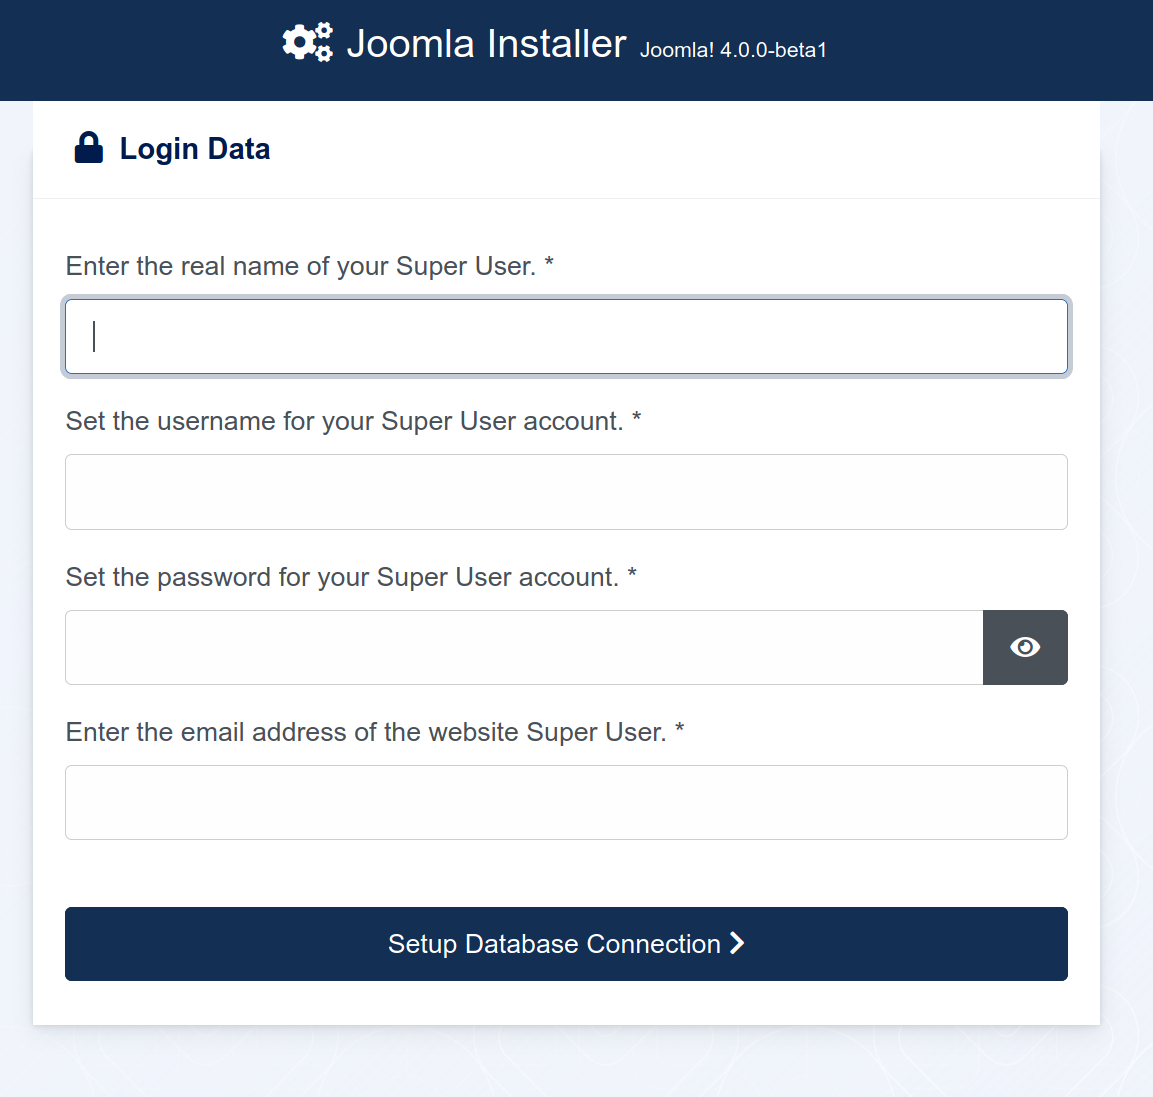
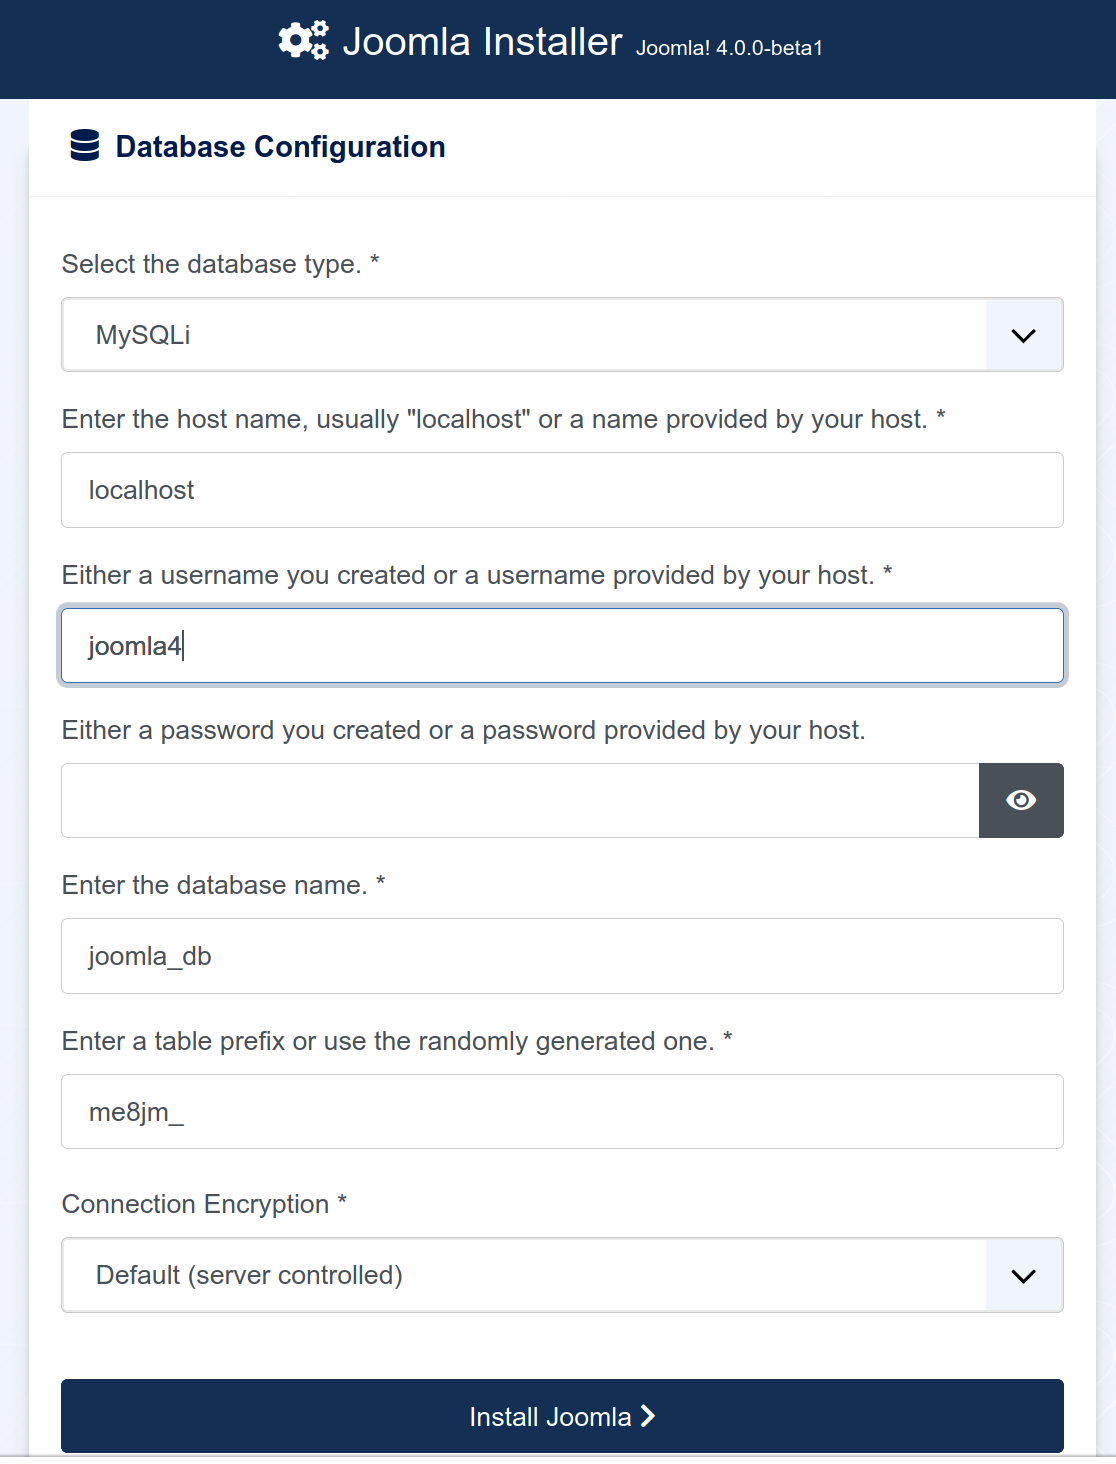
Anlegen des Super Users
Datenbank
Installation erledigt
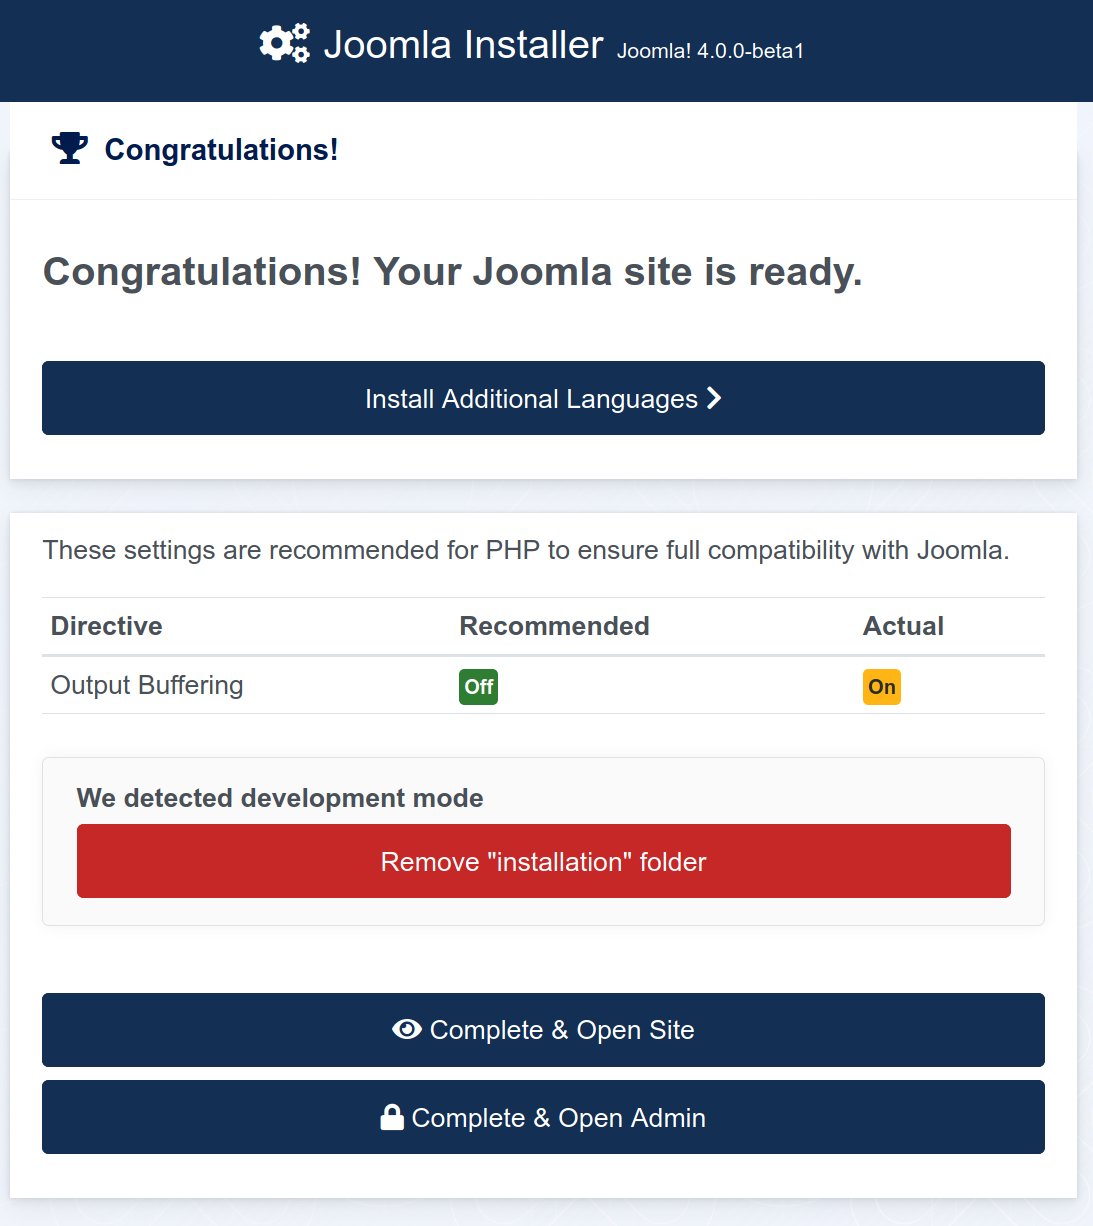
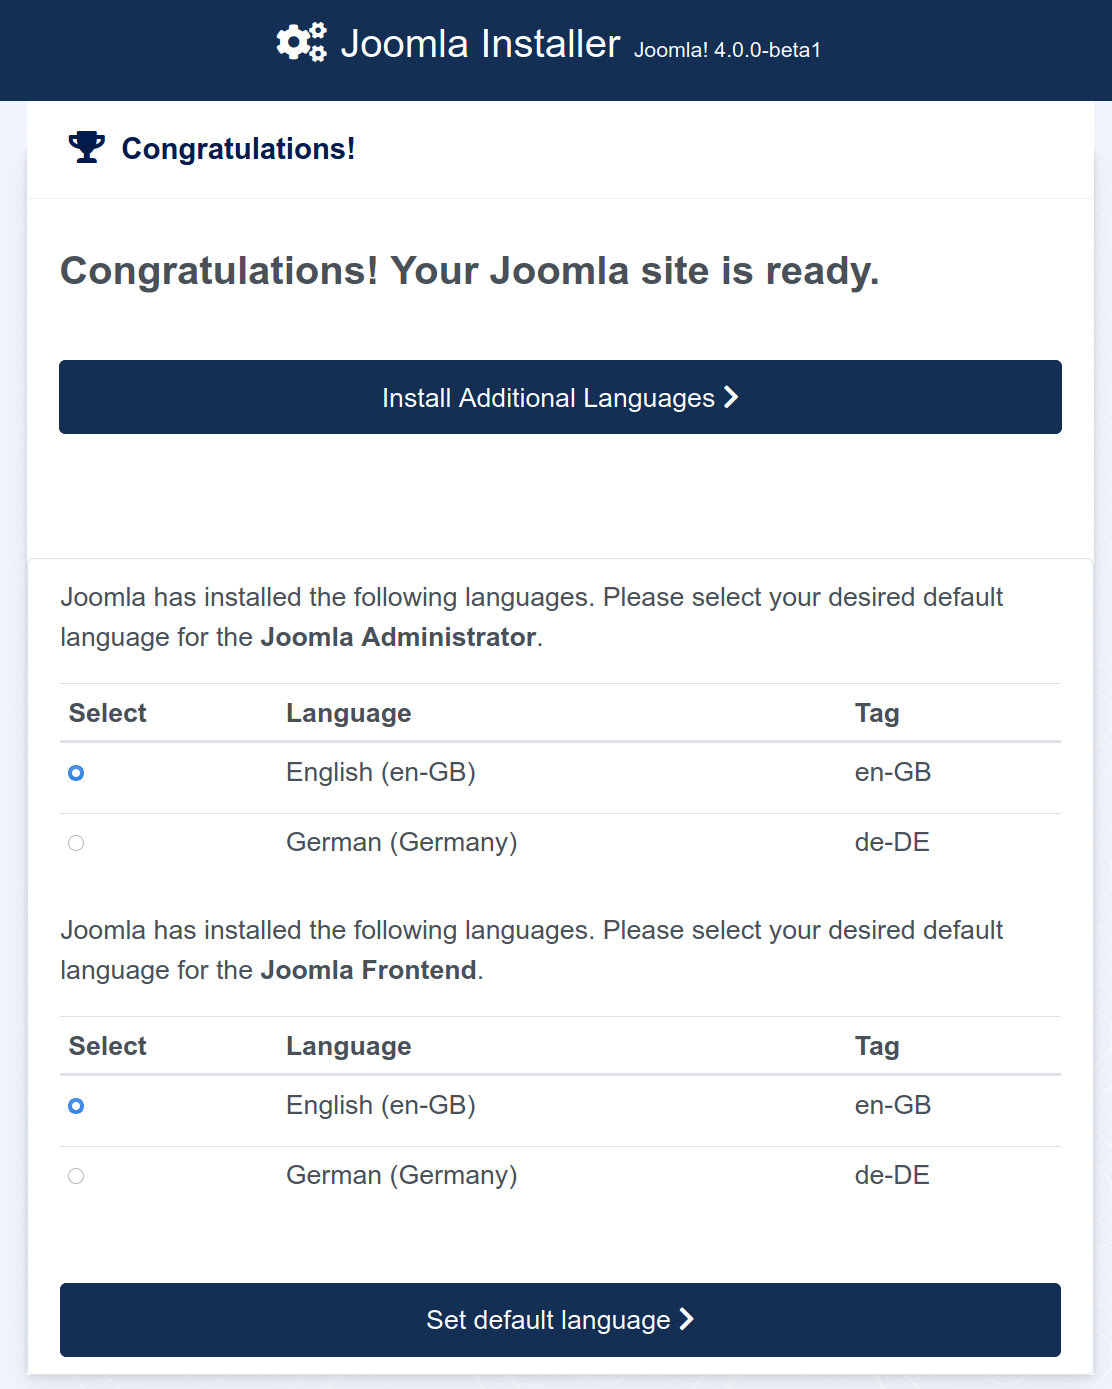
Nun kann man noch zusätzliche Sprachen installieren. Und den Installations Ordner entfernen.
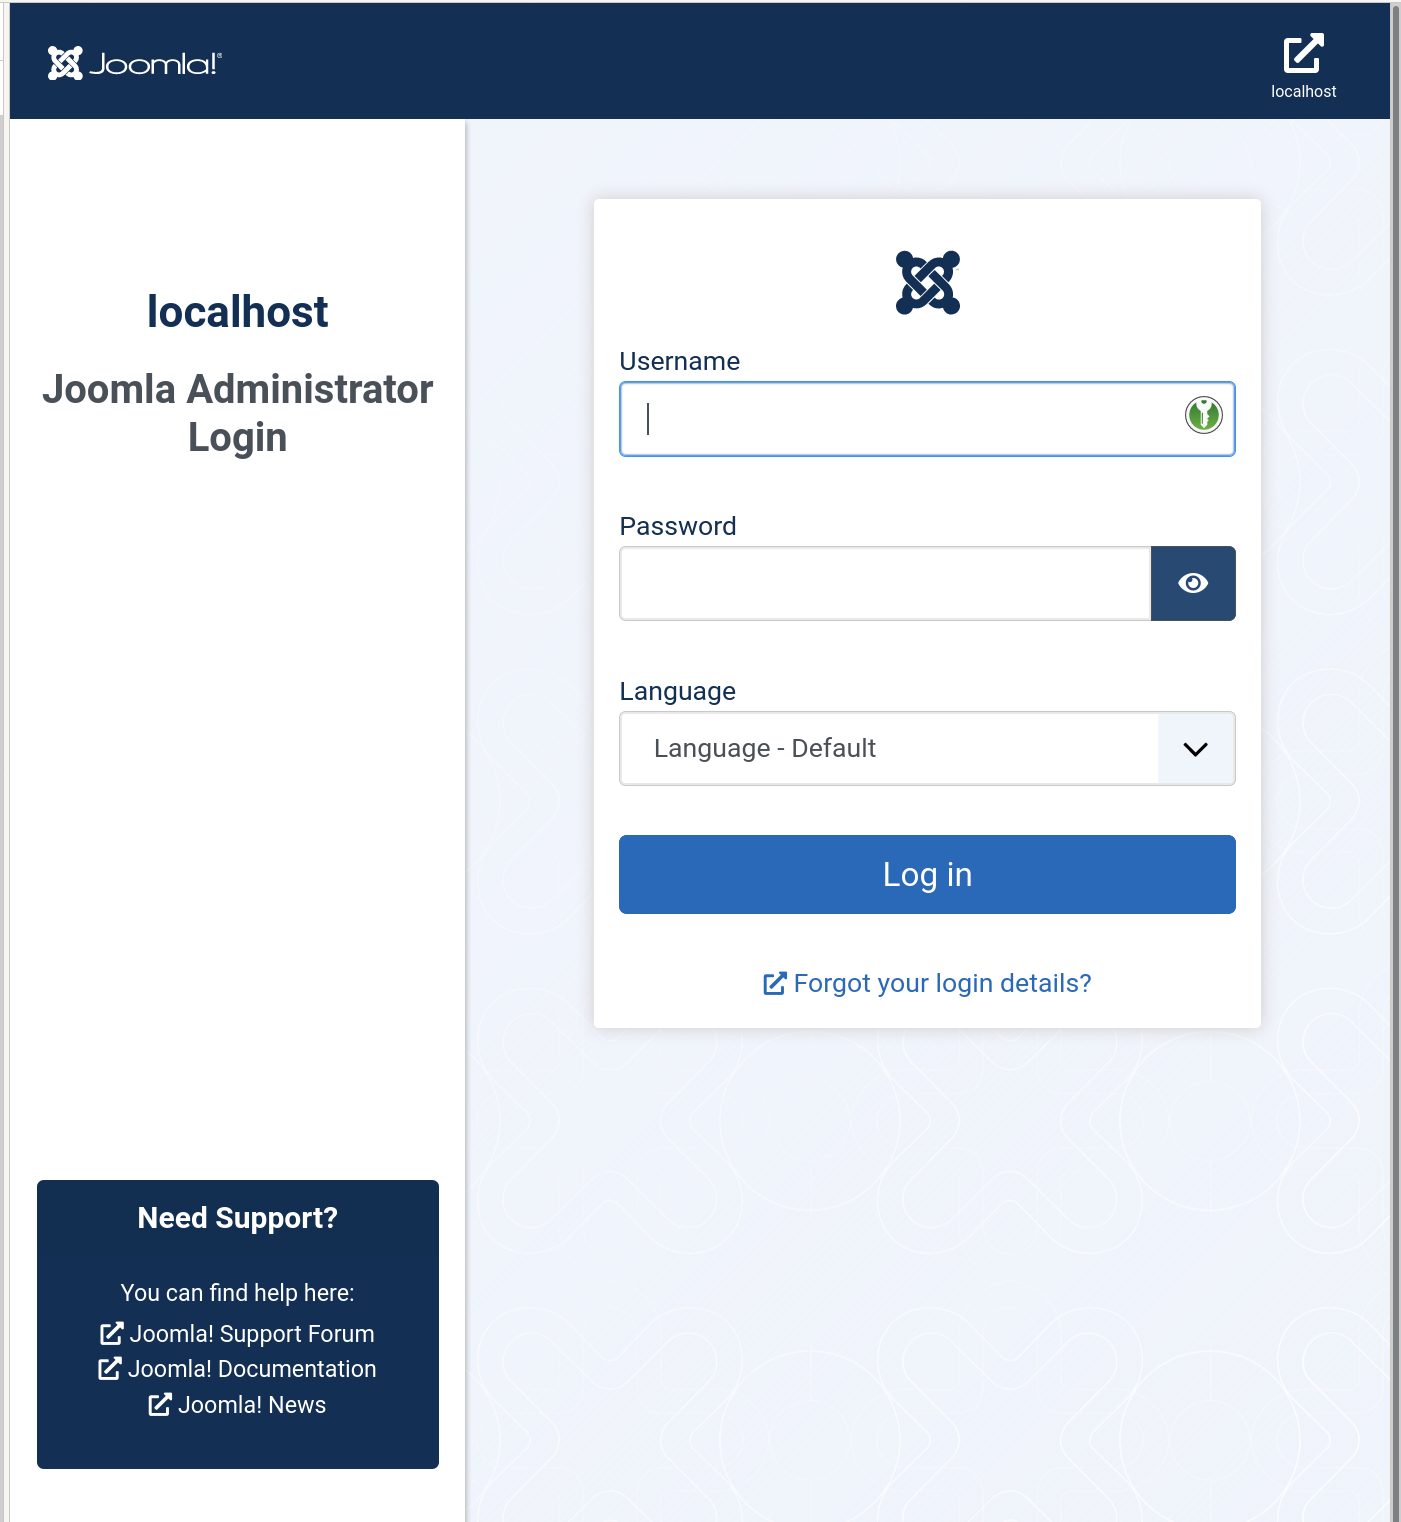
Aufrufen der Webseite
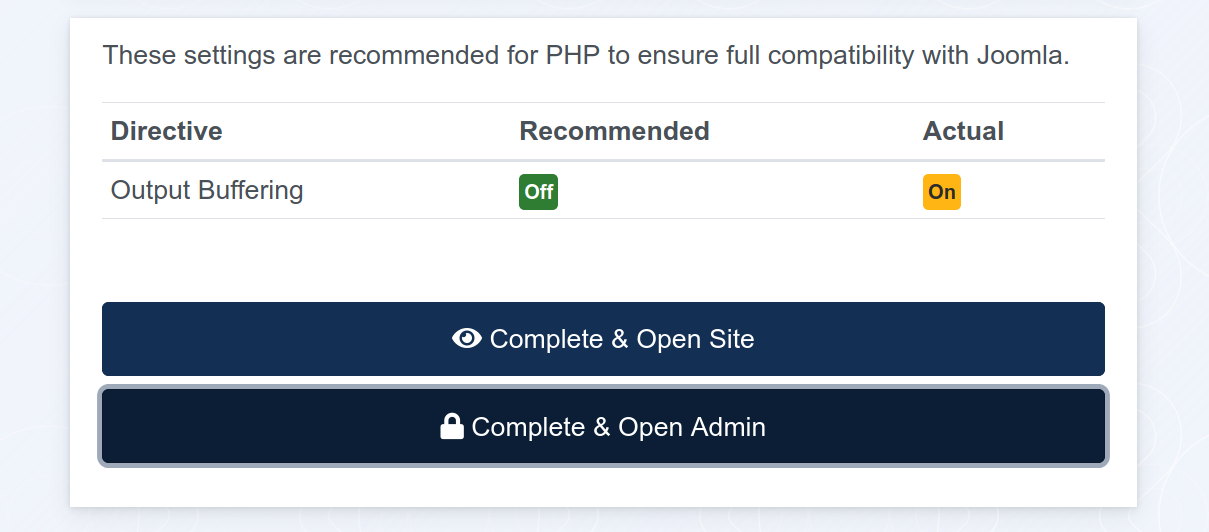
Frontend
Backend
Das soll es gewesen sein. Irgendwie kann ich nicht mehr so richtig warm werden, mit einem CMS. Liegt vermutlich daran, das ich hier mit NodeBB ein hervorragendes Tool gefunden habe, für das was ich machen möchte. Aber NodeBB ist um Längen komplizierter in der Administration und somit nicht für jeden geeignet.
Joomla!4 macht einen guten Eindruck, der Installer ist sauber aufgebaut und sollte auch Einsteiger nicht vor unlösbare Aufgaben stellen. Das Backend wirkt jetzt modern und mehr strukturiert.
Bin gespannt ob Joomla!4 ein Erfolg wird! Viel Erfolg!