Skip to content

Mainline Kernel 4.18.0-rc3

Linux
1 1 1.0k
  • Methode 1

    INFO'S

    ANWENDUNG

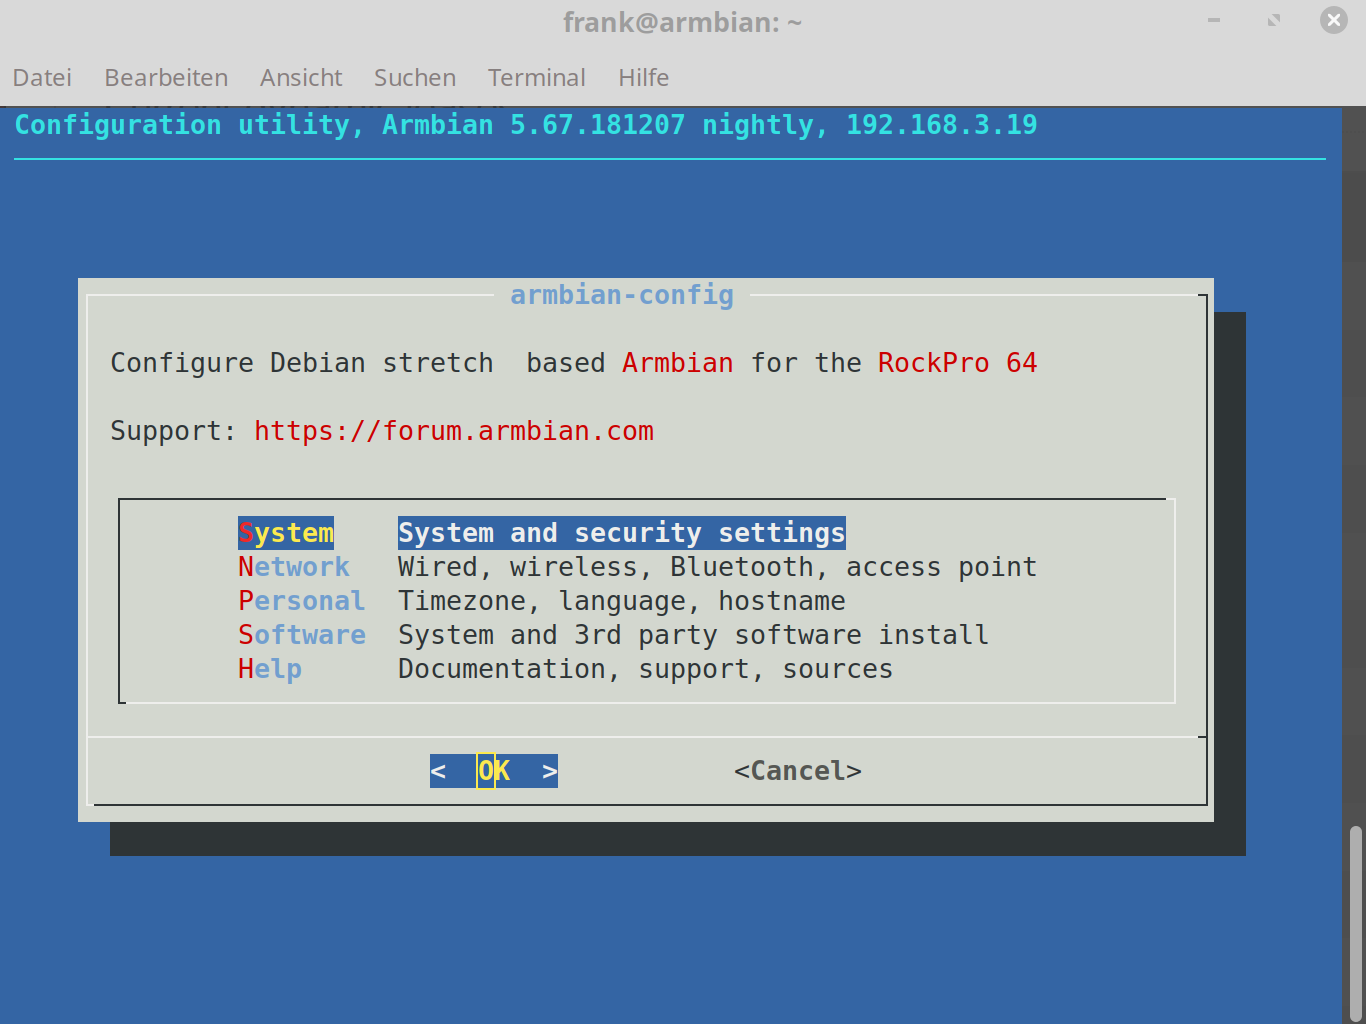
    Es muss vorher ein Image installiert worden sein. z.B. ein 0.6.58: jenkins-linux-build-rock-64-271

    Dann alle .deb Files runterladen.

    Danach ein

    sudo dpkg -i *.deb
    

    Dann den ROCKPro64 neustarten.

    Sollte der neue Kernel nicht booten oder Probleme machen, kann man den letzten Kernel benutzen. Dazu muss man den U-Boot überwachen

    U-Boot 2017.09-gec1524d (Jun 03 2018 - 14:57:16 +0000), Build: jenkins-linux-build-rock-64-249


    Model: Pine64 RockPro64    
    DRAM:  3.9 GiB    
    MMC:   sdhci@fe330000: 0, dwmmc@fe320000: 1    
    Card did not respond to voltage select!    
    mmc_init: -95, time 21
    
    *** Warning - No block device, using default environment
    
    
    In:    serial@ff1a0000    
    Out:   serial@ff1a0000    
    Err:   serial@ff1a0000    
    Model: Pine64 RockPro64    
    Net:   eth0: ethernet@fe300000    
    Hit any key to stop autoboot:  0
    
    Card did not respond to voltage select!    
    mmc_init: -95, time 21    
    switch to partitions #0, OK    
    mmc1 is current device    
    Scanning mmc 1:6...    
    Found /extlinux/extlinux.conf    
    Retrieving file: /extlinux/extlinux.conf    
    reading /extlinux/extlinux.conf    
    688 bytes read in 3 ms (223.6 KiB/s)
    
    select kernel    
    1:	kernel-latest    
    2:	kernel-previous
    
    Enter choice: 2  
    2:	kernel-previous
    

    Bei select kernel eine "2" eingeben und die Taste "RETURN" betätigen, möglichst zügig 😉 Danach wird der Alte Kernel geladen.


    Methode 2

    1. Auskommentieren von pre-releases in folgender Datei /etc/apt/sources.list.d/ayufan-rock64.list

    2. Nach Kernel Paketen suchen apt-cache search linux-image

    3. Den ausgewählten <kernel> installieren, z.B.: linux-image-4.15.0-rockchip-ayufan-177-g59389fa34

       apt-get update
       apt-get install <kernel>
      
    4. Reboot

       sudo reboot
      

    Quelle: https://github.com/ayufan-rock64/linux-build/blob/master/recipes/kernel-upgrade.md

  • Wireguard

    Verschoben Wireguard linux rockpro64 wireguard
    4
    0 Stimmen
    4 Beiträge
    973 Aufrufe
    FrankMF
    Etwas schnellerer Weg den Tunnel aufzubauen, Voraussetzung wireguard modul installiert Keys erzeugt Danach dann einfach ip link add wg0 type wireguard wg setconf wg0 /etc/wireguard/wg0.conf Datei /etc/wireguard/wg0.conf [Interface] PrivateKey = <Private Key> ListenPort = 60563 [Peer] PublicKey = <Public Key Ziel> Endpoint = <IPv4 Adresse Zielrechner>:58380 AllowedIPs = 10.10.0.1/32 Die Rechte der Dateien von wireguard müssen eingeschränkt werden. sudo chmod 0600 /etc/wireguard/wg0.conf Das ganze per rc.local beim Booten laden. Datei /root/wireguard_start.sh ############################################################################################### # Autor: Frank Mankel # Startup-Script # Wireguard # Kontakt: frank.mankel@gmail.com # ############################################################################################### ip link add wg0 type wireguard ip address add dev wg0 10.10.0.1/8 wg setconf wg0 /etc/wireguard/wg0.conf ip link set up dev wg0 Danach Datei ausführbar machen chmod +x /root/wireguard_start.sh In rc.local /root/wireguard_start.sh eintragen - Fertig!
  • ROCKPro64 - Armbian - NAS umgezogen

    Armbian armbian rockpro64
    2
    0 Stimmen
    2 Beiträge
    687 Aufrufe
    FrankMF
    Das NAS mit den drei 2,5 Zoll HDD Platten läuft an einem 3A Netzteil - ohne Probleme. Hat heute Nacht die Jobs einwandfrei erledigt https://www.pine64.org/?product=rockpro64-12v-3a-eu-power-supply
  • ROCKPro64 - Armbian armbian-config

    Verschoben Armbian armbian rockpro64
    1
    3
    0 Stimmen
    1 Beiträge
    807 Aufrufe
    Niemand hat geantwortet
  • ROCKPro64 - Docker Image

    ROCKPro64 docker rockpro64
    4
    1
    0 Stimmen
    4 Beiträge
    1k Aufrufe
    FrankMF
    Das ganze hat einen furchtbar schönen Vorteil. Mal angenommen, ich habe ein NodeBB-Forum in einem Container laufen. Will das Ding updaten und das crasht einfach mal so. Egal, Container stoppen, Container starten und alles läuft wieder. Mit dem Commit sichere ich mir dann den Zustand nachdem ich weiß, das alles klappt
  • eMMC Modul

    Hardware hardware rockpro64
    1
    0 Stimmen
    1 Beiträge
    2k Aufrufe
    Niemand hat geantwortet
  • stretch-openmediavault-rockpro64

    Verschoben Linux rockpro64
    1
    0 Stimmen
    1 Beiträge
    836 Aufrufe
    Niemand hat geantwortet
  • stretch-minimal-rockpro64

    Verschoben Linux rockpro64
    3
    0 Stimmen
    3 Beiträge
    1k Aufrufe
    FrankMF
    Mal ein Test was der Speicher so kann. rock64@rockpro64:~/tinymembench$ ./tinymembench tinymembench v0.4.9 (simple benchmark for memory throughput and latency) ========================================================================== == Memory bandwidth tests == == == == Note 1: 1MB = 1000000 bytes == == Note 2: Results for 'copy' tests show how many bytes can be == == copied per second (adding together read and writen == == bytes would have provided twice higher numbers) == == Note 3: 2-pass copy means that we are using a small temporary buffer == == to first fetch data into it, and only then write it to the == == destination (source -> L1 cache, L1 cache -> destination) == == Note 4: If sample standard deviation exceeds 0.1%, it is shown in == == brackets == ========================================================================== C copy backwards : 2812.7 MB/s C copy backwards (32 byte blocks) : 2811.9 MB/s C copy backwards (64 byte blocks) : 2632.8 MB/s C copy : 2667.2 MB/s C copy prefetched (32 bytes step) : 2633.5 MB/s C copy prefetched (64 bytes step) : 2640.8 MB/s C 2-pass copy : 2509.8 MB/s C 2-pass copy prefetched (32 bytes step) : 2431.6 MB/s C 2-pass copy prefetched (64 bytes step) : 2424.1 MB/s C fill : 4887.7 MB/s (0.5%) C fill (shuffle within 16 byte blocks) : 4883.0 MB/s C fill (shuffle within 32 byte blocks) : 4889.3 MB/s C fill (shuffle within 64 byte blocks) : 4889.2 MB/s --- standard memcpy : 2807.3 MB/s standard memset : 4890.4 MB/s (0.3%) --- NEON LDP/STP copy : 2803.7 MB/s NEON LDP/STP copy pldl2strm (32 bytes step) : 2802.1 MB/s NEON LDP/STP copy pldl2strm (64 bytes step) : 2800.7 MB/s NEON LDP/STP copy pldl1keep (32 bytes step) : 2745.5 MB/s NEON LDP/STP copy pldl1keep (64 bytes step) : 2745.8 MB/s NEON LD1/ST1 copy : 2801.9 MB/s NEON STP fill : 4888.9 MB/s (0.3%) NEON STNP fill : 4850.1 MB/s ARM LDP/STP copy : 2803.8 MB/s ARM STP fill : 4893.0 MB/s (0.5%) ARM STNP fill : 4851.7 MB/s ========================================================================== == Framebuffer read tests. == == == == Many ARM devices use a part of the system memory as the framebuffer, == == typically mapped as uncached but with write-combining enabled. == == Writes to such framebuffers are quite fast, but reads are much == == slower and very sensitive to the alignment and the selection of == == CPU instructions which are used for accessing memory. == == == == Many x86 systems allocate the framebuffer in the GPU memory, == == accessible for the CPU via a relatively slow PCI-E bus. Moreover, == == PCI-E is asymmetric and handles reads a lot worse than writes. == == == == If uncached framebuffer reads are reasonably fast (at least 100 MB/s == == or preferably >300 MB/s), then using the shadow framebuffer layer == == is not necessary in Xorg DDX drivers, resulting in a nice overall == == performance improvement. For example, the xf86-video-fbturbo DDX == == uses this trick. == ========================================================================== NEON LDP/STP copy (from framebuffer) : 602.5 MB/s NEON LDP/STP 2-pass copy (from framebuffer) : 551.6 MB/s NEON LD1/ST1 copy (from framebuffer) : 667.1 MB/s NEON LD1/ST1 2-pass copy (from framebuffer) : 605.6 MB/s ARM LDP/STP copy (from framebuffer) : 445.3 MB/s ARM LDP/STP 2-pass copy (from framebuffer) : 428.8 MB/s ========================================================================== == Memory latency test == == == == Average time is measured for random memory accesses in the buffers == == of different sizes. The larger is the buffer, the more significant == == are relative contributions of TLB, L1/L2 cache misses and SDRAM == == accesses. For extremely large buffer sizes we are expecting to see == == page table walk with several requests to SDRAM for almost every == == memory access (though 64MiB is not nearly large enough to experience == == this effect to its fullest). == == == == Note 1: All the numbers are representing extra time, which needs to == == be added to L1 cache latency. The cycle timings for L1 cache == == latency can be usually found in the processor documentation. == == Note 2: Dual random read means that we are simultaneously performing == == two independent memory accesses at a time. In the case if == == the memory subsystem can't handle multiple outstanding == == requests, dual random read has the same timings as two == == single reads performed one after another. == ========================================================================== block size : single random read / dual random read 1024 : 0.0 ns / 0.0 ns 2048 : 0.0 ns / 0.0 ns 4096 : 0.0 ns / 0.0 ns 8192 : 0.0 ns / 0.0 ns 16384 : 0.0 ns / 0.0 ns 32768 : 0.0 ns / 0.0 ns 65536 : 4.5 ns / 7.2 ns 131072 : 6.8 ns / 9.7 ns 262144 : 9.8 ns / 12.8 ns 524288 : 11.4 ns / 14.7 ns 1048576 : 16.0 ns / 22.6 ns 2097152 : 114.0 ns / 175.3 ns 4194304 : 161.7 ns / 219.9 ns 8388608 : 190.7 ns / 241.5 ns 16777216 : 205.3 ns / 250.5 ns 33554432 : 212.9 ns / 255.5 ns 67108864 : 222.3 ns / 271.1 ns
  • Neue Bilder

    ROCKPro64 rockpro64
    1
    2
    0 Stimmen
    1 Beiträge
    709 Aufrufe
    Niemand hat geantwortet